I’m starting this topic as a foray into assisting the community in familiarizing themselves with the UI and what issues might be problematic. While the UI just works, It’s always good to understand the narrative form of a given window and follow the paths to a completed object that largely takes place in one window frame. That’s pretty easy but imagine that all the pages of a book were scattered on the floor, how would you know except by following numbers. Time consuming and wasting. Having the narrative of your project all on one board is wonderful. But how do you travel from one quadrant to another. And go off on tangents? Not all narratives can be a simple there and back again story. Read Thomas Pynchon or David Foster Wallace.
this Problems and Support category isn’t just to come get answers from Glowforge support staff, we need to remember that the strength of this forum is in its members and we can assist each other often faster than the ticket queue can get processed. Also, I don’t mind you all picking this post apart and teaching me a few things.
I’m posting these two pics to start the journey taken on my iPhone 5s with iOS 10.1.1.
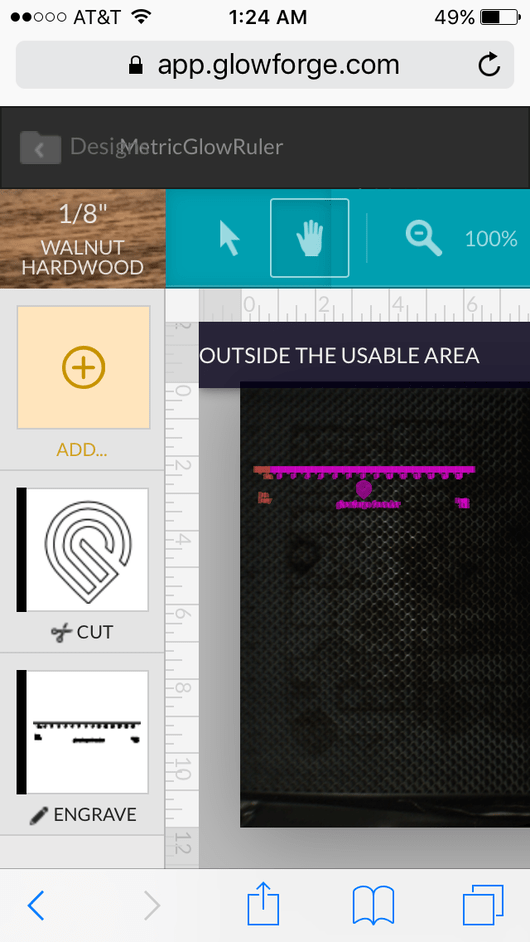
First portrait. At the moment with this open I have selected the move tool that allows you to position the lid camera image of the bed on the canvas (not sure of their metaphors, but that’s kind of standard).
I am unable to select the select tool. How ironic! I have to spin to landscape to be able to select it. This behavior is vice versa for the move tool. Then again, you may ask, why would anyone hold their phone in portrait? Answer: perhaps the same guy who keeps his address bar open rather than autohide. Or if you need another answer, please review the video of the delivery of my pre-release Glowforge.
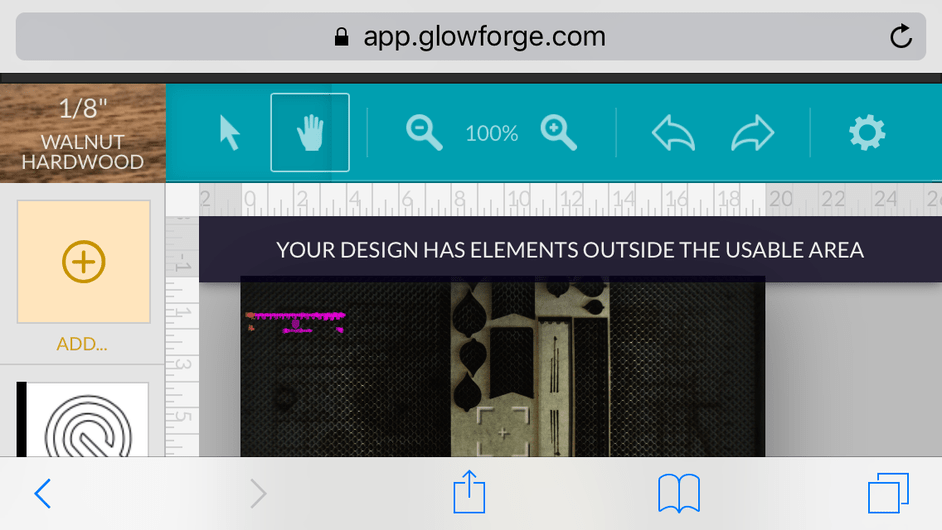
Then landscape.
Then comes a shot of the UI on an iPad Air running iOS 10.11.
So far this is all safari
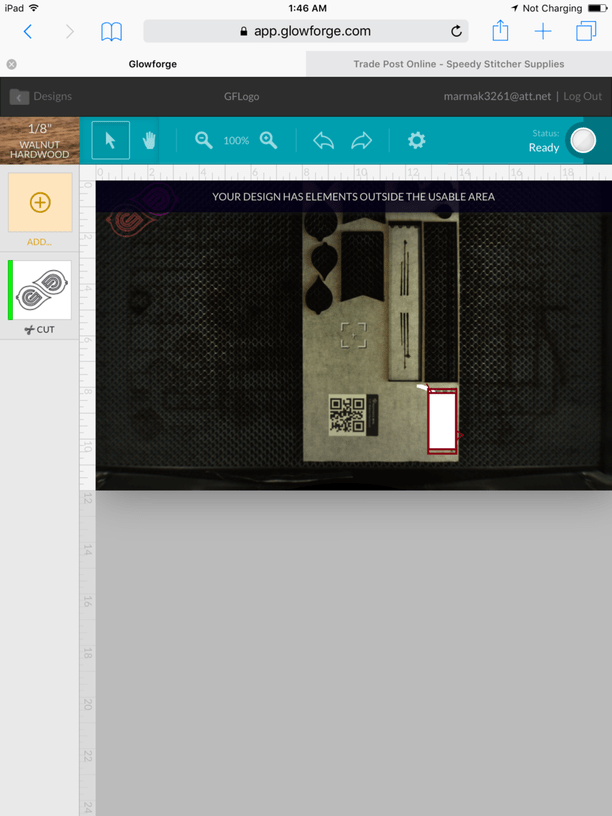
This is portrait.
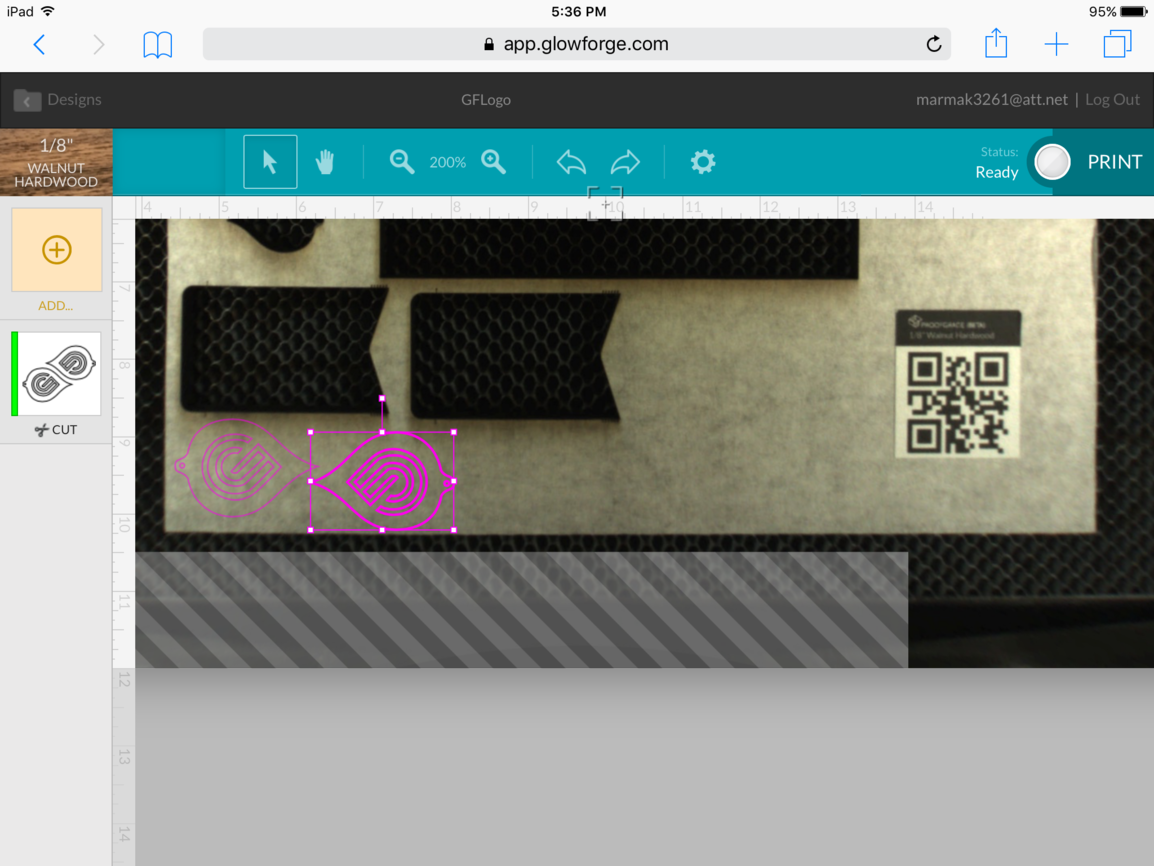
Landscape. Note the PRINT button has appeared.
No problems here. I’m already thinking once I get designs dialed in, the iPad will be so handy because I don’t have to be tied to a desk while I impatiently dance around the room with glee waiting for the print to be done.
However, I was not without problems. Which I’ll come back to.
Question: is there are way to constrain the rotate to 90 or 180? I need to do this very precisely because of the grain of the walnut. That is one of the most important things you need to know about hardwood use. Proofgrade is covered with the mask, so you mask the grain. Now, you only need to remember that the grain is always going to run side to side in ProofGrade. Easy enough to know that, but not always easy to remember to check because the design looks like it could just go anywhere and you can twirl it around.
This is one drawback of having a mask. You can’t locate the design on one spot of wood to take advantage of the grain or any unique features. Did you notice the miniscule knot in the first ruler I printed? Some of your designs might like that knot and some might “knot”. The masking is somewhat transparent, but you can also say it’s mostly opaque. What’s under the tape might be a surprise.
However, as I’ve burned through not a complete sheet of a six by ten 3/4 inches sheet, I have encountered perfect wood every time. And for me, that knot really gives it some character as real wood and not an engineered veneer. But I wouldn’t want that knot to appear in the center of the ![]() in the center of the ruler. Of course, they may have given me the best of the best, but if they were working addressing issues of random quality checks, it actually would be interesting to send a stack of unknown wood out from the office and let me be the final judge, because in the end, it is going to be the customer who does final QC. (And no that isn’t a veiled hint.). I have plenty of samples. The Glowforge efficiently uses everything.
in the center of the ruler. Of course, they may have given me the best of the best, but if they were working addressing issues of random quality checks, it actually would be interesting to send a stack of unknown wood out from the office and let me be the final judge, because in the end, it is going to be the customer who does final QC. (And no that isn’t a veiled hint.). I have plenty of samples. The Glowforge efficiently uses everything.
Summary: There is work to be done, I’m sure. I could have done some screenshots of Firefox on Ubuntu, but that really stunk, mainly because that is a very old computer and has some issues. Just wanted to see how responsive the selection and moving were. Terrible on it so I went and fetched my tower and it just zips along. I don’t know enough about graphics performance and browser choice, but that is something someone can enlighten me on. What would slow down responsiveness or not allow selecting?
The tower was super responsive and know I am going to have to get another graphics intensive setup if I’m going to continue to punish you with videos and do some snappy graphics design.
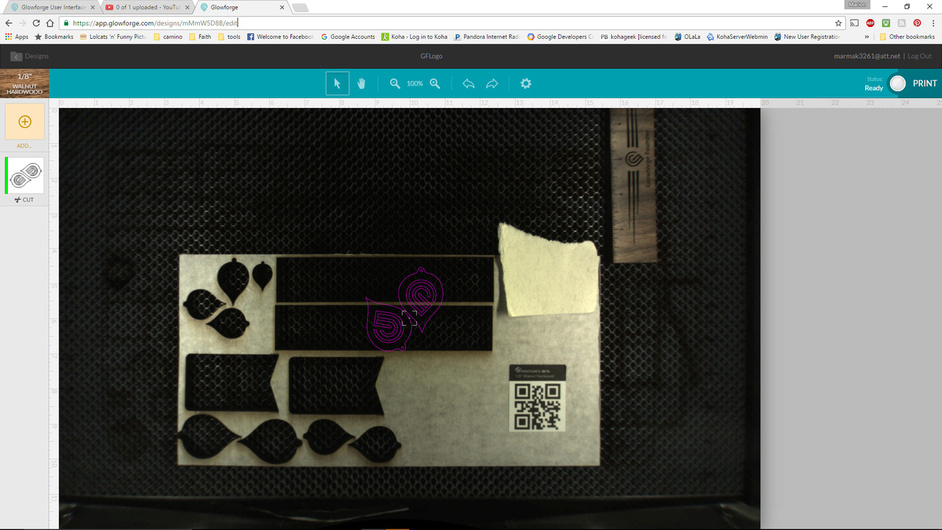
Ok, one more shot. rearranged the deck chairs on the Titanic and now MakForge is indecisive about what’s inside or can’t find the print head.
I had put on the bed several different rulers including a foldable carpenter’s ruler and I wonder if the variations in surface (up to 1 inch with the folding job) confused it. Anyway. It was a 4 minutes location dance. And that will be something left to explore tomorrow. Have video of it but it’s too long.
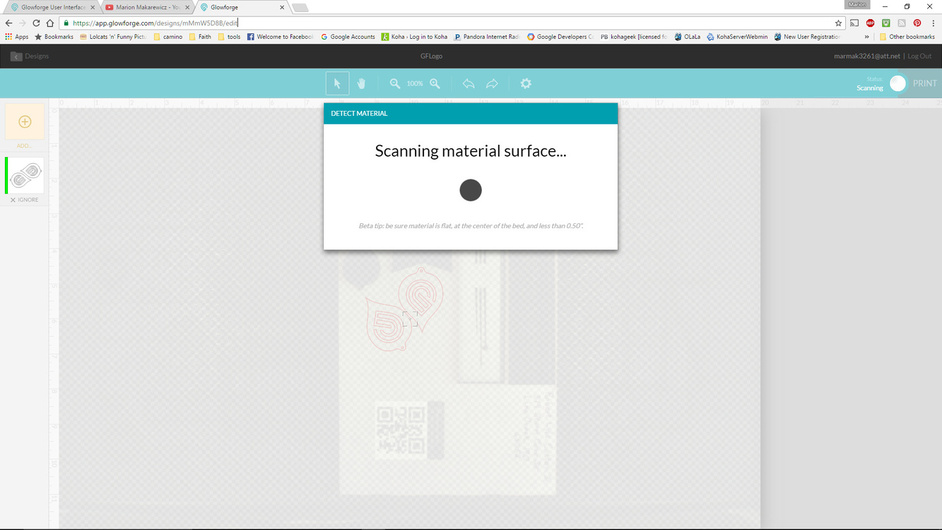
Finally the bed and crumb tray imaged.
so first time I used this monitor since Friday, I couldn’t get the Glowforge to print. I had forgotten he last UI step. press the PRINT button on the device. Then it calculates time and the hardware light glows. Didn’t look up in the right corner in Maine where it hangs out on a 25 inch screen.

 Was trying to say how something that seems so obvious and intuitive is not to be found on $10000 laser cutters.
