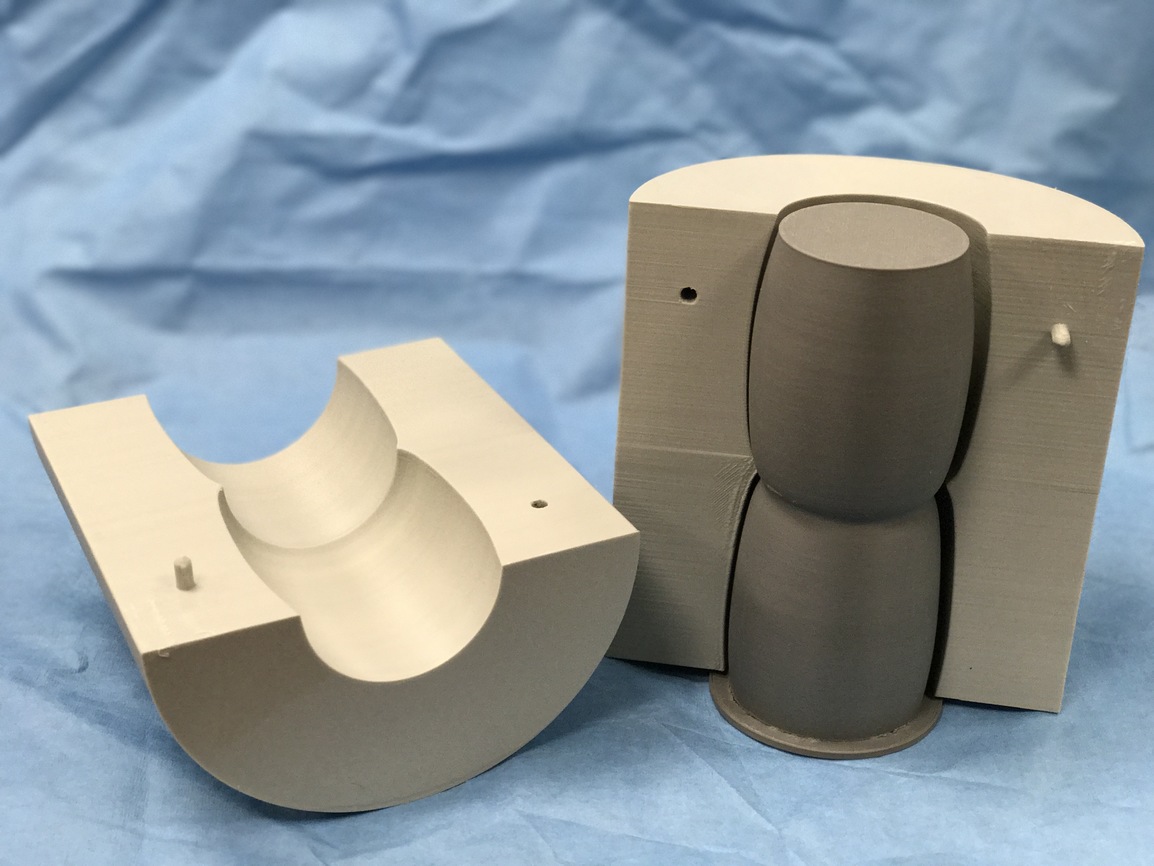
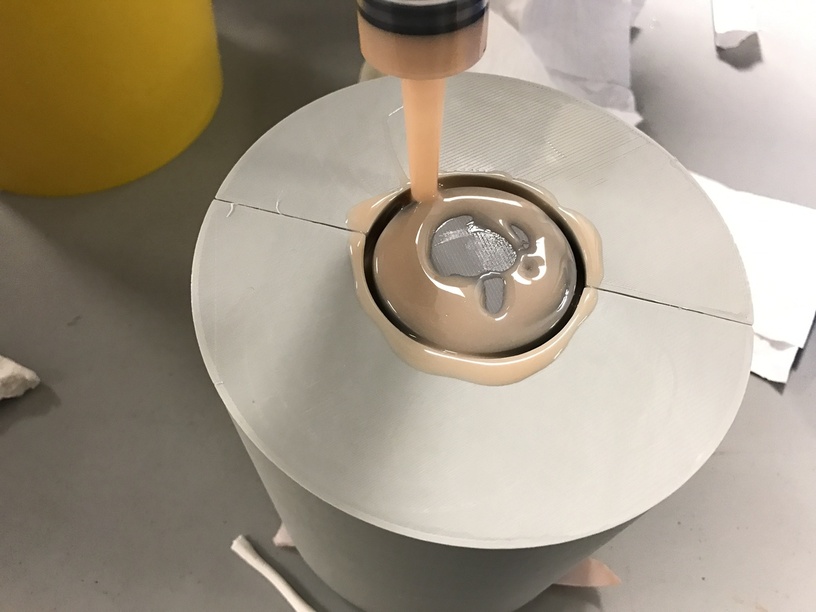
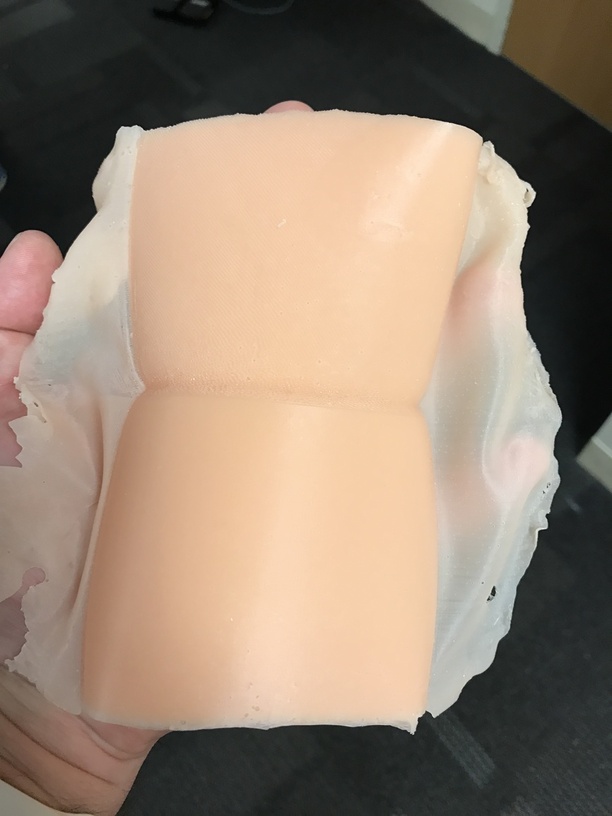
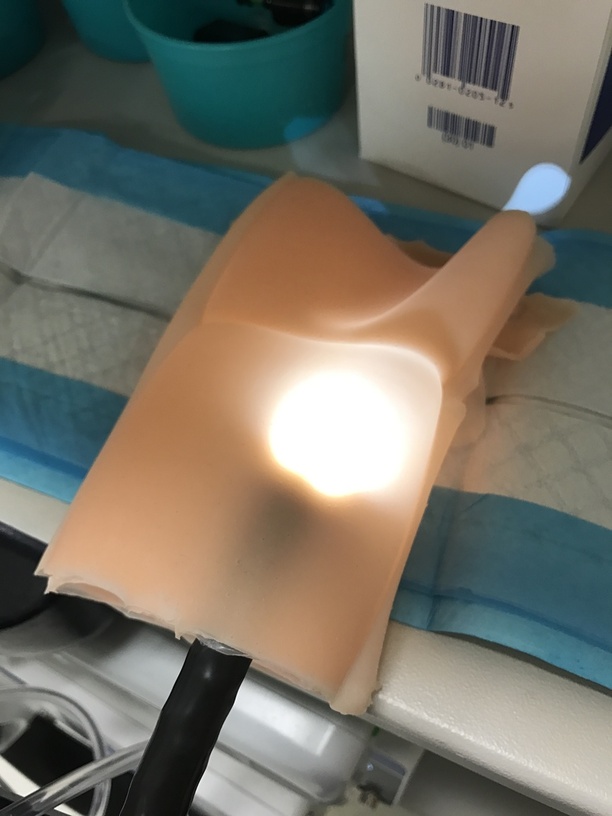
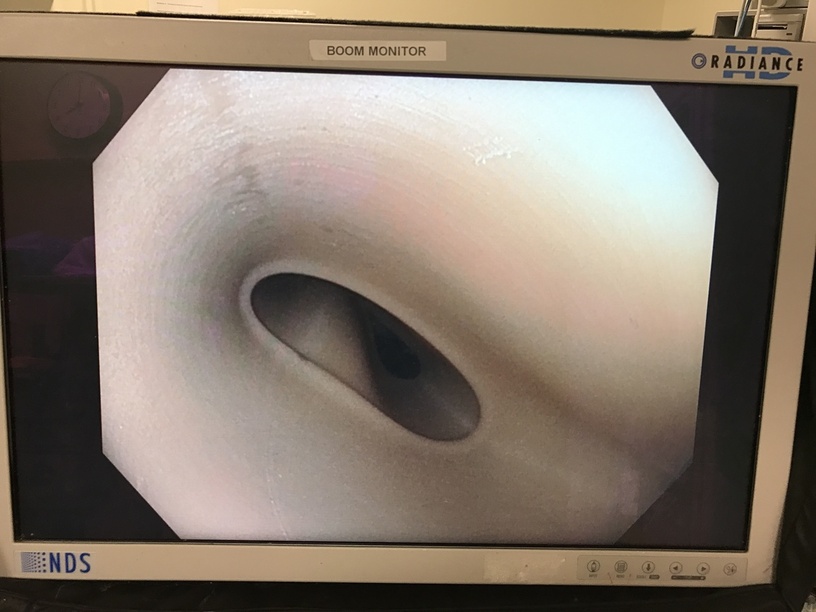
I do a lot of medical device design as part of my work, but also do a lot of medical simulation work for teaching our students and residents. So recently have gotten into 3D printing molds for casting large parts with torturous hollow openings inside (for instance the colon). I’ve been using polyvinyl-alcohol (PVA) as the interior mold core (and guess what, it is laser safe as far as I can tell since it’s basically a simple hydrocarbon) and is a unique plastic in that it dissolves in water but can be used as a thermoplastic. First example of this is making a colon that can be cut into. So I 3D printed the outside mold in PLA (this was a test segment in real live the segments will have coarse screw threads on the ends to allow me to assemble the colon in one chunk). The inner mold I printed in PVA (usually used as a support material), we poured dragon skin around it (a very lifelike silicone) and then placed it in hot water, then tested it with a colonoscope. Worked great, and for about $10 total. (note the “sprue” on the outside of the mold was deliberate as that is the mesentery of the ccolon). The cool thing is I imagine I can use the GF to add surface detail/texture that you could never print (or it would slow stuff down) on smaller items like bones, etc.
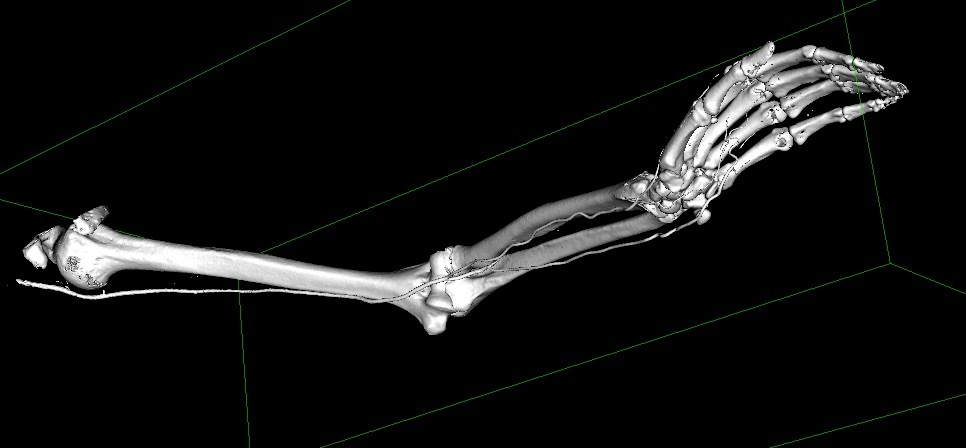
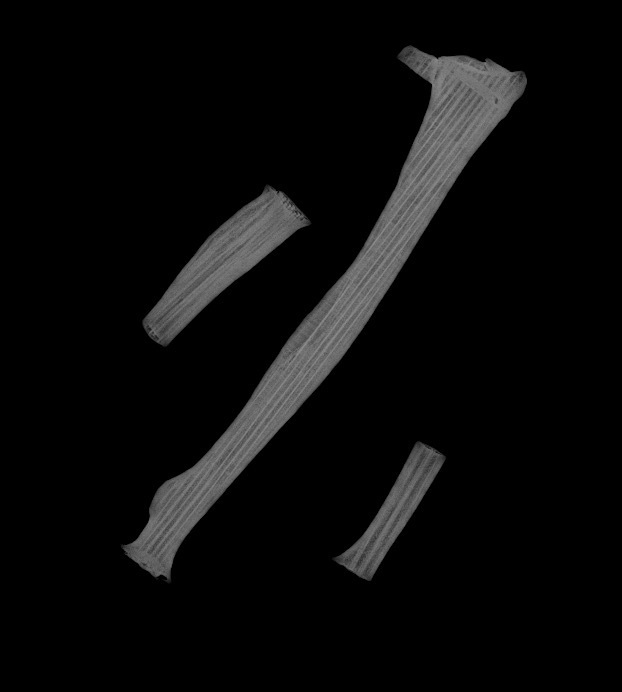
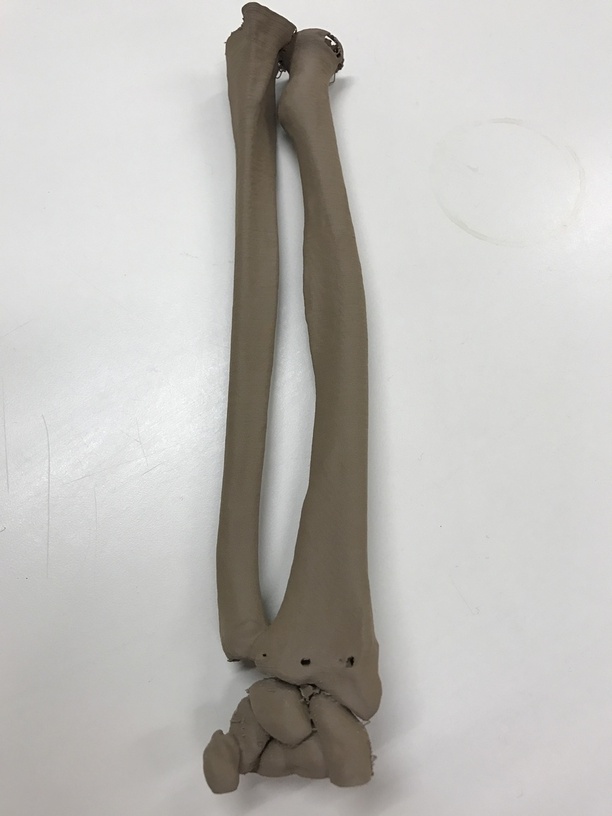
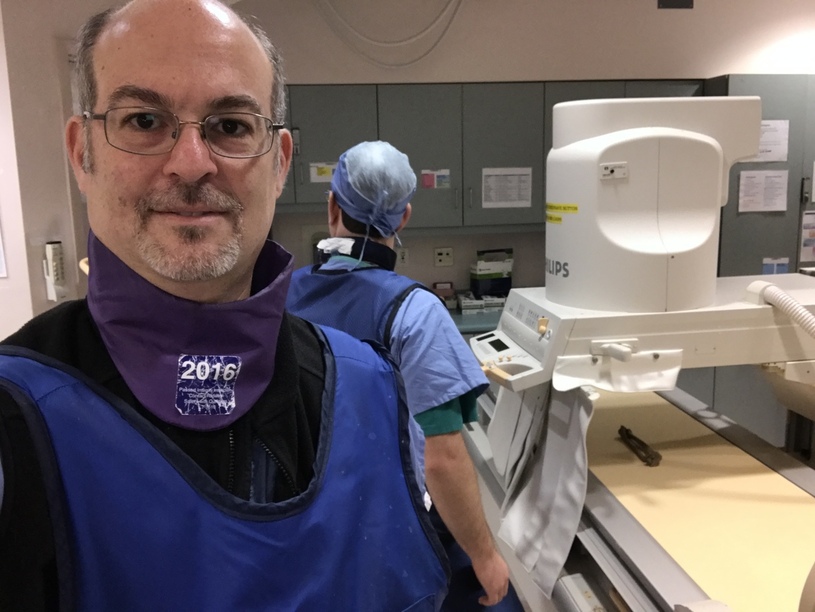
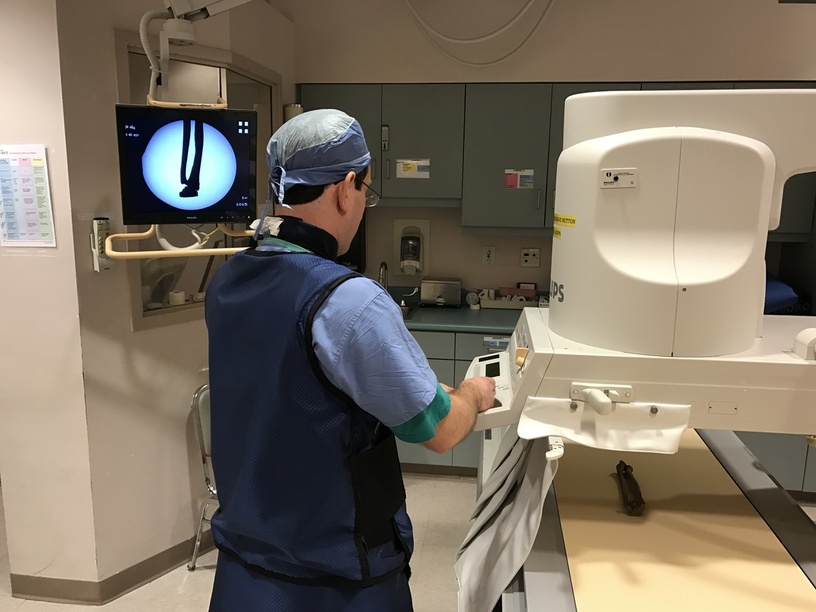
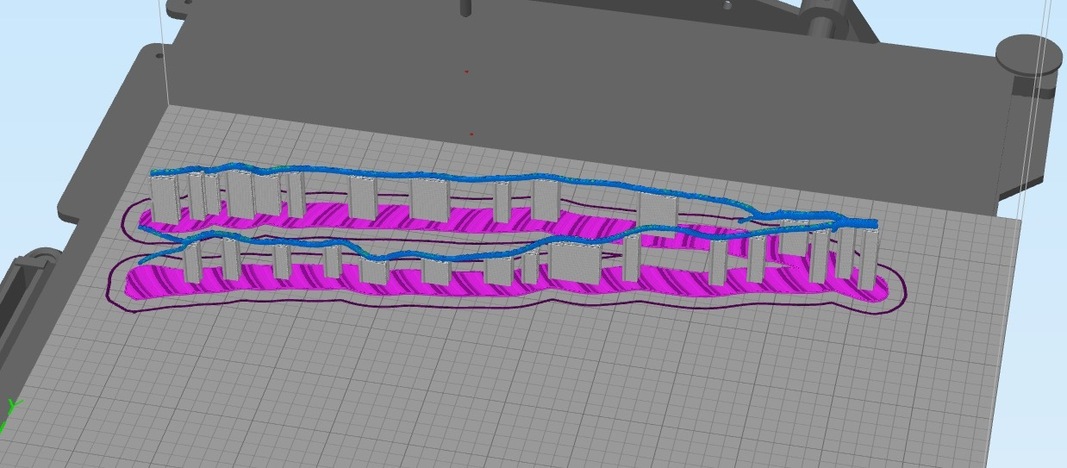
And second example, which is even more complex, and is literally printing as I write this, is a simulated forearm with working arteries (for our radiologists and cardiologists to practice inserting catheters in the radial artery using ultrasound and fluoroscopy) and bones you can x-ray. We started with a high resolution CT of an arm with IV contrast (so the blood shows white) and also the skin (I won’t post as it is kind of freaky) which I subtracted from a block to make a mold. I separated the bones and artery in meshmixer then printed the bones first in Colorfabb Bronzefill (about 10% of bronze dust by volume) we first tested them in a regular x-ray machine in my wife’s practice (that print broke when it got dropped, hence the broken bones).
We will hang the bones and arteries down into the mold and pour dragon skin, then throw it into hot water and the arteries will dissolve away, then using a peristaltic pump I designed will have “blood” pumping through them in a pulsatile form (you can feel and ultrasound the pulse in both arteries). You don’t see the hookups on that shot as I haven’t added them to the model yet.
That is just so cool. Makes me almost wish I was starting all over and just beginning my education, there should be so much more cool stuff like this popping up. But then again that would mean more spelling tests again and school fool (which has gotten so much worse)–on second though I think I’ll just keep self educating.
If you mean the colon mold, it was just a quick tech proof-of-concept run so I didn’t care (it was pretty quick) but on the arm mold, one side is thinner than the other based on how the arm lies in the mold. The challenge I have learned in doing boolean mesh operations is you need more geometry around the subtraction than it seems you should need, or the thing you really care about (the mold surface) gets screwed up. I may try some work in Maya to allow me to do better mesh manipulation to allow a much thinner mold, but haven’t done that yet (Maya has a huge learning curve) since neither fusion360 or OnShape doing mesh operations (yes, fusion can convert meshes into nurbs but that ruins subtle geometry by design).
thanks. Yes, my life as both a physician, programmer and maker all for work is quite busy. But never a dull moment!
The GF will definitely help (actually the arm project, and another project) are sort of waiting for the GF so I can do high-precision cuts on acrylic (I do have access to a laser cutter, but kind of inconvenient to get there, but it is a 48" cutter, so that is an advantage.
This interdisciplinary stuff gives me the squee. Even though I’m not medical it shows how understanding more than one world leads to the coolest stuff. Realy, I am in awe.
This is very interesting. We just watched the pilot episode of a show called Pure Genius where the doctor had to perform a very difficult surgery to remove a tumor from a woman’s heart. To practice they 3D printed a model of the heart with the tumor on it. I don’t know how good their 3D printer really is, but the final result was that the parts were the proper material to simulate the real organ and tumor. Movie magic in that case I’m sure, but it is good to see some ingenuity and advancement in the medical field!
My colleagues and I always laugh at the breathless articles “they couldn’t have done the surgery except for the 3D printed model which showed the way…” Now for operations that need a device fitting (plates, etc) 3D printed models are super helpful, but in reality we spent all that time learning anatomy that most of the time a CT/MRI (or I guess a really good description) can really tell us everything we need to know (in most cases we doctors have an overwhelming amount of data which gives us more precision than we can already use). Since we can see a 3D model on screen for CTs, having a model in hand rarely adds a whole lot over the on-screen model.
There is a true-to-life mannequin which you can do any operation on, but it’s $50,000 and about $1000/operation to replace parts. In reality we need little task trainers mostly (like a chunk of the abdomen or a limb) for practice, and some good imaging. My goal is to develop training tools that can be exported (in digital form) to 3rd world countries to practice with by them printing their own models out. In truth at Harvard we can afford the expensive toys if we want, but where is the fun in that?
HaHa, obviously those doctors haven’t actually 3D printed anything. They’d better pack some lunch to wait for printing to finish…Anything bigger than a finger will take freakin’ forever!!! (and surgeons are ever so patient, let me tell you - I’m married to one!) That arm mold I am printing will take ~60 hours total for both halves (it’s being printed at 150u resolution). With some really creative work I might be able to shave that down to 40. Even simple bones I have printed took 3 hours…


 ) Look forward to seeing updates and future projects !!!
