@marmak3261 you have a rapt audience here at the office as well 
Amazing how Glowforges just don’t get old. Even when you build them for a living it’s still a blast to watch them in the wild.
@marmak3261 you have a rapt audience here at the office as well
Amazing how Glowforges just don’t get old. Even when you build them for a living it’s still a blast to watch them in the wild.


Any reason for putting the hose in the upper part of your celotex insert? Wouldn’t the shorter run down in the lower portion be less distance & thus more exhaust as well as less strain on the celotex?
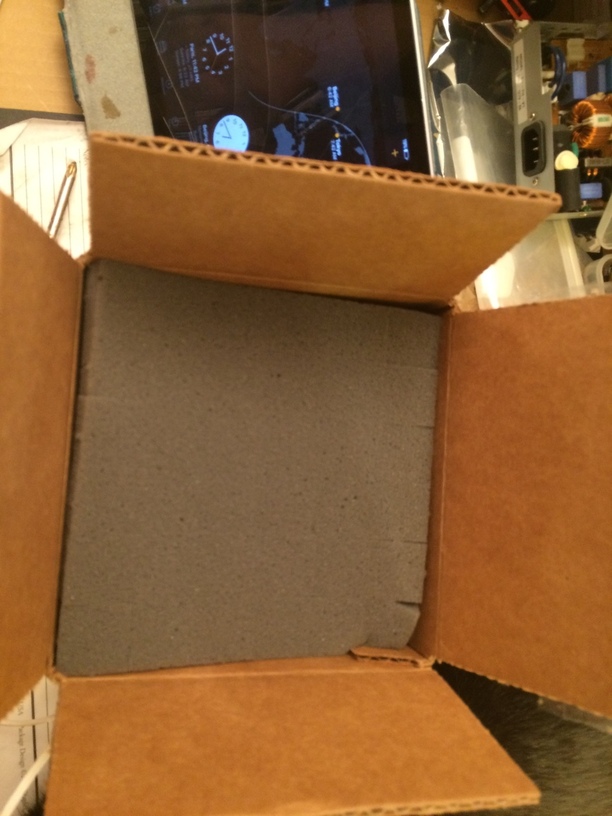
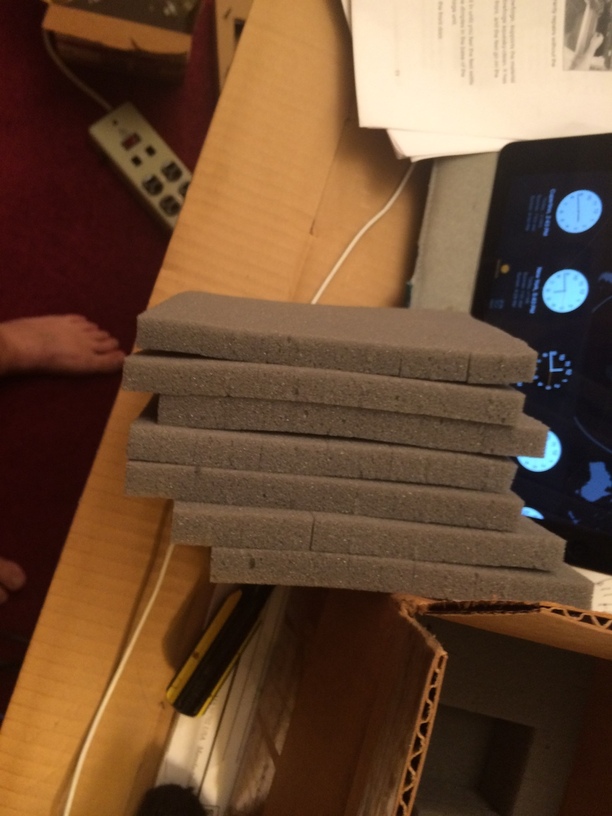
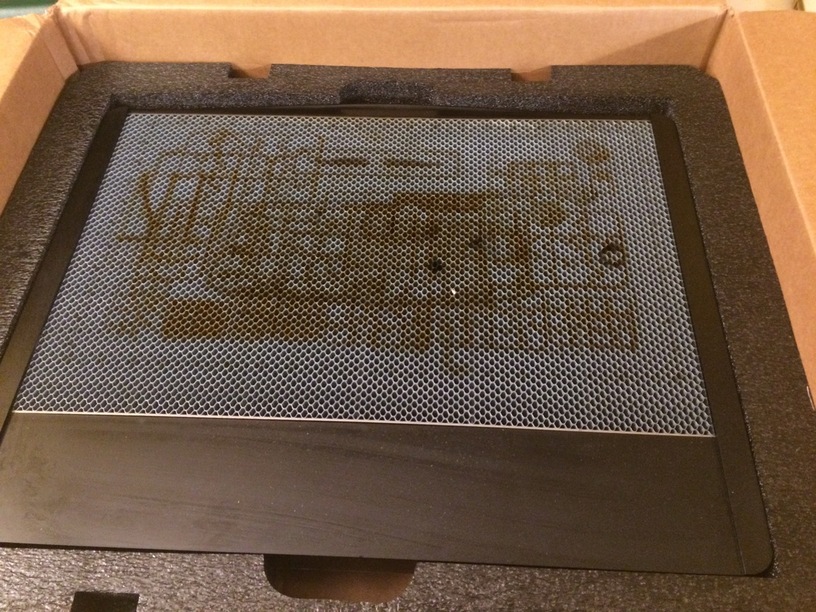
One thing that I notice about the shipping box is the cut-outs in the foam where the cardboard handholds fold in, so they are actually useable. This should be normal, but sadly it isn’t always the case.
Great pictorial of the exhaust setup.
Kitty looks spoiled…lol.
Looking foward to your video and “hello world” first project! 
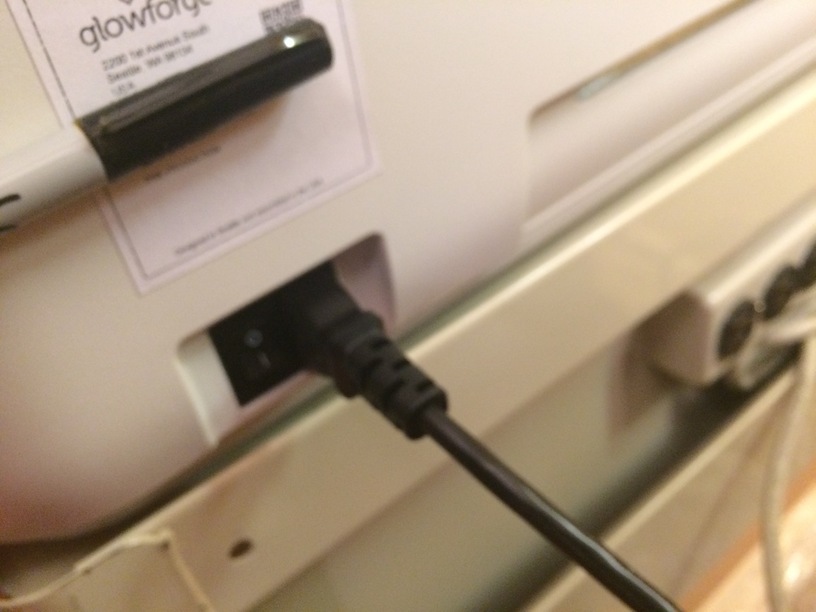
I have the Glowforge on a movable cart and this gives me better access behind to swivel it around and get at back. Like car wash hoses. At least that is the theory.
Also: The table is adjustable in height. I may raise it. I have the hole in the foam set cater corner to the vent outlet on the Glowforge. Once I decide what height and where I’ll put the table, I can spin it and it will be almost directly out, tangential to the window opening.
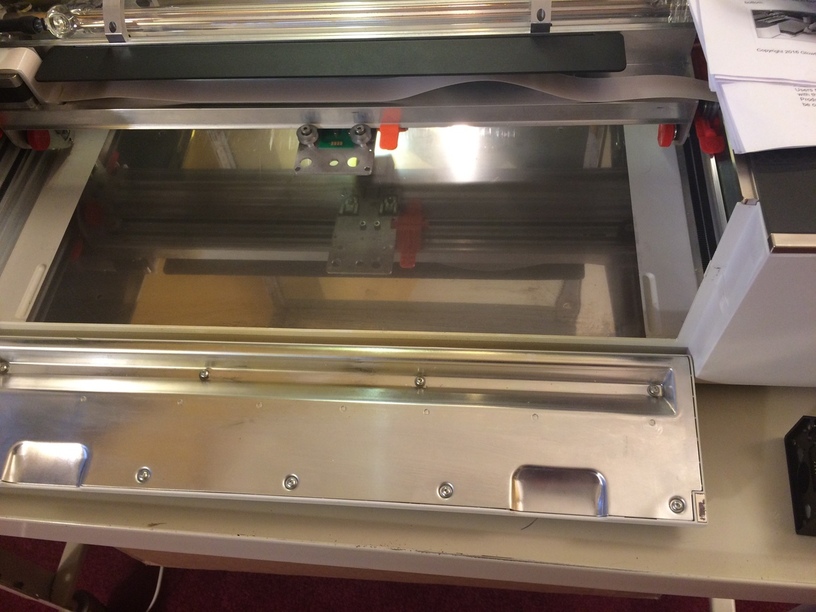
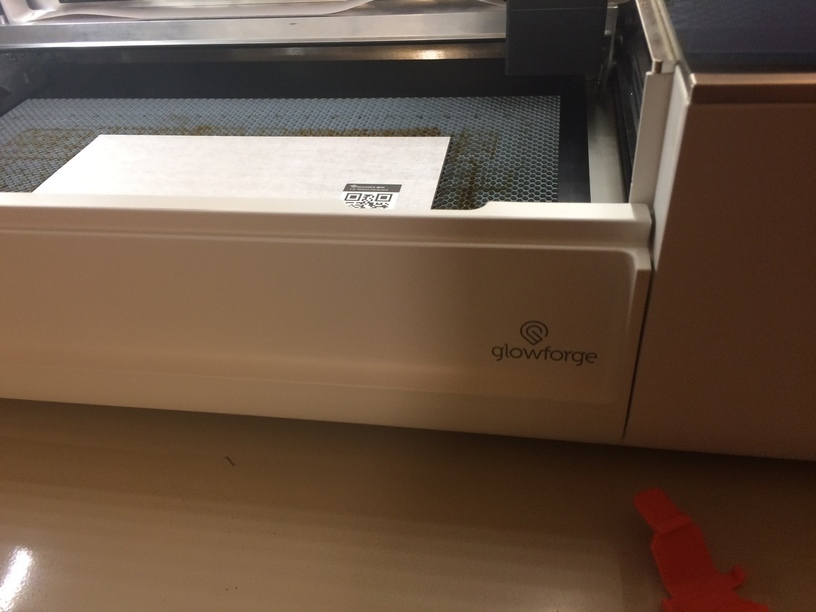
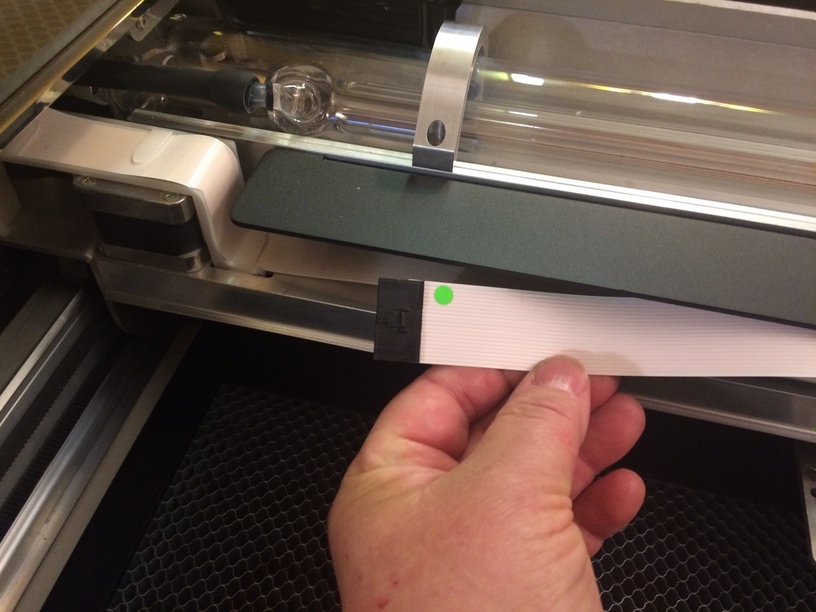
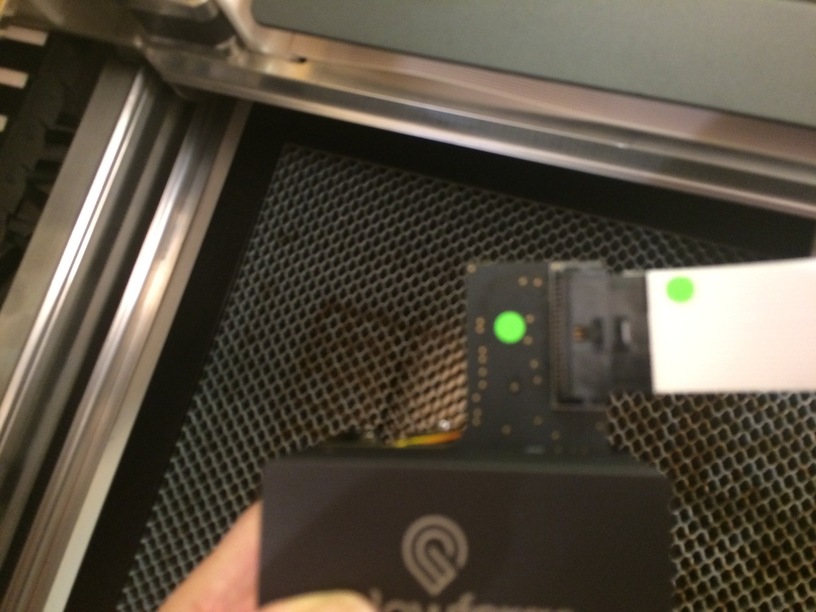
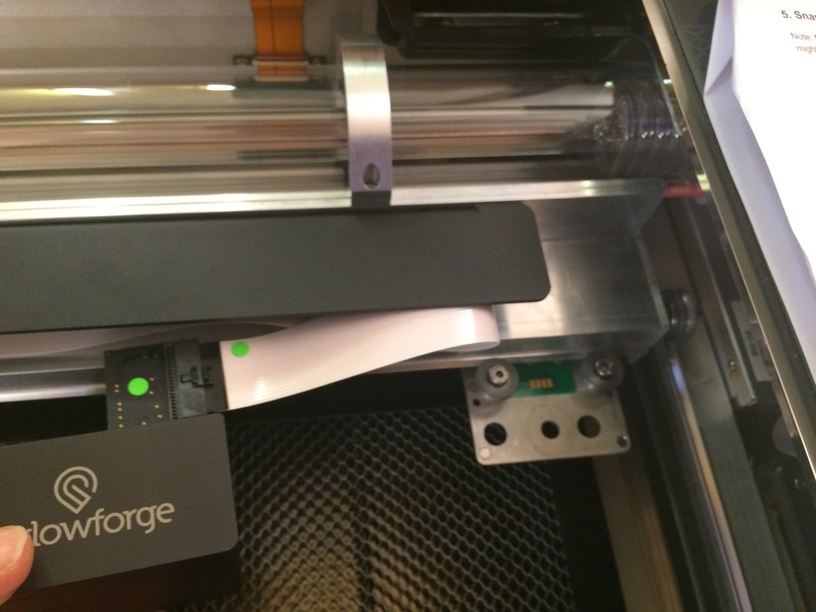
Here are some setup photos. Opted to take stills because I’m by myself and didn’t want to mess with video. Took about 15 minutes to set up before turning on. Faster if I’d have been more attentive to directions. Mainly orienting myself to the interior.
Ok hang tight. Posting this and coming back. Upload stuck.
Then comes setting up wifi. Have Glowforge username and password ready. Have a wireless device ready to connect to an ad hoc direct connection to the Glowforge. Go to wireless device’s settings and connect to the Glowforge. Log into the app and follow instructions. Hey it is connected. Stay tuned. I had to pause this for a while to take care of a few things and try to get set up for first video. So far so good. Stay tuned.
You’re Rockin’ it! Just had a Glowforge drop into your lap, and you hammered out the exhaust solution in short order.
Enjoy your adventure, and thanks for the show!
Works fine. But I had to stop after setup to get the tape around edges. It’s cold tonight and I’m in basement and bare feet.
But I lost a point on my man card. Even though I bought a new utility knife just for the unboxing I didn’t have any duct tape in the house.  had some wide packing tape. So the air is blocked. Stay tuned.
Oh yes that does cost you a man-point! Chuckle!
Do I even know you? ![]()
I love that show!
Man points hehe funny!
Thanks so much for all the photos and information!!
You are awesome
Thank you so much for the detailed photos and measurements! You have answered a question about my Glowforge table being able to fit the machine, that I have had for a long time. Answer: it will!
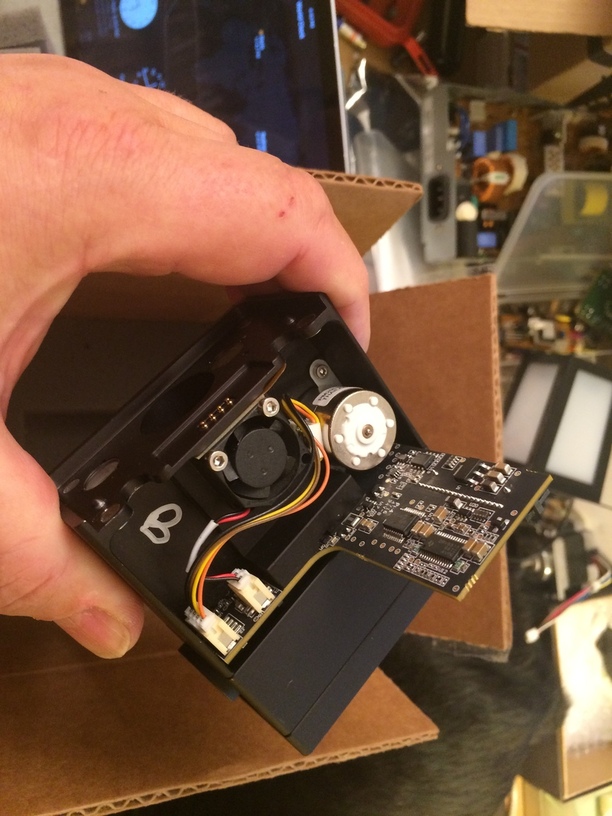
That looks pretty used. More than just a test setup & run-in.
All that setup seems to be contrary to what the target market would expect to have to do.
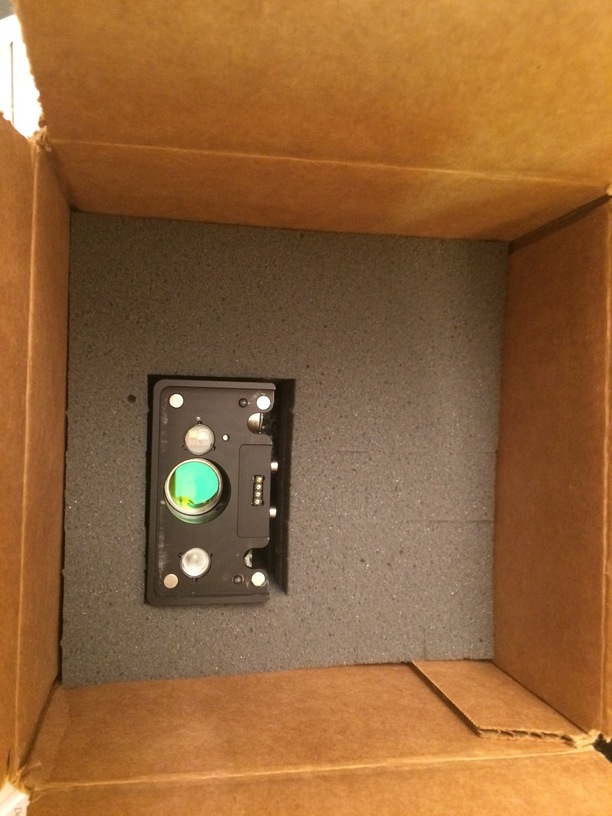
Didn’t read through all the comments but I am suprised to see only a not especially thick looking outer box and partial foam pieces supporting the glowforge. Really doesn’t offer a lot in the way of puncture, crush or blunt impact protection. (ie impact from the corner of another box) I would think at least a complete soft foam enclosure or seconday inside box, or even a lot of foam peanuts stuffing the empty air spaces. At very least a thick cardboart top piece to protect the glass
I would hope that they have a plastic cover for the glass too, to prevent scratches.
From past discussions it seems as though Glowforge has tested the shipping box extensively so there is a good chance that it is adequate for the duty. Personally, I really dislike getting boxes with large volumes of peanuts when there seem to be much better solutions, like those little air-filled plastic pillows.
Dan’s family is here for Laser Thursday, but I just asked him and this isn’t the final packaging.
So even the packaging needs to be finalized - that makes it seem like there must a rather large punch list before the product is done.