I had cut all three puzzles that @m_raynsford designed (way back when), and when done with them I did what I always do with old toys: Gave it to my wife.
She likes to put the random 3D prints or laser cuts I produce in her office, and since she regularly sees students and staff it serves as a conversation piece. I figured it stopped there, and most likely people got annoyed by it at some point.
But, apparently not. There is an event on campus next week, and her group requested one of the puzzles as a present for the keynote speaker. Problem is that the speaker has to go on an airplane afterward, and losing tiny pieces in your luggage is not so cool.
So, today I attempted to create a case for the puzzles. So far, I haven’t quite figured it out. But I sure learned a ton along the way. Monday I get back to work and can try my latest hairbrained ideas to see if they pan out any better.
I did not document the full build. Need to develop that as a habit. But I realized massive uncut videos aren’t ideal, so I need to work on my skills piecing together short design documentation videos with only highlight reels. Knowing of this need has stopped me from doing my amateur hour stuff.
Anyhow… Sharing what I learned, and mildly hoping for advice before the end of the weekend for more random things to try out.
First attempt: Acrylic shopping bag!
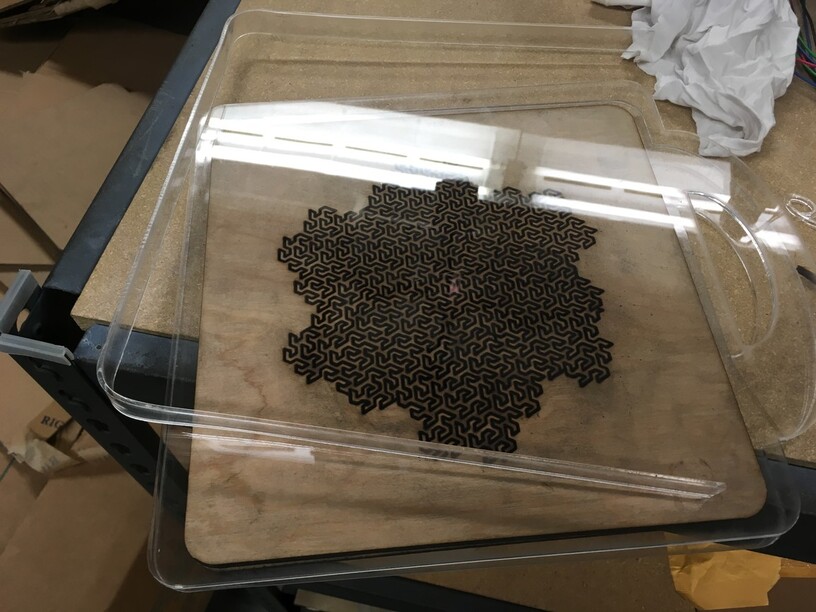
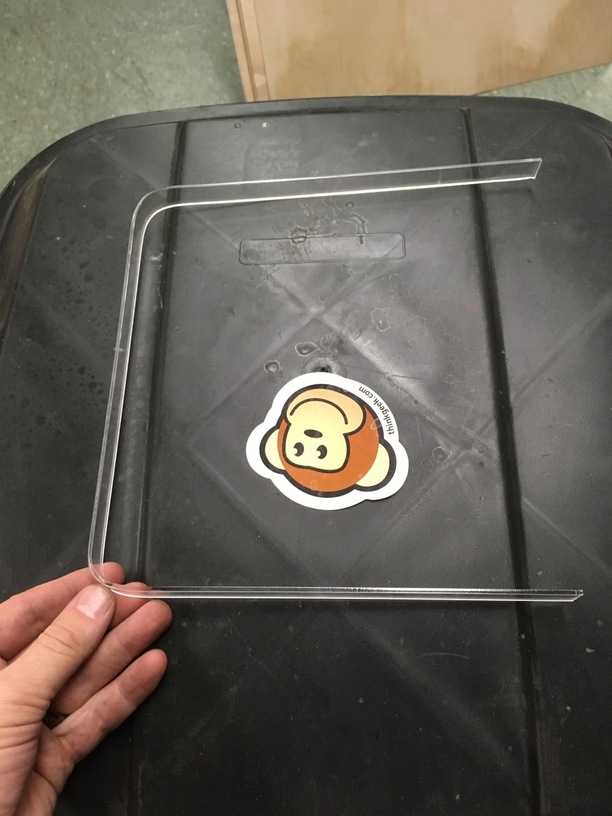
There is a huge border around the puzzle itself because there will be a custom engraving saying what the event was and thanking the speaker. She likes Jane Austen, so behind the puzzle pieces is a short quote, and on the back of the whole thing is a long quote.
The idea was to be easy to transport (hence the handles) and also pretty on a coffee table, where you can enjoy the quote on the back and inscription on the front without forcing yourself to actually solve the puzzle as well.
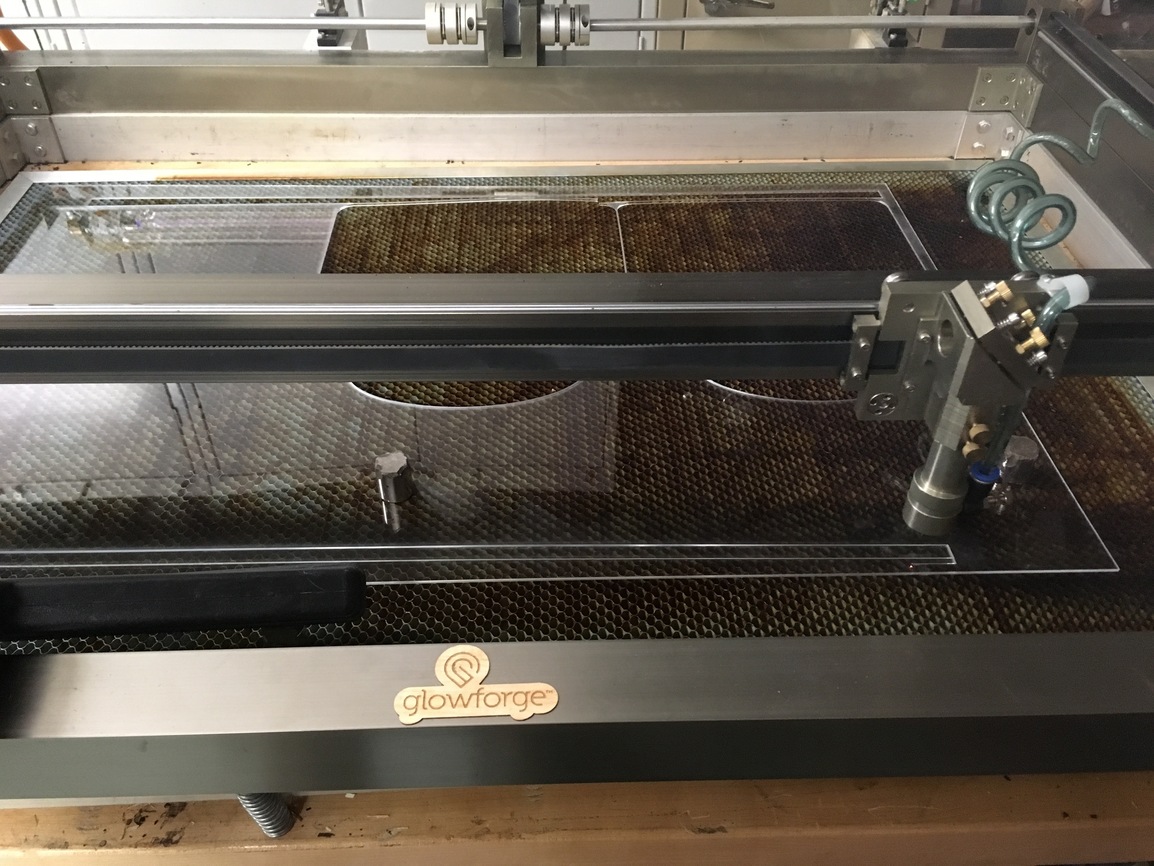
In the image you can see the side piece of acrylic which I already bent. It would go on something like this:

How did I bend the acrylic? Well, glad you asked!

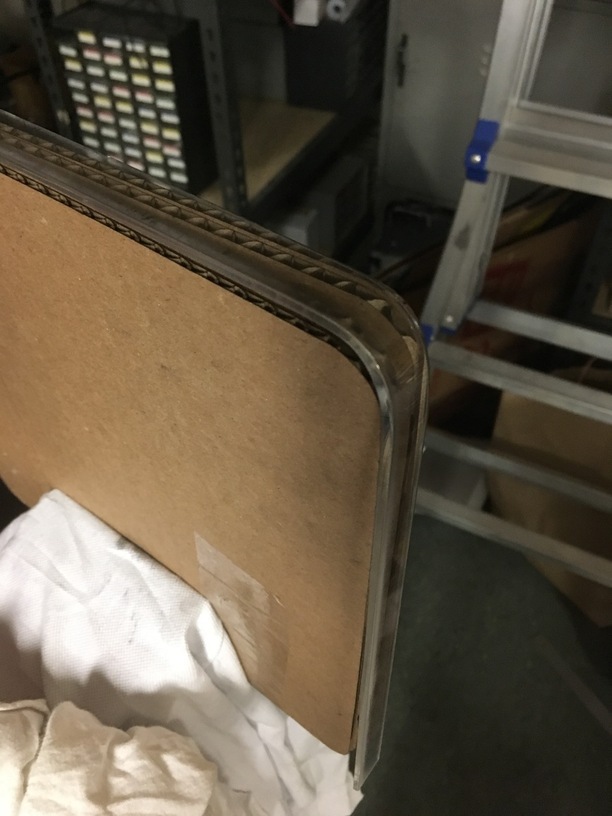
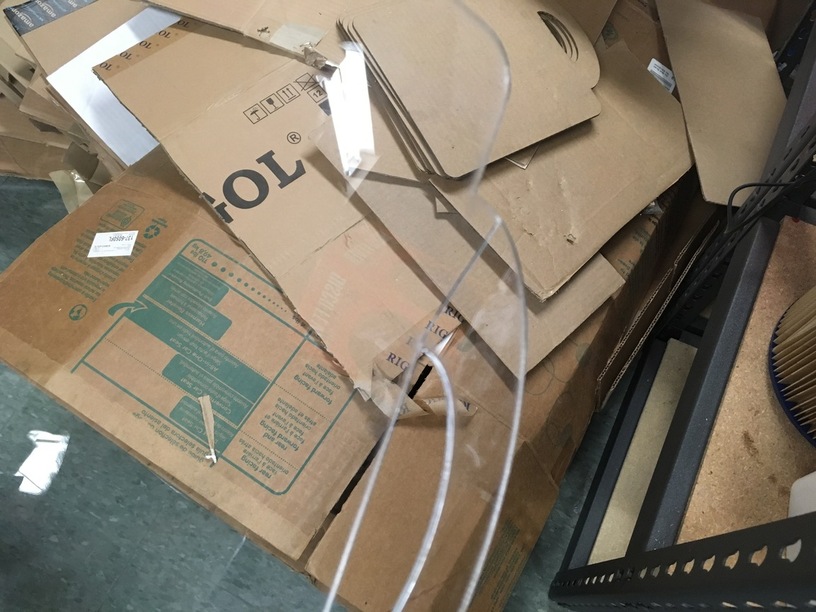
A few slices of cardboard make for a perfect shape upon which to heat gun bend my acrylic
You do have to wait quite a while for proper cooling unfortunately
But victory in the end!
Sadly, my attempts to bond acrylic to acrylic were less productive, and when I resorted to clamping… I found a flaw in the design:
I could make a new one, but if I broke the handle easily in my shop, it would absolutely break in luggage a well.
So, I suck at bonding acrylic, and handles are out of the question. Time to simplify
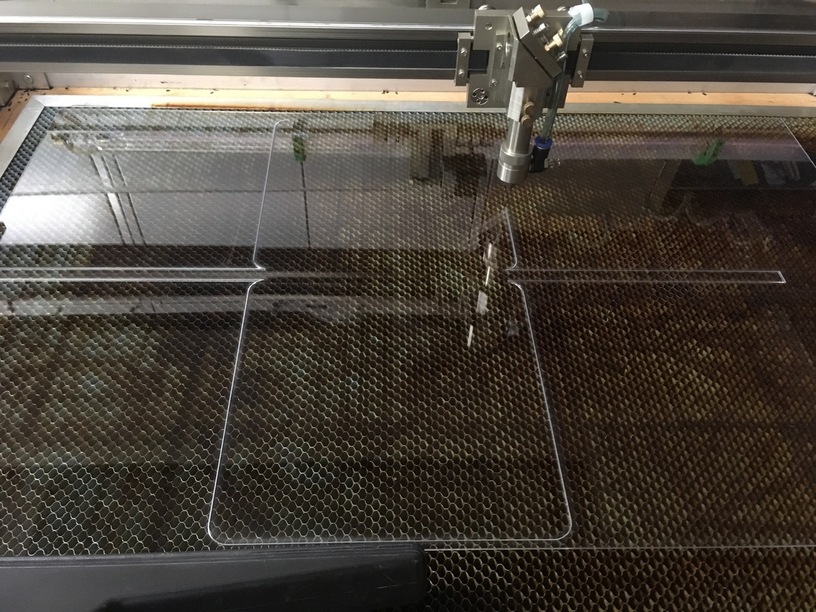
This one… nearly worked. I was too impatient in bending down one of the larger sides and cracked the connection along the midline. After that, I kind of rush jobbed through the remainder, didn’t get nice clean corners, or a flat bottom, and left the sides hanging loose:
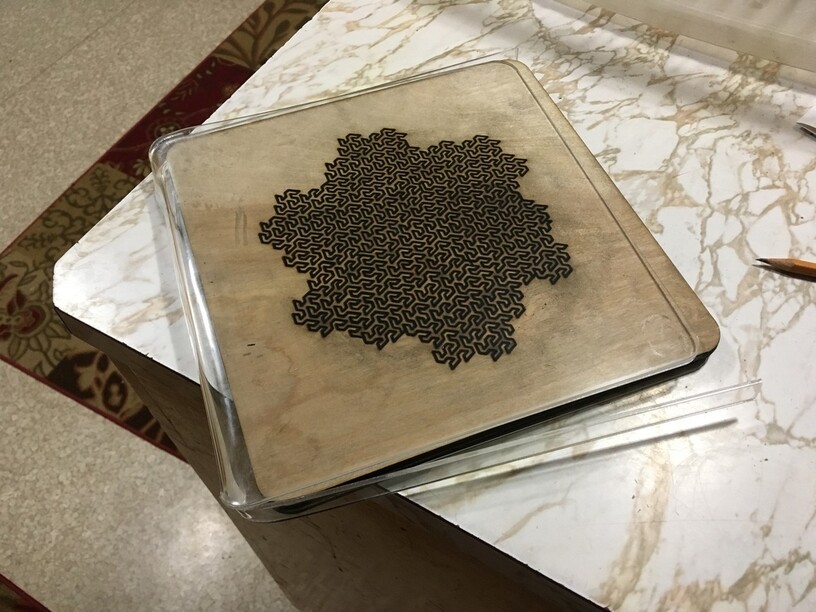
If I stuck with this design approach, it would function for keeping the puzzle safe through the airport (we would wrap it with a ribbon to hold the puzzle inside). And I can make the whole thing a LITTLE bigger so that the puzzle sits all the way in the plastic. Maybe try one more time to bond acrylic to acrylic so the side flaps don’t swing free too.
But, I am inclined to go with some squares larger than the puzzle itself, and then heat-mold them to drop around the puzzle. Do one on top and one on bottom. Then to start the puzzle you simply lift the top plastic away, and you are ready to go. I don’t have to worry about acrylic bonding at all that way. And it should even look nice on a coffee table.
 I need to get this and a bunch of small plaques done by Wednesday, and cannot risk losing functionality. But… this time next week I may finally be able to raster properly!