I got that big haul of 1/4" Chemcast acrylic (thanks @cynd11) and knew I’d work on a spinner with it. And I also had a four foot by one foot piece of .43" acrylic to use. Then I found my 1/4" Proofgrade acrylic sheet. There were some initial problems with reading that Proofgrade’s QR code (support notified), but when I was ready to come back to it, it registered and performed flawlessly. Here are pics of the two end projects:
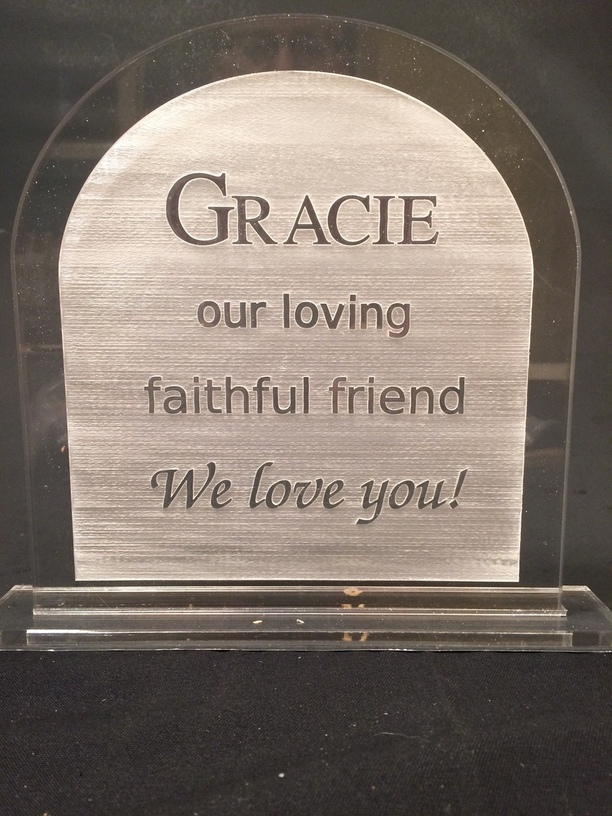
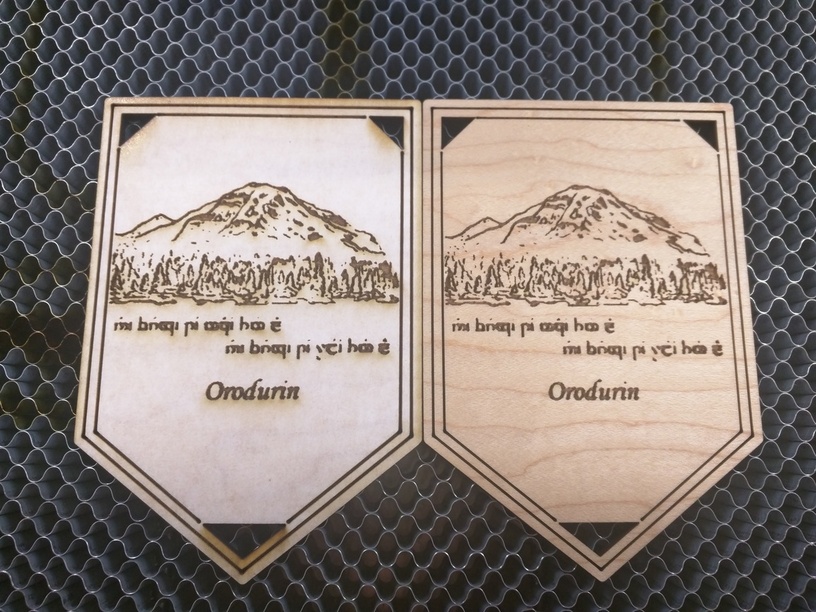
This is a memorial to a dog that made the final journey. One of my young parishioners showed up with a sheet of paper with the design all laid out on it and requested a memorial for her dog. Who can resist? Definitely worth the splurge on the Proofgrade.
And on the opposite end of the spectrum, a fidget spinner:

The memorial went through several prints with the .43" acrylic to try it out. It’s amazing stuff. Unfortunately the masking adhesive has bonded very strongly to the acrylic (it’s pretty old" and it’s been very hard to clean off. The first print (one hour and a half) I accidently cancelled with fifteen minutes to go in the engrave. Arg! Note to self: if checking the progress of the print on another device, don’t click cancel when you want to move to another browser tab!

The Glowforge cut through the .43" acrylic almost all the way with 90% power and 10 speed, two passes without too bad of a kerf. I was able to break the final bit easily without shards. I’ve since played with three passes and that works too. I hadn’t done a whole lot of acrylic other than the LED signs and I can tell you that it’s just beautiful.
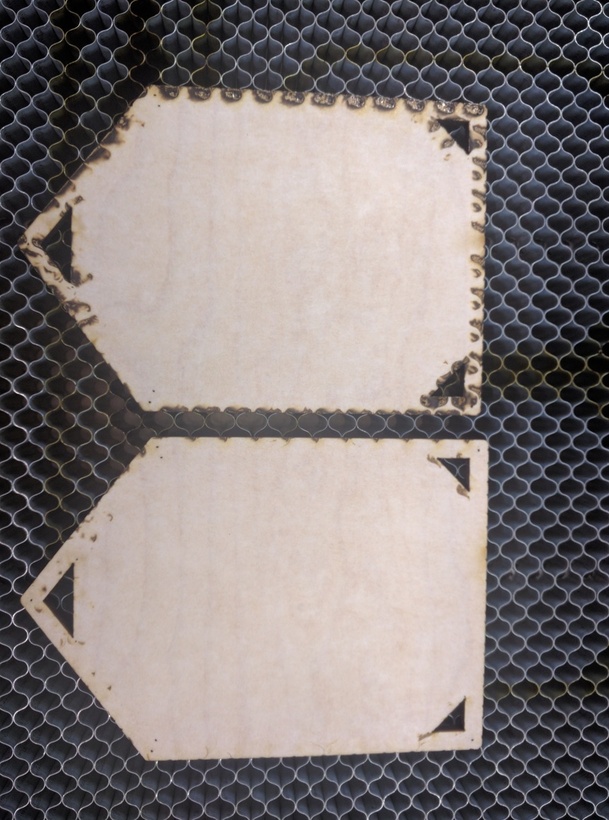
Here is a pic of the adhesive still on. It doesn’t scrape off easily even with another piece of acrylic. The paper just tore right off and left the acrylic. I tried hot water. That helped. Then I used Goo Gone. That works, but not perfectly. I haven’t let it set for a longer period. It doesn’t mar that acrylic with leaving it on briefly, but I haven’t tried other solutions. I still have a big sheet of this acrylic and would like to do something with it.
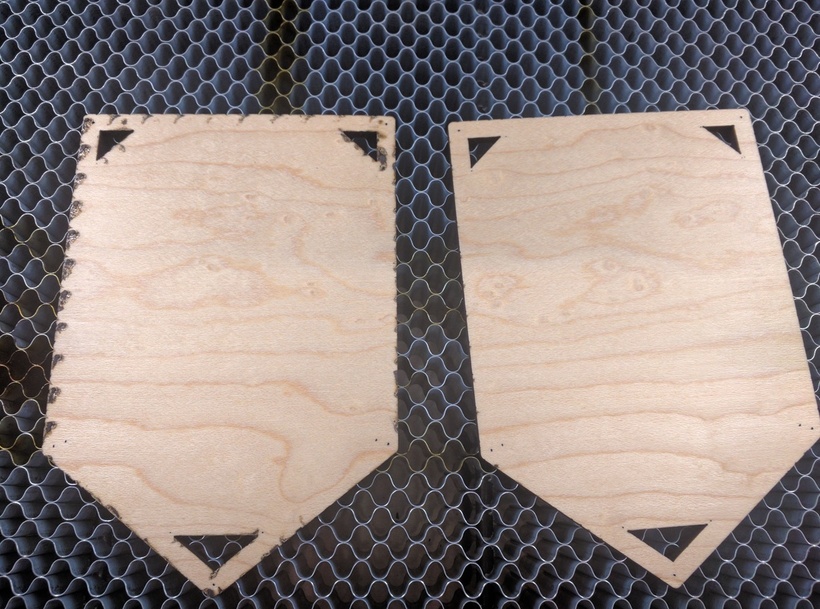
In the end the final product was on the 1/4" Proofgrade and it turned out great. About 7" by 6.5 inches. The masking came off perfectly leaving a pristine surface (other than thumb prints.)
The fidget spinner was an easy enough design and build but I had to go through a few iterations to come up with something that works. Only having seen these on the interwebs, I wasn’t sure exactly what was necessary. I bought a hundred skate bearings so I have plenty to work with.
First test was to see what size hole is needed to tightly press fit a 22 mm bearing. Make it small and press the bearing in while the acrylic is still warm and you get a pretty tight fit. I did the four bearing lilypad and that worked ok, but was a bit big. The biggest challenge was trying to figure out how to center the three outer bearing holes at the apexes of an equilateral triangle in Inkscape. Geometry review. This one was the Chemcast which really is good stuff too.
One of the issues with a spinner is ensuring that there is enough weight to keep momentum going. My first try was just sticking some rivets in the holes. I had some success engraving countersinks on both sides by just flipping the piece in its cutout and running the engrave again on the other side without moving anything in the bed or on the screen. The rivets might look and feel ok, but I needed more weight.
I tested the designs in the Chemcast since I have so much of it. In the meanwhile I figured out what to do with the bearing cutouts (could make a checkers set with engraving and a little color): make touch plate hubs for the bearings so it spins freely and you aren’t touching the bearing. So that means make an axle to go through the bearing and then engrave a relief on two small disks that you can glue to the axle. Now you can hold the buttons and it spins more freely. The Chemcast acrylic was a little thicker than Proofgrade so I only had to engrave one pass to get a mount for the axle. The Proofgrade, being a little thinner, required to passes of the engraving to go a bit deeper. (I actually goofed in the settings once and engraved an 8mm hole in 1/4" plastic all the way through. That’s an interesting effect! a little melting within the acrylic, but you can really engrave deep!)
So here is the pic of the glueup of the hubs.
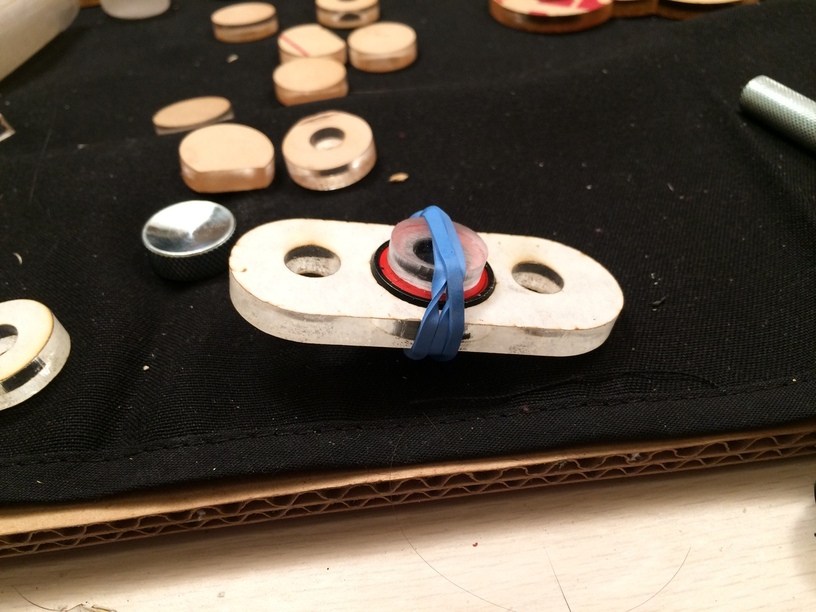
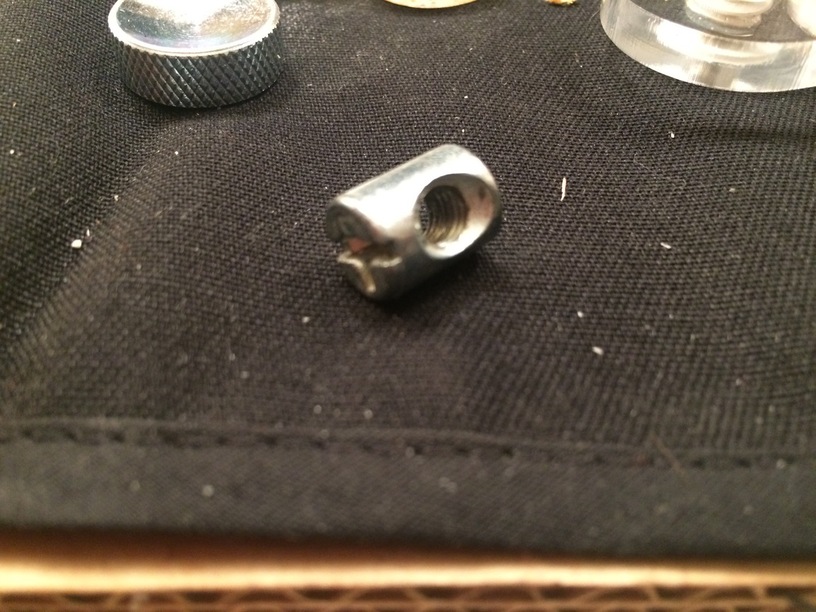
FInal issue was to address weighting the wings of the spinner. I had some cabinet fasteners left over from dismantling a dumpster found futon. They work very well. Are a bit proud of the surface but slide in nice for a press fit when the acrylic is warm. I allowed for .005" for the kerf. The Bearing measured .385". Size the hole .38" and fit first time.
So this is the spinner in Proofgrade 1/4" acrylic.
Here is the file. The black circle to the right is the design for the holding buttons. You engrave the black and then cut it out. Do two copies. The center of the fidget gets cut out and the center of that is the axles that gets glued to the relief from the two buttons. I know there is a free laser designs, but I just put them in the Made on a Glowforge since that’s where I post the builds. Use this as you wish.