Newby here. I left justify everything and that could be my problem.
I load a design to print, put it along the left edge facing me, and I’m seeing the design as I think it should cut. Then once it’s done, I’m noticing a two inch adjustment of the design after printing. It’s like a 2 inch strip of product I lose on every cut.
Should I be right justifying it all? Or watching YouTube videos? Or? Or?
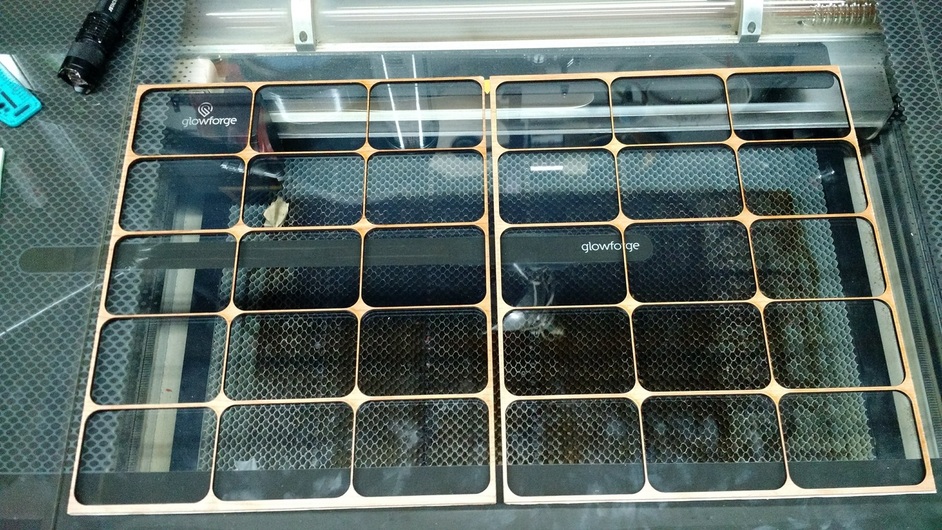
Right – the GF cannot cut to the full size of a sheet of Proofgrade (12 x 20 inches). According to the latest info on the Tech Specs page, the maximum cutting area is “approximately 11″ (279 mm) deep and 19.5″ (495 mm) wide.”
Visualizing exactly where this “bounding box” is on a piece of material can be challenging, even with the GF’s camera system, so I created a file that contains a rectangle 278 mm X 494mm. Here’s a copy for you:
This is fabulous! Thank you so much! I appreciate the help and the file. It will make life a bit easier in using and getting to know the beast of a printer!
In order to get full use of the material I cut a full sheet down to accommodate my design, this is one full sheet 12 x 20. Two operations, but I get all of it.
I realize I should be able to get at least 11". I have manipulated the square every which way and can’t make it happen. I got it once then when I clicked print, it refocused and was not within the lines.
The engraves restriction has nothing to do with the outer cut boundary. The head motion for engraving is very different than for cutting and has different limitations - specifically tied to the speed of the engrave.
An easy way to tell is to set any engrave steps to “ignore” and see if the project processes successfully.
I don’t understand the relevance of the bounding box. I can create a box while in GF or I can upload the file I am trying to print and no matter which way I put it, 10.9" is too big. I don’t see how putting another box makes any difference.
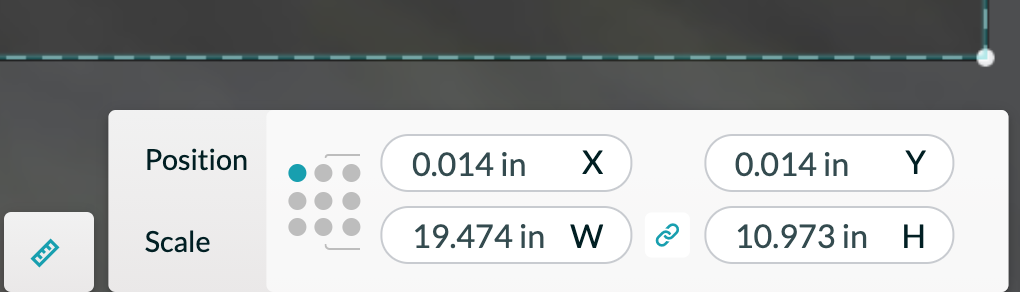
Perhaps more importantly, it will automatically load in the correct position to print. Moving it even a tiny bit in any direction will cause it to not print, as it will then be out of bounds.
Save it separately. It will show you absolutely where your print boundries are. You can also upload it, then adjust to 10.9" square which is where this all started.