Nothing makes for a thrilling summer like kicking off your July with a visit to Portland to spend quality time with my second favorite surgeon in the whole world and the rest of the wonderful staff at OHSU, right?

Seriously, after a week in the hospital greeting the Flock of Seagulls (Residents) first thing every morning, I told them they owed me at least one group selfie. I think they were a little surprised the day I got to leave the hospital when I actually asked for it but by then we were all friendly enough to get a good laugh out of it.
I had planned to print something to bring to the hospital with me since I was getting the ‘extended stay’ treatment this time around. When you’re packing up to spend a few weeks out of town though, it seems like there’s an endless amount of little things that take priority. That said, @rita and @dan were kind enough to let me bring a forge home for a few months while I got to have fun with my new favorite activity restriction: Not more than 2,000 steps a day ![]() It’s even better than the ‘don’t lift anything heavier than 10lbs and nothing overhead’ that I got two years ago!
It’s even better than the ‘don’t lift anything heavier than 10lbs and nothing overhead’ that I got two years ago!
So, instead of spending my time in Oregon actually crafting, I poached my wife’s laptop and spent most of my time not sleeping either catching up on my Netflix backlog or tinkering in Illustrator (and sleeping, lots of sleeping.) Oh, and pie…
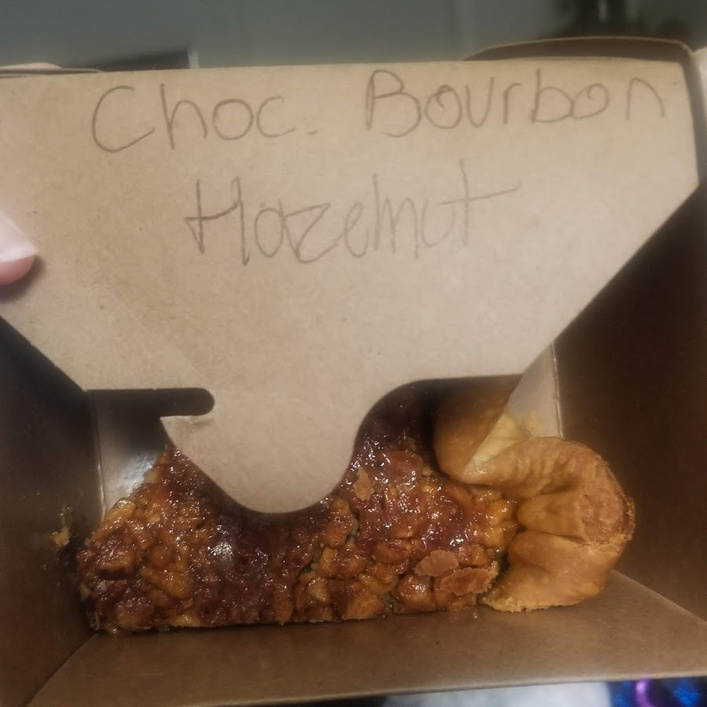
Because Pacific Pie in Portland makes the best post-op recovery food ever.
I was released to leave Portland and actually come home on July 23rd. July 24th…
Who, me, ![]() withdraw? No, never!
withdraw? No, never!
I’ve been questing for the past year or so for a hip bag pattern that I actually like to replace my daily wear canvas hip bag, and Tony See over at Leather-Patterns.com has a plethora of options so I gave a few a go.
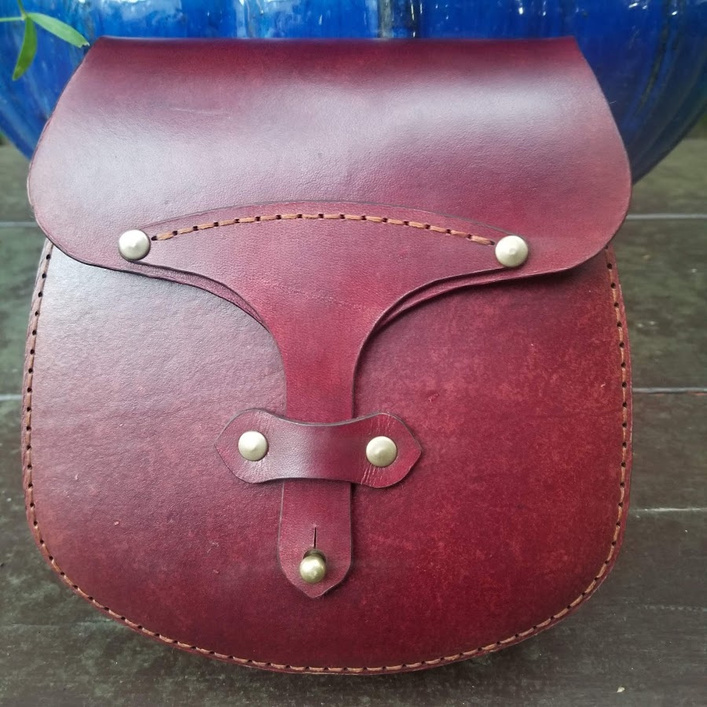
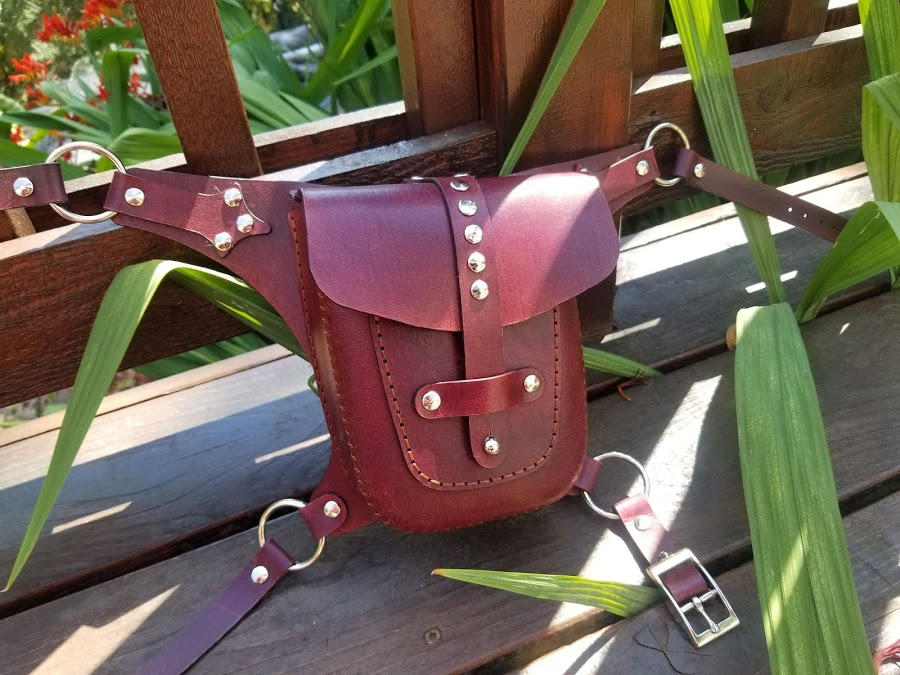
Hip Bag #1 is a bit large to be considered a hip bag. I kinda regret not putting some D-Rings on the sides so it could make a more serviceable purse. I figure that it can at least find it’s way into one steampunk cosplay or another though so I picked up the largest size buckle I had lying around (that I never seem to find a use for) and set out to make an at least marginally interesting belt.
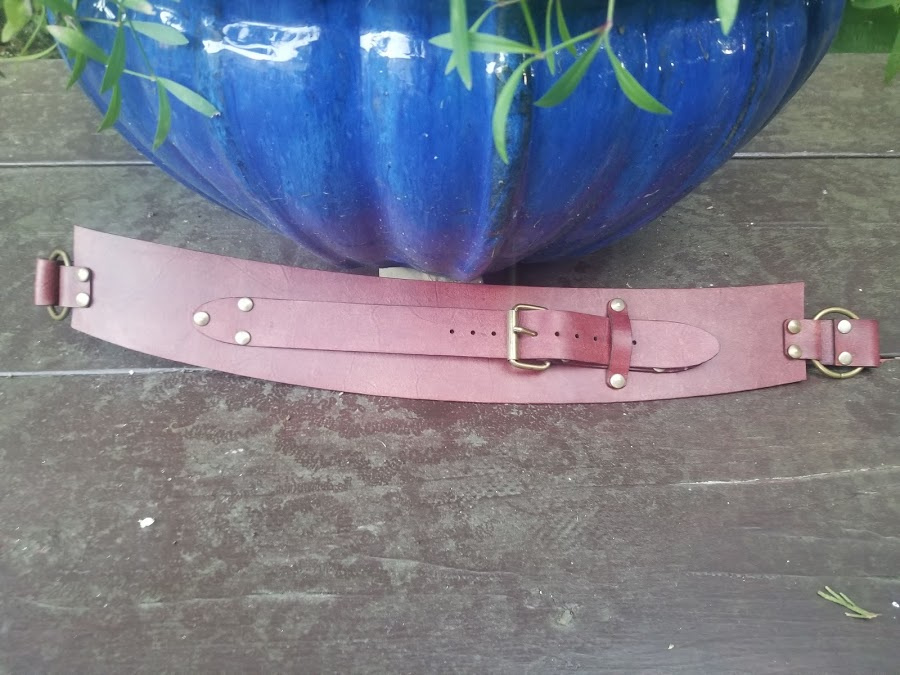
I figured that doing something that gave for some easy on/off to move the bag around to other belts would be neat and if the prototype felt reasonably serviceable, I could come back and refine to something a bit more steampunk with a few mini-pouches to keep the monster bag company. Ultimately, this one is still on my ‘to do’ list. I moved on to the next bag on the list:
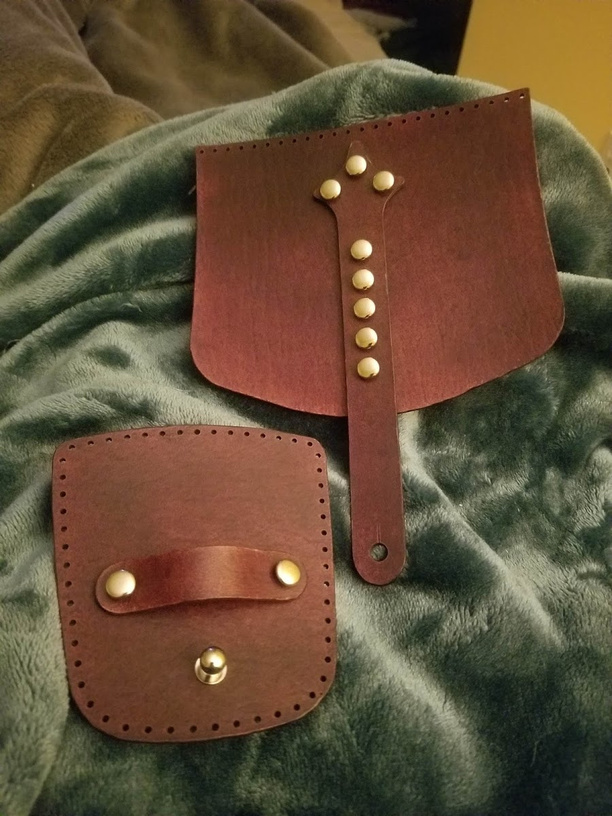
Hip Bag #2!
I actively dislike this design. I’ve already built a few of them and there are few things about it that just bug me. This one, however, was a request from a friend in Portland who was looking for something to wear with their cosplay at Rose City Comic Con… so I knocked one out, but not without modifying at least one of the things that bugged me (the strap on the top flap needs to be attached before attaching the top flap to the bag but on the original pattern, once you do that, the strap blocks some of the stitching holes to attach the flap. I took it as an excuse to add rivets.)
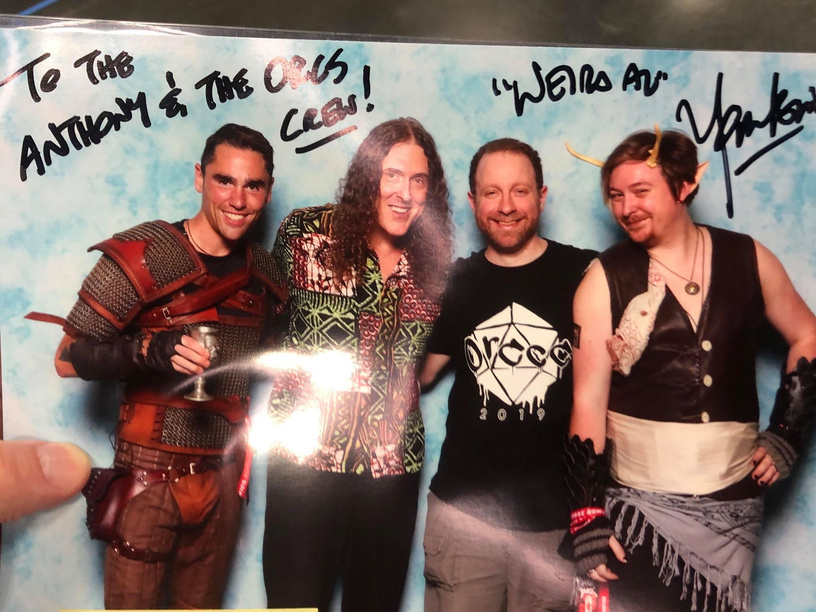
Still, it turned out nice, and Anthony sent me a picture of the pouch with the rest of his costume… And Weird Al. As costume accessories go, it’s hard to beat Weird Al but I think the pouch is in good company ![]()
The biggest thing that I learned while working on those bags though was about where my time was going. I was managing to be out of bed for about 15 - 20 minutes at a time before shuffling my way back to bed. What I really wanted, more than anything else, was a large project with lots of sewing to keep myself busy while I sat around with not much else to do.
The reality is that even for simple bags like those, my time looked like this:
- Sanding edges: 10-15 minutes
- Beveling edges: 10 minutes
- Oiling and Dying: 20-30 minutes
- Edge finishing (Gum Tragacanth and Bees Wax): 30 minutes
- Surface finishing (Leather Balm, Saddle Soap): 15 minutes.
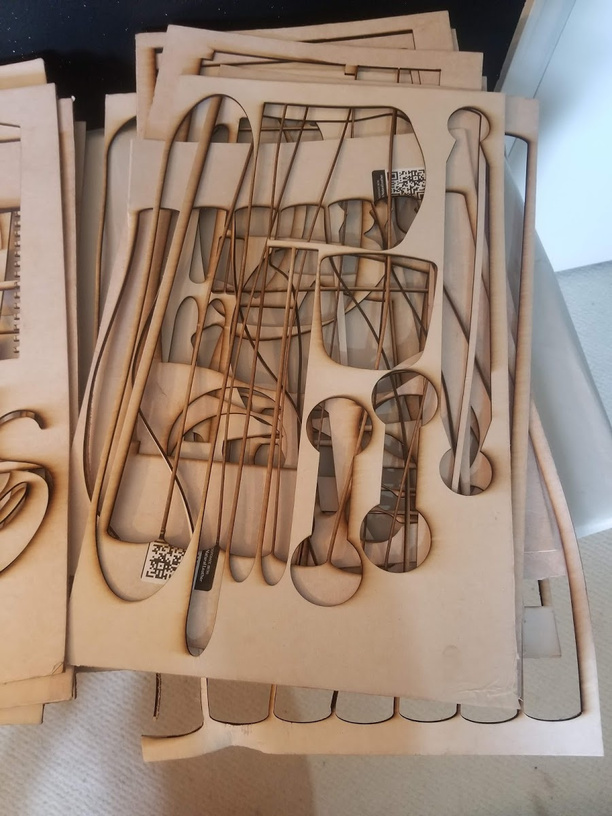
I found my ‘simple’ bags giving me a solid 2 hours of work to do before I sat down to do stitching… and that was a bit overwhelming. So, the big project I set aside for myself to have LOTS of stitching to do?
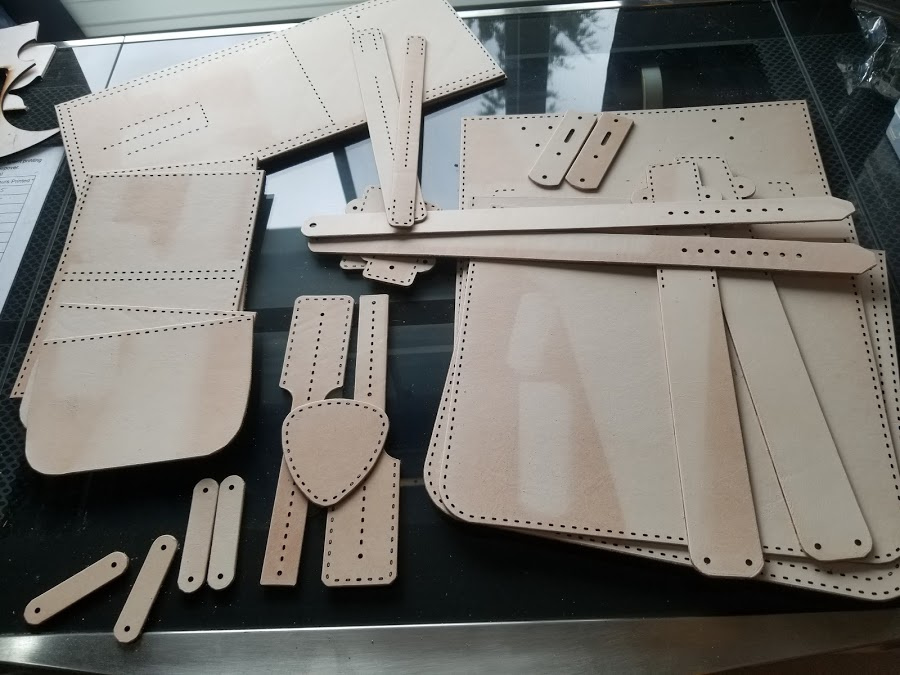
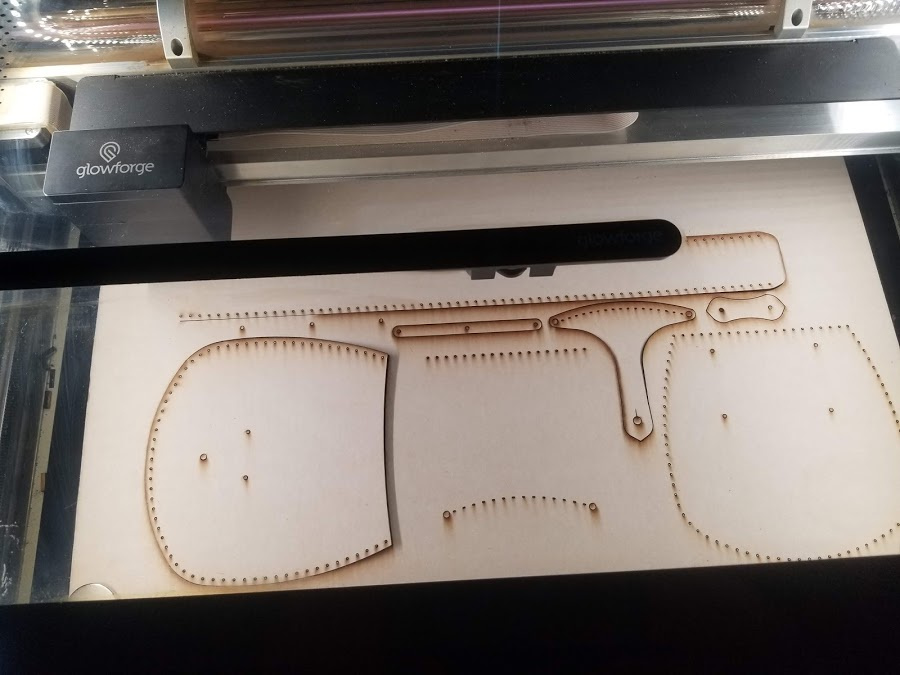
Well, I did manage to get it cut out. And eventually I even got the edges beveled. At which point I got the masking off and found that the masking hadn’t been kind to the leather and that this was going to take some serious work to whip into shape… so the camera bag would have to wait until I could be out of bed for more than half an hour without regretting it.
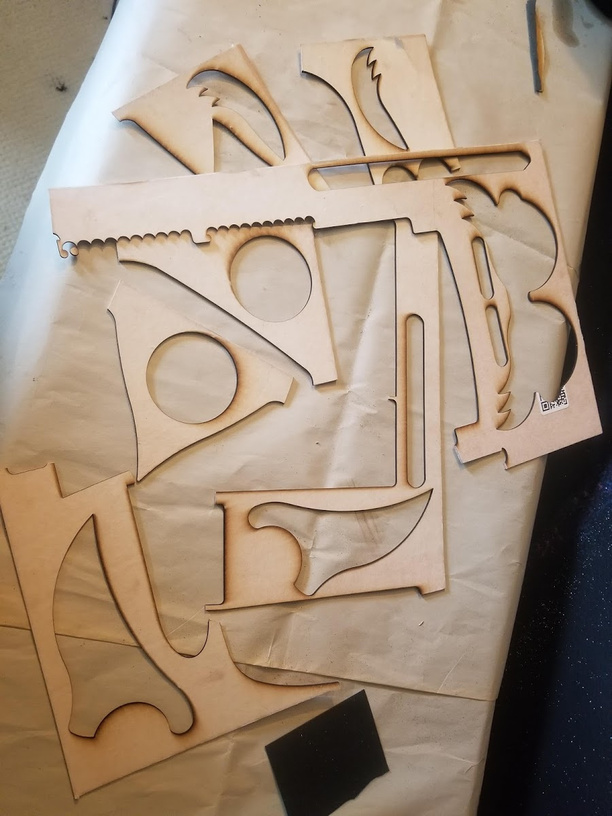
I managed to cut out, sand, bevel and even dye Hip Bag #3 before getting frustrated with another piece of leather that wasn’t playing nicely (long crease down the sheet, right in the middle of several parts, not taking dye well, just being all around frustrating.) I put the parts in a bag and set it aside for when I could figure out what to do with it.
I was, however, left with plenty of ‘interesting’ scrap to work with, and I love figuring out things to use scrap for…
And it can be deeply satisfying to just spend some time with a sharp knife bringing a little bit of order to the chaos of remnants.
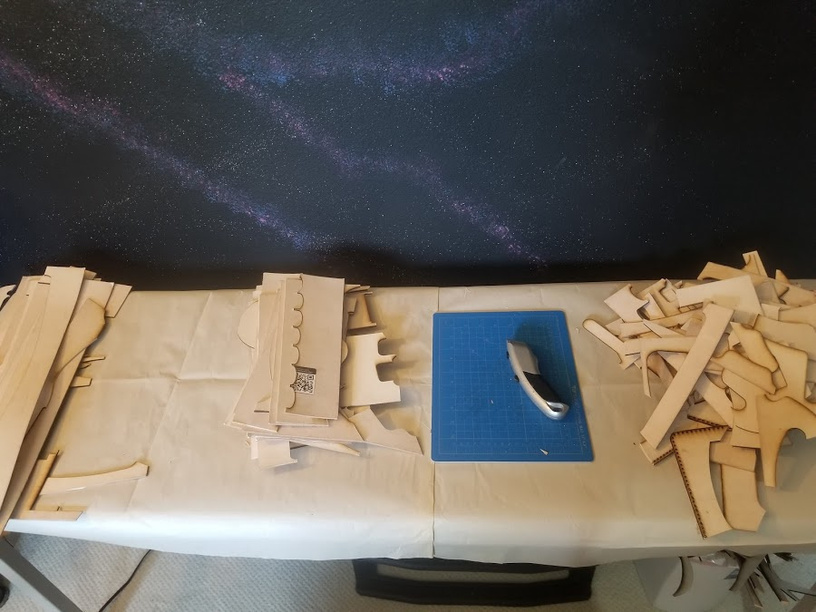
Well, a little bit. Effectively I gave myself 3 categories of scrap to work with:
- Edges - That last inch-ish that’s just outside of the cutable area. For the most part, I set these aside for straps.
- Ends -the short edge of the material, I wind up with a bunch of these when printing purse bodies or bag flaps that are in the 14-16 inch range if I haven’t managed to pack anything else into that space for the bag.
- Truly random bits that feel large enough to be useful for something
I’ll do a separate post later that’s all about scrap because I really do love making things out of little off bits and I picked up a few new tricks since lying in bed all day gave me plenty of time to read and watch tutorials on Youtube… But I also got a few fun projects out of that pile:
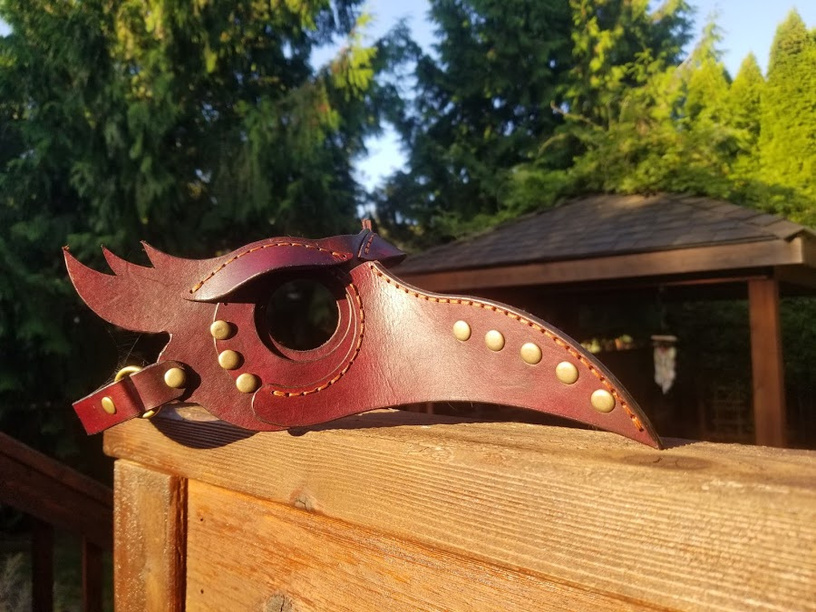
I wasn’t kidding when I said ‘truly random’ bits of scrap. Doing things that way took me a while, but week over week I was getting longer stretches of being active so I managed to get a few fun things out of the scrap bin, like a new mask:
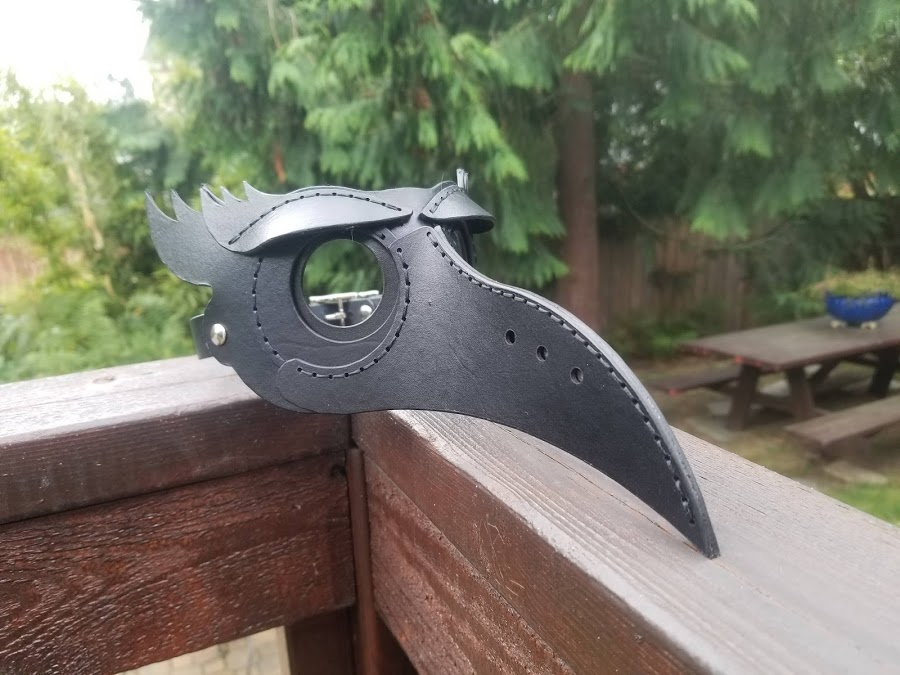
It’s a fun project… but it’s not quite steampunk enough for me… thankfully, a little hardware (and a revision to the straps) went a long way to making it a more ‘me’ project:
By this point, it was just about September and I finally felt like I had enough brain power to take on a more original design. I love Tony’s patterns and for July / August, I was happy to leave the math behind and just manage little pattern tweaks rather than full scale pattern design. At this point though, I wanted something that was more of a mental stretch…
Round. Square things are relatively easy. Round things… less easy. So I started thinking about motorcycle tool bags and came up with something interesting…
The Vampire Bag:
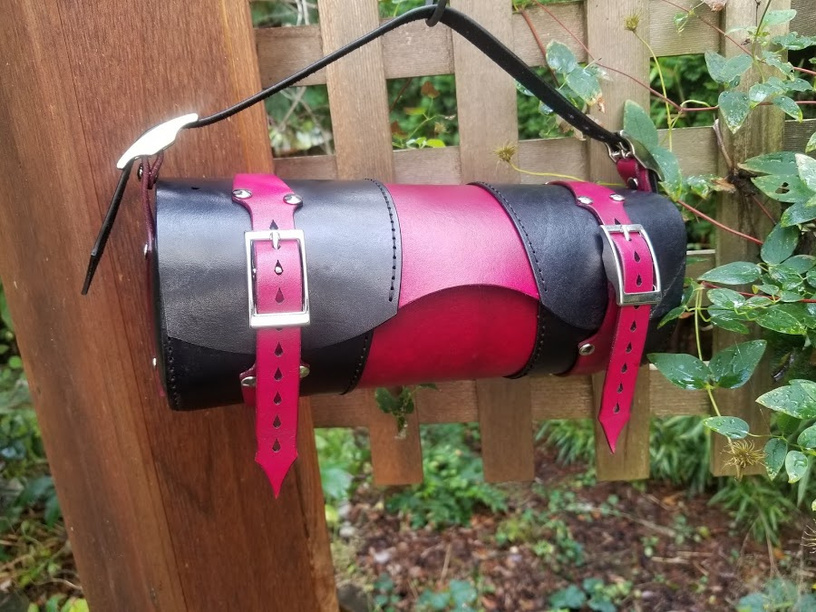
Learning how to get the stitch holes on the ends to line up with the body of the bag was fun and having done so, I’m working on some follow on designs that take advantage of that.
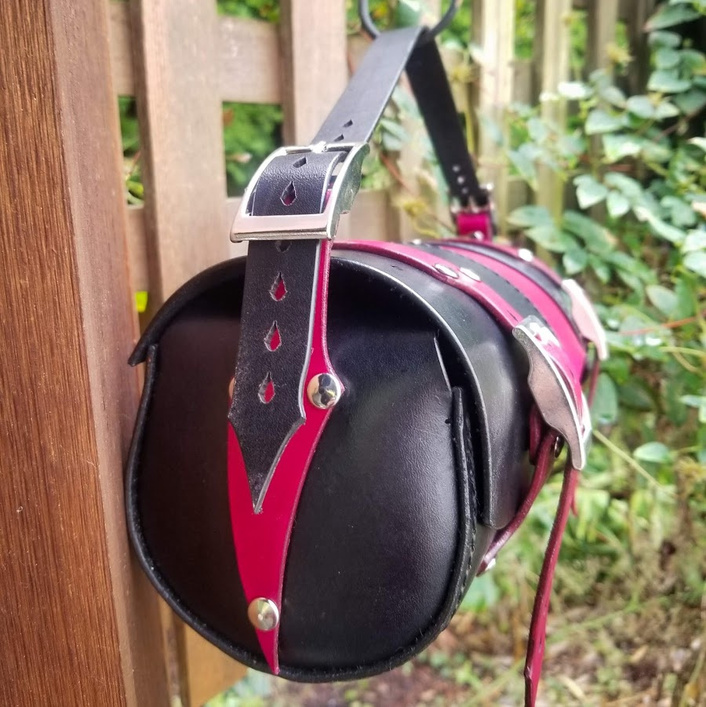
The proportions are a little off, the straps are a bit too long and while I like the ‘fang’ look of straps where they connect to the bag, those points are bound to snag on things, especially on a bag as rounded as this one. Still, great for learning, and I’m generally happy with the ‘fold over’ ends for keeping things in the bag where they belong.
The small bits in the scrap pile were taunting me though, so I tried doing something really, really micro…
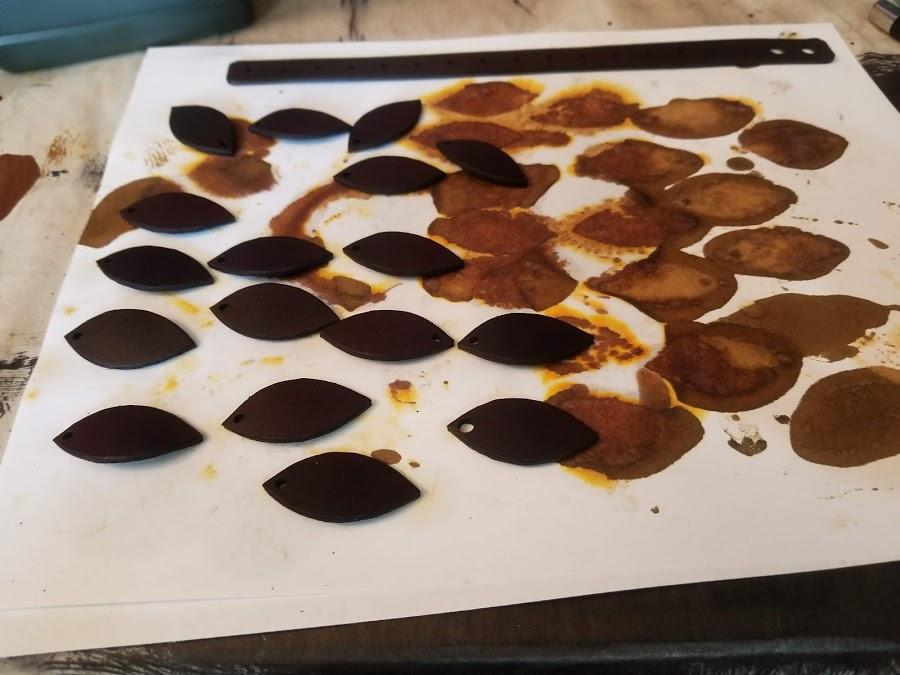
You see where this is going right? Those are an inch and a half long by three quarters of an inch wide, perfect for a leather scale bracelet…
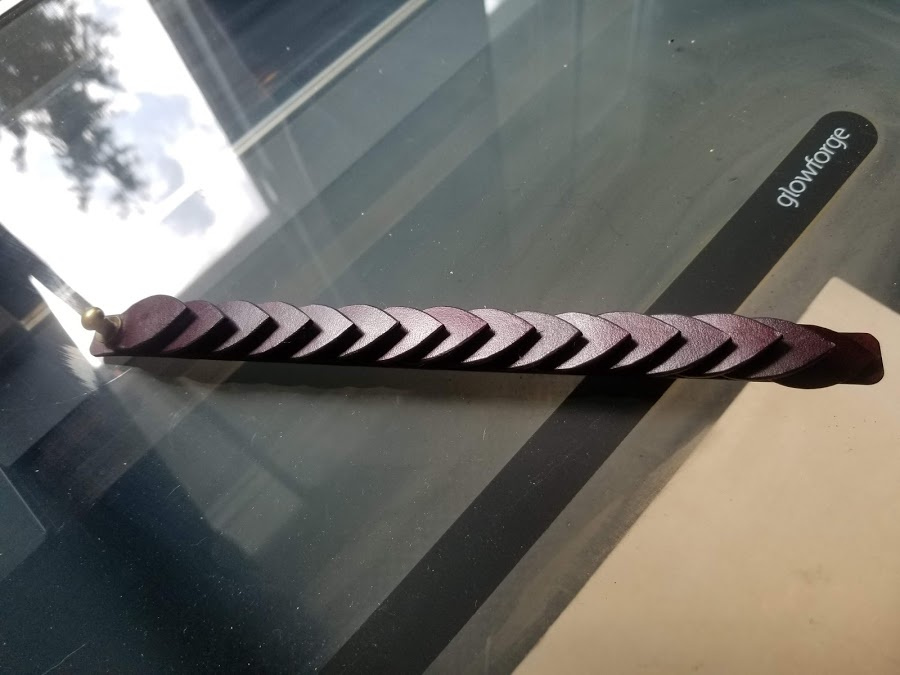
Well, I thought so anyway. Turns out there’s a limit to how much curve you can get on such a small scale even with diligent wet forming. Good idea…

But rivets were a poor attachment method, and the resulting bracelet is just a little…
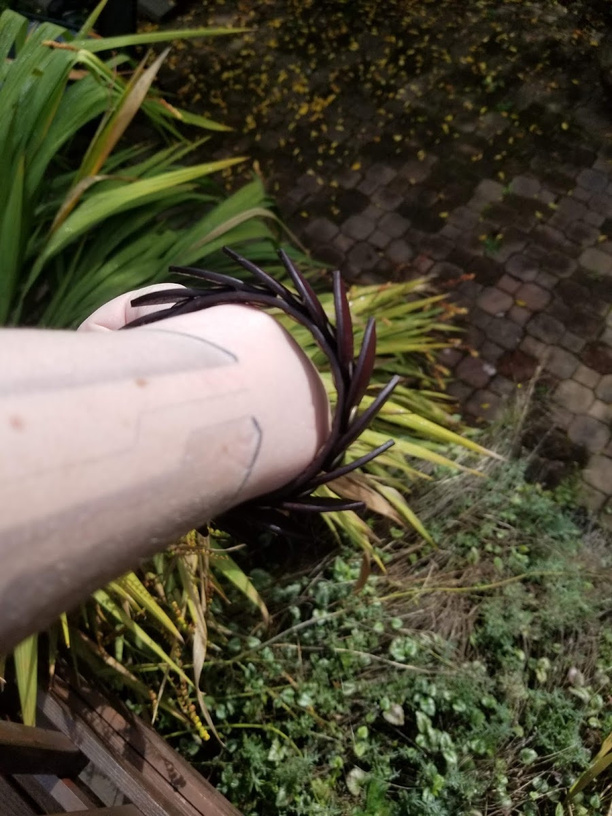
Spikey? Prickly? Not a great result. When I have time, I’ll try revisiting this with an X shaped stitch to attach the scales instead of a rivet and see if that produces a workable result. What I really want to do is come up with a purse design that I can cover the top flap of with scales… You’d think the staggering amount of parts would be a huge time sink but I started using a rotary tool for sanding and beveling, and I dyed all of these by dumping them in a small jam jar then filling it with just enough dye to cover them, so it wasn’t actually as time consuming as it looks.
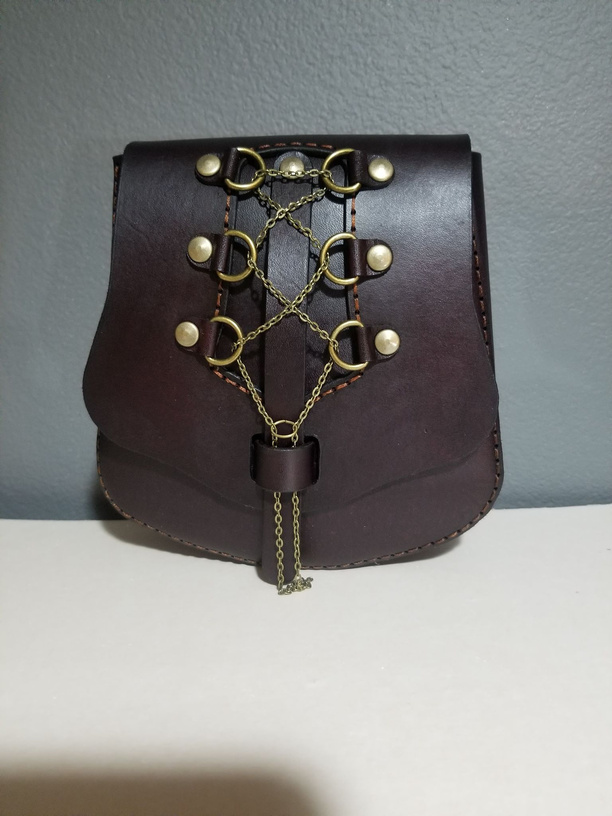
At this point, I was getting close to the last ‘To Do’ items on my list… the three hour train ride down to Portland to see if the powers that be would sign off on me coming back to work. Train rides are great excuses for projects so I dug out Hip Bag #3 and told myself that it deserved to at least get put together.
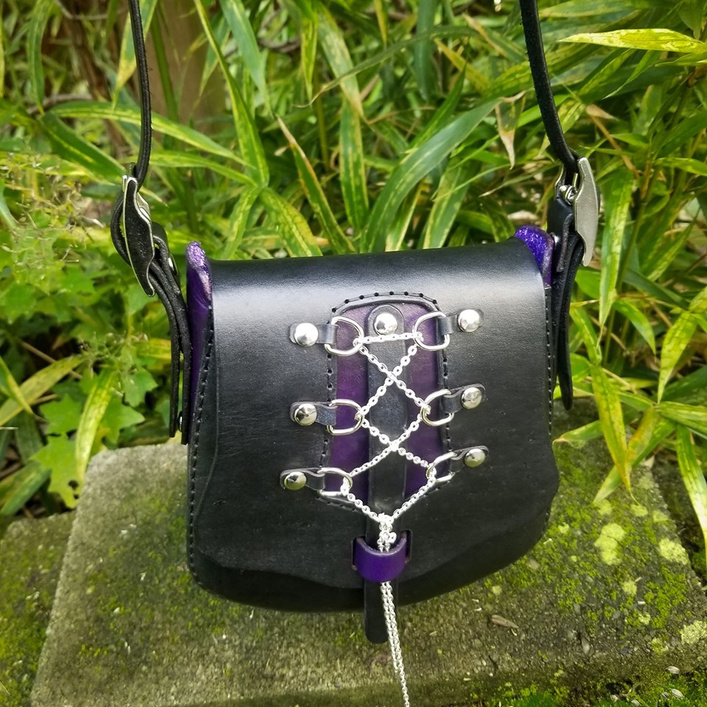
The surface of the leather was a bit rough and my favorite, generally ultra consistent purple dye was anything but… still, it made for a lovely little bag. This time around, I fitted it with buckles on the sides and planned from the outset for it to be used as more purse than hip bag…
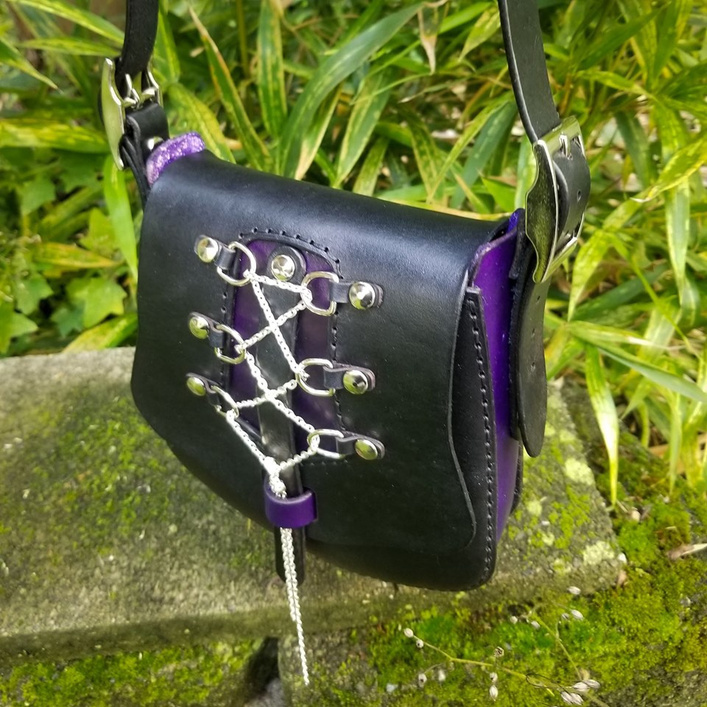
And it matches the corset I built a week or two before surgery…
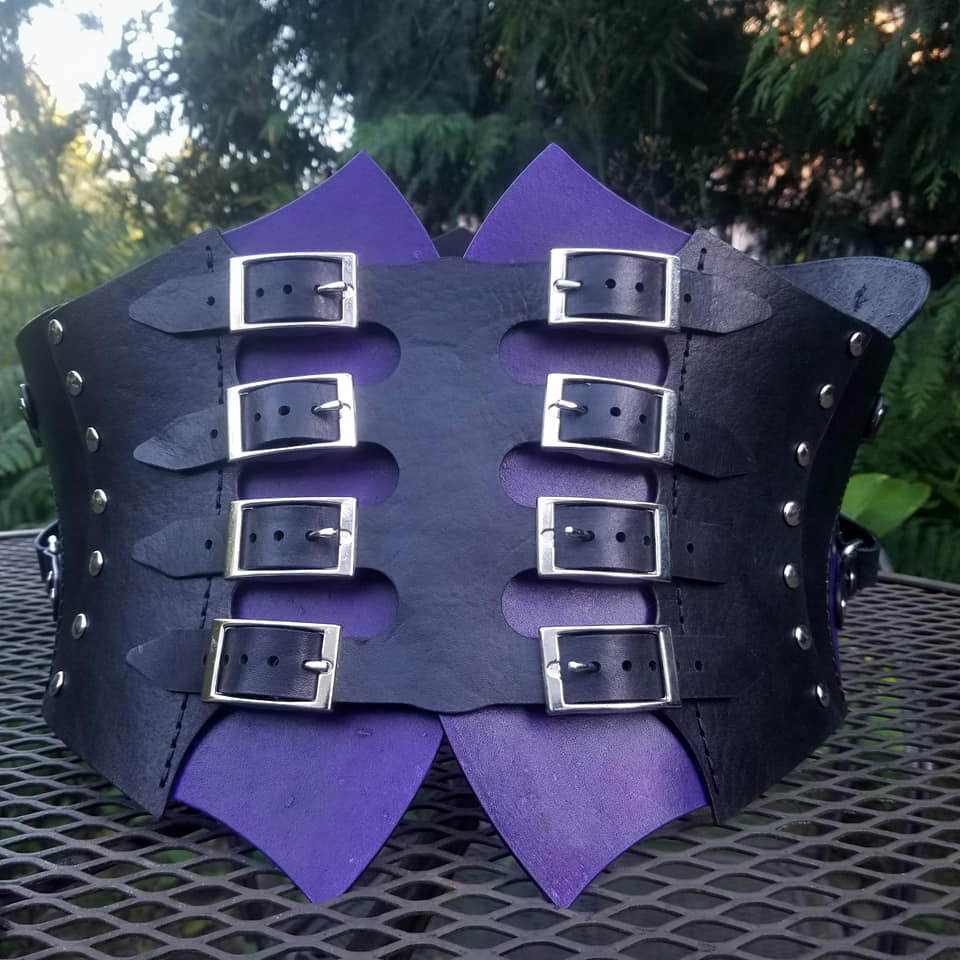
When the purple dye played nice…
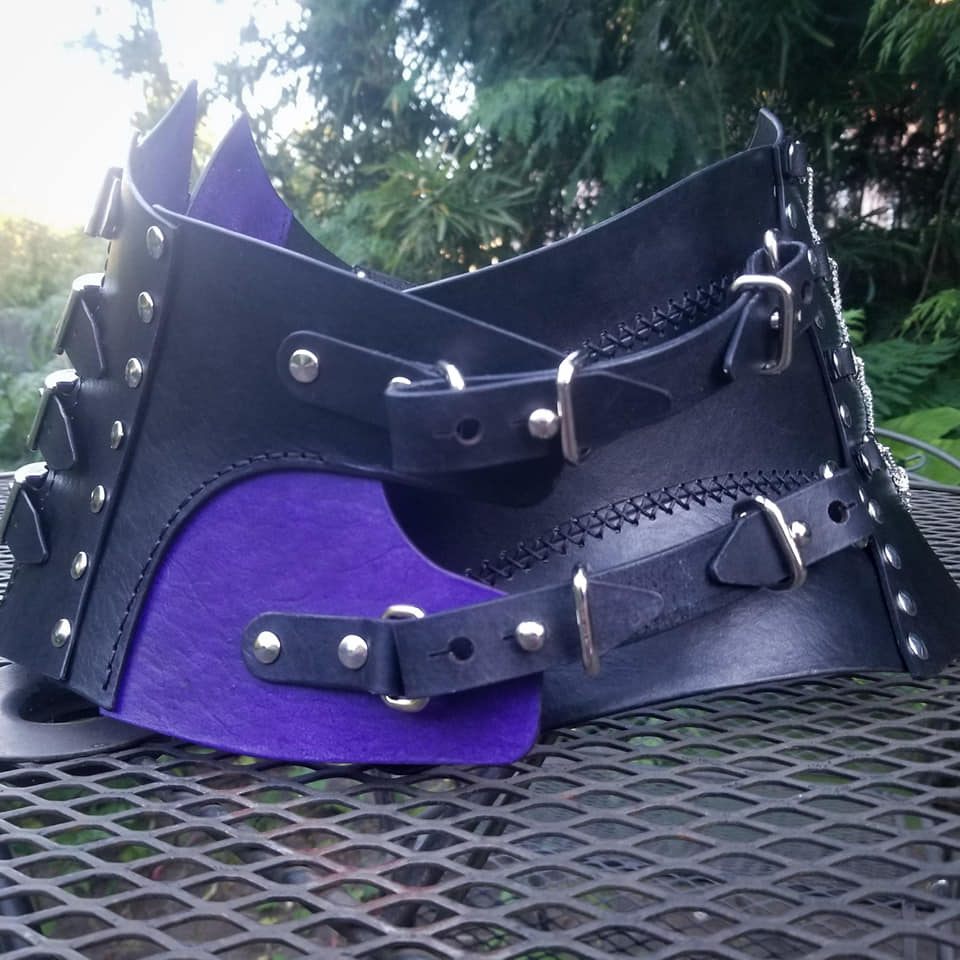
And I realized that a chain used as corset lacing can make a great detail:
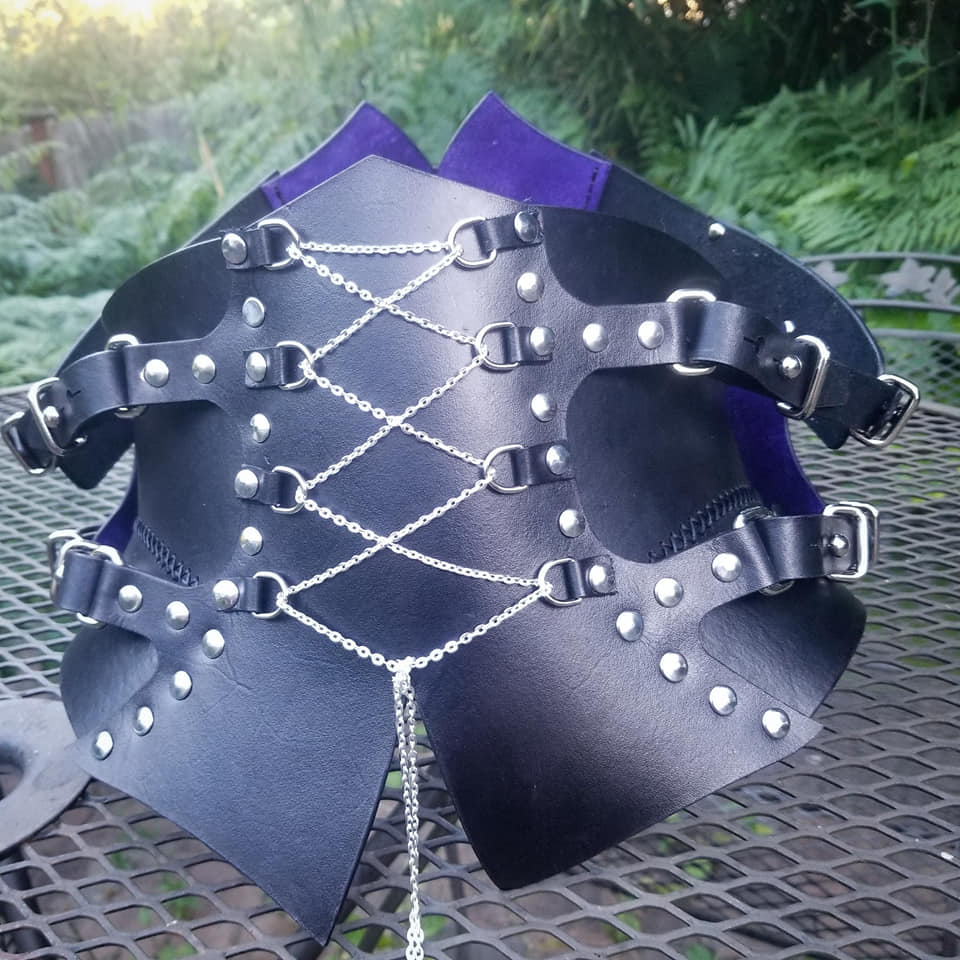
Of course, the corset was also a learning lesson… I managed to build it at a size that’s somewhere between fitting me and fitting my wife… technically, either of us can wear it but… So the corset and matching purse found themselves in a box headed towards a friend in NY who will appreciate both and has promised me photos as soon as they arrive later this week.
I think that Hip Bag #3 might actually manage to be workable though… so, armed with good news from the doctor, I figured I had just enough time to build one for myself as a daily wear item and we’ll see how it goes…
Craft therapy… it’s totally a thing. Recovering from surgery doesn’t provide a lot of opportunities for a sense of accomplishment but this summer, I managed to forge ahead and find a few along the way.
It wasn’t quite the summer I expected it to be. Somehow, after five of these in the past four years, you’d think I’d learn not to over-estimate the amount of art / writing / crafting I’ll get done while I’m cooped up and recovering. Still, it was a summer that found room for lasers and crafting… and that makes it pretty epic all by itself.
Now all I have to do is figure out what kind of ‘Thank you’ gifts to craft before I head back to the hospital in January for (hopefully) the last follow up on this (final?) round.
What do you make for a Flock of Residents?
