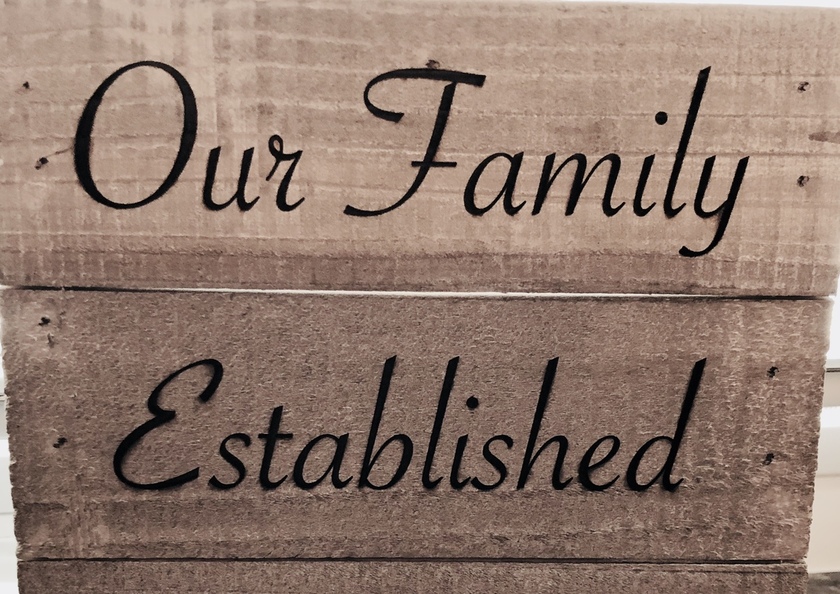
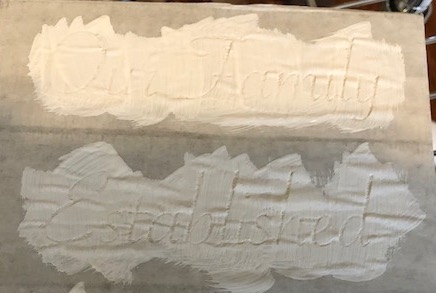
I attempted to engrave a 6x6 wood sign I picked up at AC Moore. The results weren’t great and I’m hoping someone would have some suggestions.
On the positive side this was my first attempt without the tray or any supports…
I think I should have engraved deeper. The surface of the sign is not smooth, so the paint looks horrible…I’m thinking that if I engraved it deeper , maybe the paint would have taken better. I haven’t sanded it yet to see how this will come off but was hoping for some suggestion on the engrave settings…
Here is what I used:
Tray removed
Sign height is 1.85
Focus Height .45
Lines Per Inch 450
Power 20
Speed 1000
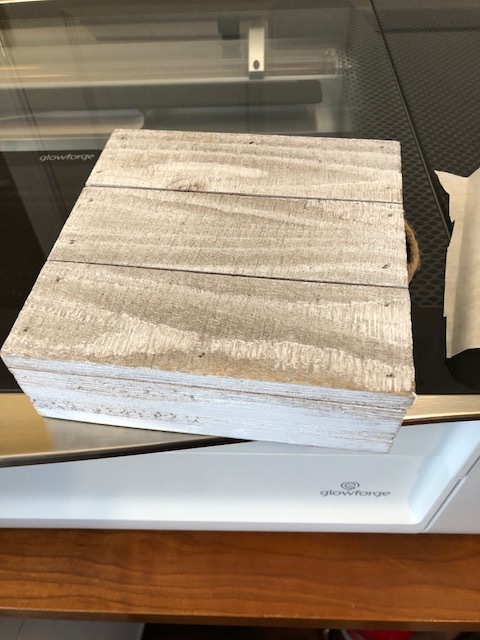
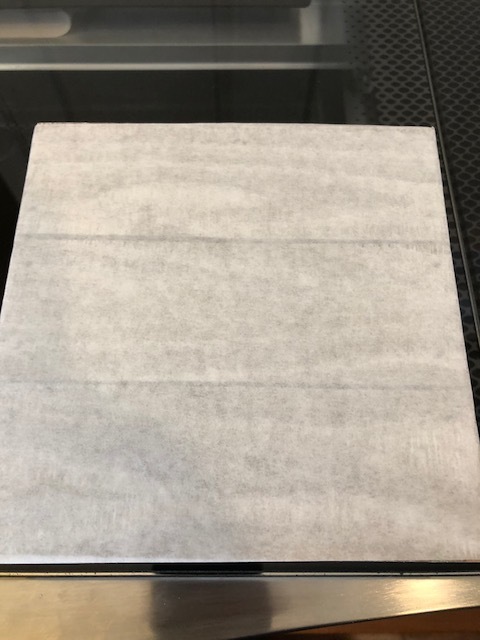
The photos show the box, box with masking, box after engrave, painting, tape removal
Lower the speed or up that power. If you want to use 20 as power the speed should be around 150 or 200. But that would take a long long time. It keep the speed at 1000 and up the power to anywhere from 80.to full and it should turn out great
That’s low power/high speed for a what you want the engrave to be. I use 20/1000 for things like chipboard and heavy cardstock (although not at 450LPI). Take a look at the settings for PG Maple Ply or Basswood for SD or HD (probably HD based on your intent) and use those as a place to start.
That’s not much power for engraving wood, especially one with a rough surface. As you’ve discovered, testing it important when using non-PG materials. In this case, you could increase the power, reduce the speed, and/or increase the number of passes. Any or all of these will deepen the engrave, but there’s no way to predetermine the perfect settings on such a material / surface.
I haven’t checked the math to see if the height etc was correct without the crumb
tray, but I can guarantee your power was way too low. I would have gone 340 lpi, 1000 speed and about 80 to 100 power, even full power if I wanted it to go deep. A good place to start is telling the GF that you are using a similar PF material, select one of the PF automatic settings and maybe adjust from there. My favorite setting in the SD graphic, but they all have their merits.
first, i will agree w/everyone else that you’ll need to engrave deeper.
but i also think you also have to be very aware of the issues you will have with painting this one. that is a very porous and rough wood surface. So you’re likely to get a lot of bleed underneath the masking when you paint it (you can already see it even with the light engrave) because of the rough surface. additionally, you’ll want to stick with a thicker paint to avoid the bleed into the grain of the wood itself. it may make sense to put some level of seal on the wood before you paint as well.
Agree with @shop. After engraving you will need to remove the masking. Then seal the wood with a clear sealer. Then paint the letters. If you are a bit sloppy it won’t matter too much. Better to make sure they are filled. Then lightly sand the surface to remove any excess paint.
My 2 cents.
it’s possible that may not work as well unless you’re very carefully putting multiple, light coats down. spraypaint is a thinner paint, so while it may work better with the stencil, it may not work as well with the porous wood if your technique isn’t really good.
it looks like @scampa123 used something akin to regular interior house paint with a 2+ inch brush, which is likely to push paint under the masking on the rough surface. i’d actually try that with a small art brush and acrylic paint, more control and a thicker paint, and not flood the whole area but just fill the engrave areas with as little overlapping the edges as possible.
I used acrylic and a 1" brush…It wasn’t a great job…I’m hoping I can sand off else this will be a test piece and I’ll buy another to to the finished item…thx!
I would seal it before masking and engraving. The trouble with a rough surface like this is that the masking won’t stick tight against the wood so there’s more chance of the paint getting under it. Sealing it first, then masking and then painting would let any bleed under the stencils be on the seal coat and potentially more easily able to be wiped off the surface (I’d try pulling the mask off right after painting vs waiting until it dried).
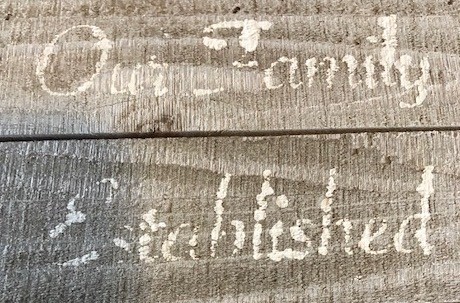
I’m going to do another test since this sign is toast. I did sand off the paint…well all of the paint on the face… I’m clear coating it with a matte spray I have. Once that dries I’ll try to engrave again and test with some paint and light sanding…If all goes well I will buy another sign and do the real thing!
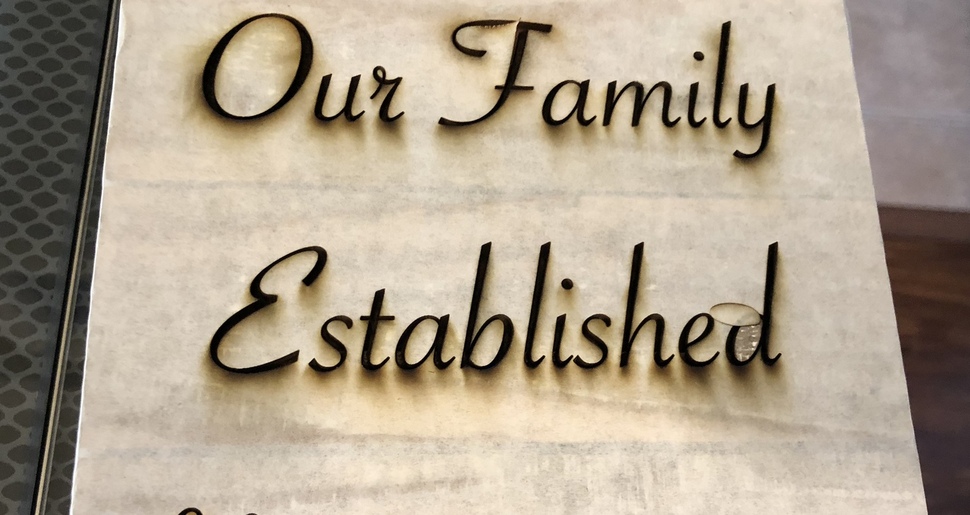
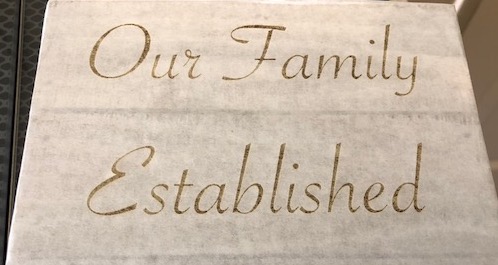
I picked up another sign and engraved it with the new settings. I did a test last night with the original to see how the paint would look and decided it looks better without the paint! So I engraved the new sign and did not add the paint. I’m very pleased with the results! Thank you for the info on the engrave!!
 Great minds think alike.