Not sure what they are going to do the maple skinned MDF. The beta Proofgrade I got had a slight warp, but it worked out just fine. I was browsing @m_raynsford’s excellent blog for inspiration and I came across his siren whistle build of an Instructable he’d found.
In chasing down the Instructable, I had a few ideas as to how it would work best with the Glowforge, Proofgrade materials, and the other aspects of the design. I learned a few things in the process and best of all didn’t have to get any CA glue out and all over my fingers.
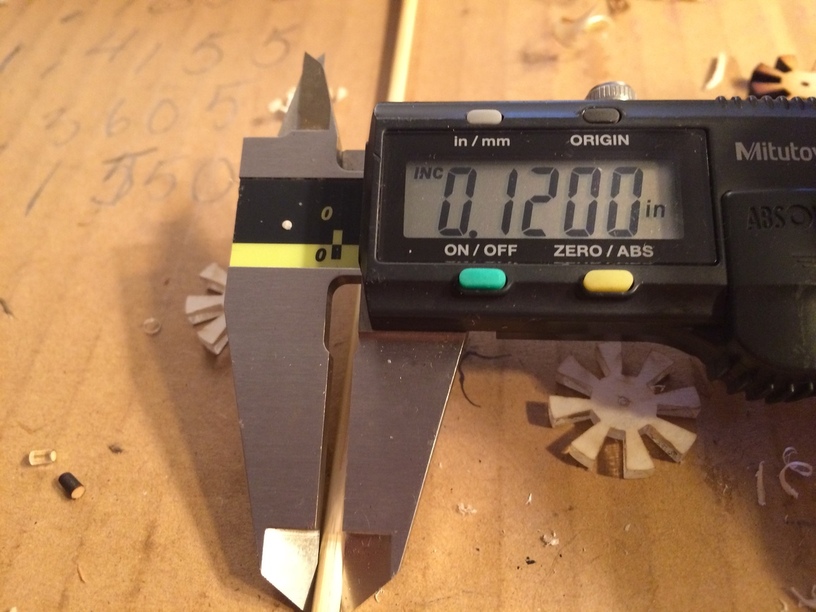
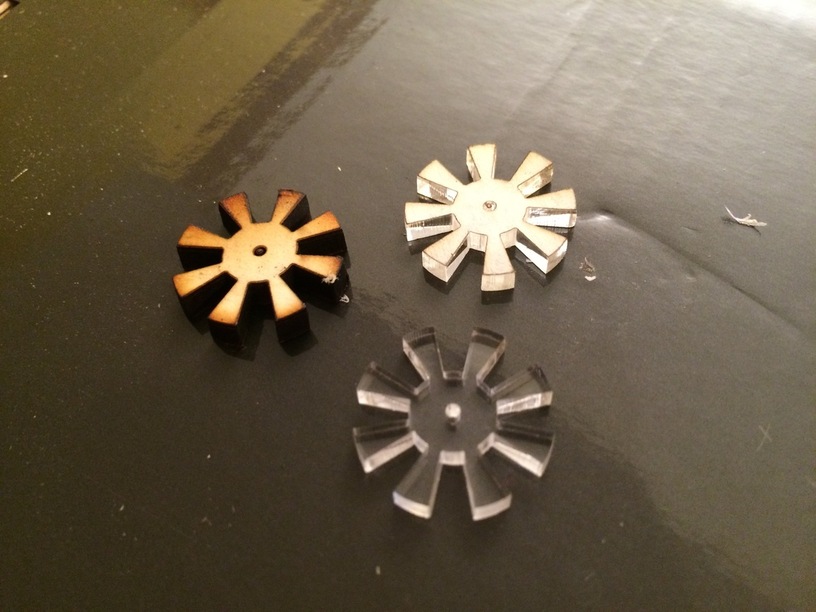
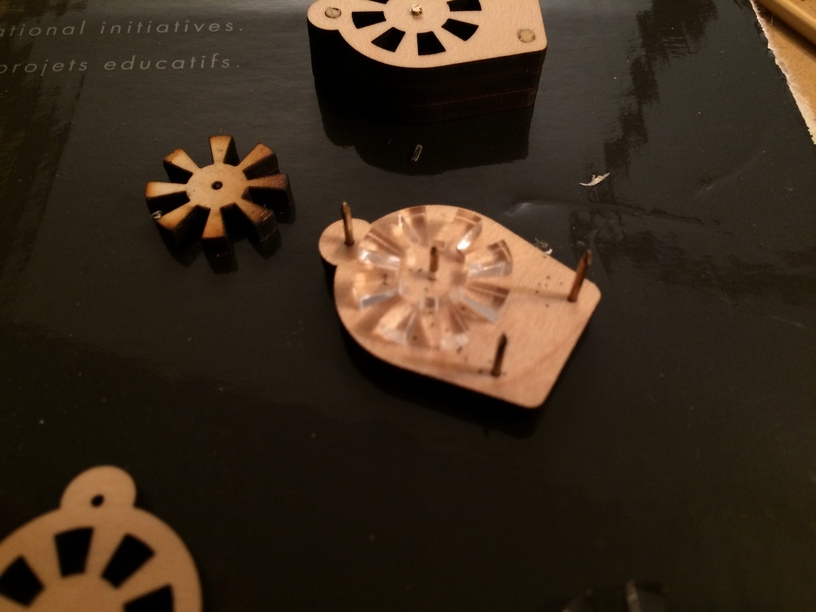
That design was in turn based on another design out of acrylic, the turbine whistle that looked pretty cool and was a a little bigger, but was glued together. I knew I wanted to avoid sanding. Although both the acrylic and maple MDF are nominal 1/8", in fact that acrylic is slightly thinner and thus would make a perfect turbine to go into the siren without having to sand it thinner to allow for spinning.
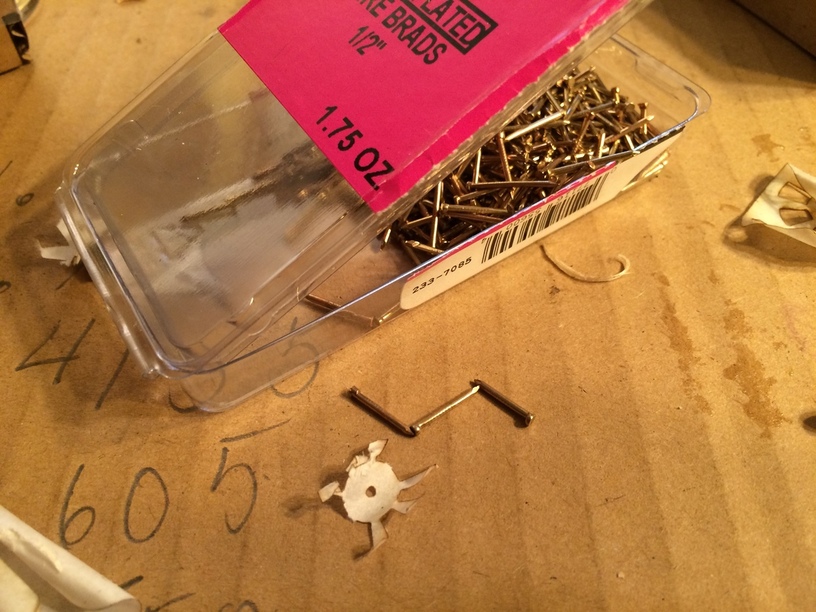
With the turbine figured out, then I looked to the fasteners. Bamboo skewers and MIG welding wire were in the bill of materials. Hmmm, I had the skewers but no wire. I did have instead some brass coated brad nails that I picked up for the leather projects. They are 1/2" long and would work well just cutting off the tip with a side cutter.
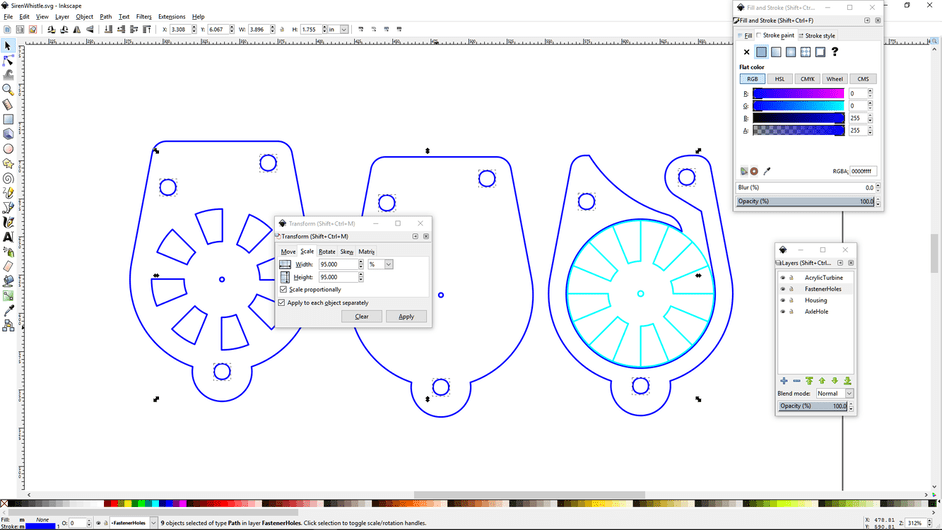
Then I took a look at the design. This instructable provided only a DXF. There was a brief delay in the process while I figured out what the heck to do with that in Inkscape. The file opened up perfectly but just sat there in the workspace and I could not edit anything. Did a little digging and just couldn’t figure out why they weren’t editable, either as opened or as imported. Something to track down. Update: turns out it is a linked clone that had to be unlinked. (Shift+Alt+D). I had thought that Inkscape managed them fine. In any case there were some online converters I used used on of them to give me some lines to tweak. The paths were not joined and that made some interesting cutting patterns. I had to combine all the single paths that made up the turbine, join them and color them distinct from the rest.
Another issue was how to resize the holes that were for skewers and wires. After selecting all the larger holes for the skewer pins, I scaled them down in place, proportionally applied to each object separately. The transform dialogue box really is your friend. Of course with a parametric program, this would be lots easier.
I scaled the center axle hole up slightly to fit the brads and allow the turbine to spin.
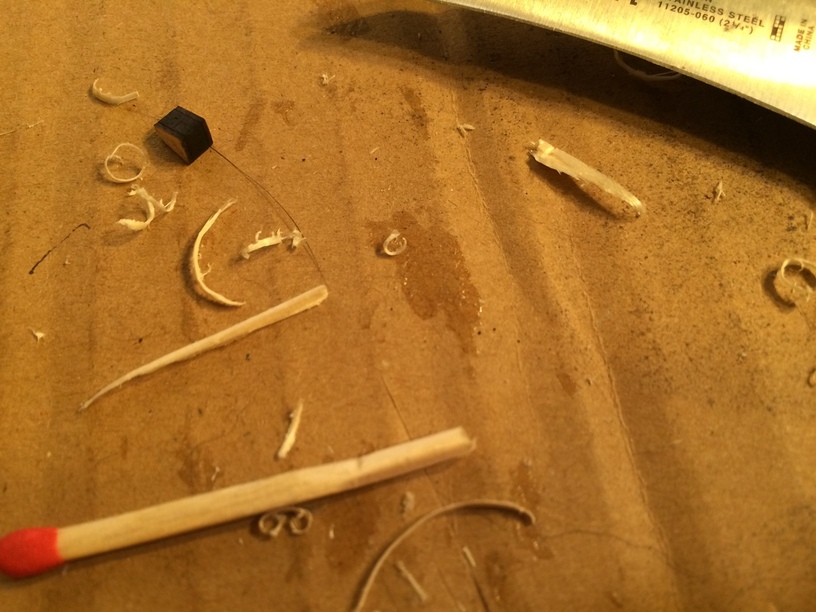
The bamboo skewers we a bit thick for the holes for the first iteration so I whittled down some wooden match sticks. Got lots of those.
The first print worked out ok after assembly and then I did the work to resize for the brass coated brads.
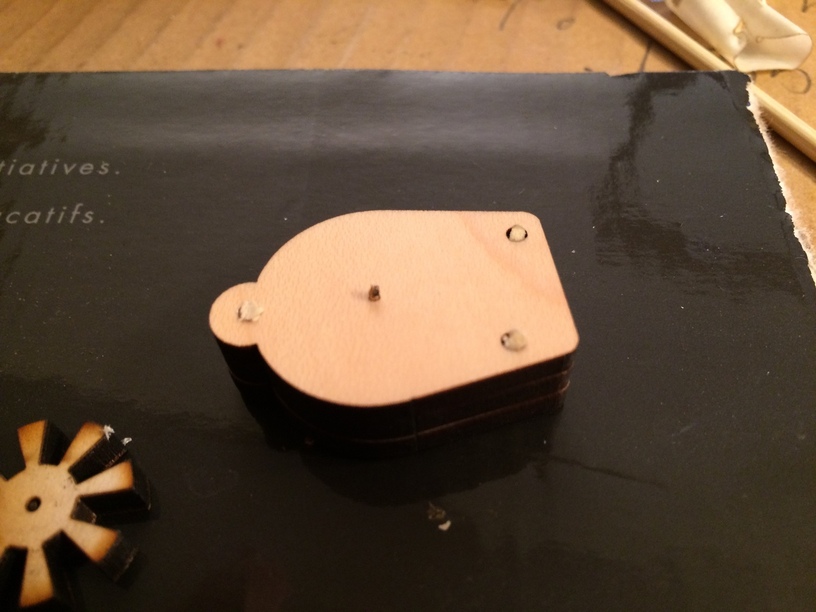
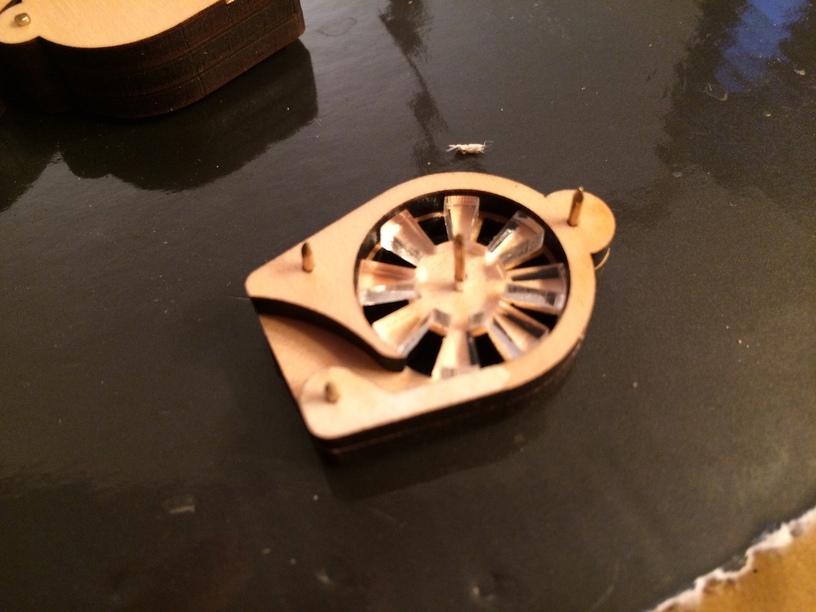

Close your eyes: it ain’t pretty.
Finally the file: I am looking forward to the Glowforge design catalog going live. It is rare that I come across a design that I don’t have to tweak and modify. This particular design presented many little issues that needed attention. Nothing major and nothing that took a lot of time, but something like this should just load and print.
So I cleaned up the design. First I joined all the many path segments that made up the file. Just about every straight and curve section was its own path. The file was just all one color, so I then made the two colors to indicate the two operations needed, one for plywood and the other for acrylic. I also separated the elements into layers. Not strictly necessary, but it is helpful in checking out a design to turn layers on and off to see or isolate things to apply one operation too.
Most important is being able to easily resize the holes to fit whatever material you choose for fasteners and for the axle. Just shift click on the fastener holes and apply the scale transform to size the holes whatever dimension you need them:
Thick, round toothpicks actually would be the easiest option. You could size the holes just enough to be able to friction fit the toothpicks in and easily trim off the ends flush. Just remember to make the axle hole slightly larger than the axle to allow the turbine to spin freely.


 That worked. Thanks so much for tracking that down. Unlinking the clone was the key.
