Yeah, I just did a bunch of work with different fonts over the past couple of weeks and never saw it. If we have font examples, we might be able to find more reasonable work-arounds.
To any AD users - just because I’m curious - how do you make “text” into valid engrave elements?
I did a little googling and it appears you simply create text, then convert to “curves”, and you’re done. The issue described should not appear, according to many here.
In Inkscape, it’s the same thing - enter text, convert to path, done. The “inner” shape in letters is “subtracted” from the outer, and it engraves as expected.
So what could they be doing to break this? Another thread had a sample file where not only was the inner part of an “O” just another (grouped) path (as opposed to an excluded area), but there was a duplicate right on top of it.
1 Like
Usually convert to curves and then add everything together is all it takes. If you’ve had to break the shapes apart so the inside holes have gotten separated from their letters, you have to move them to the front, then select the hole and the letter and hit subtract. It subtracts whatever is higher from whatever is lower— move to front is probably the step you’re missing.
1 Like
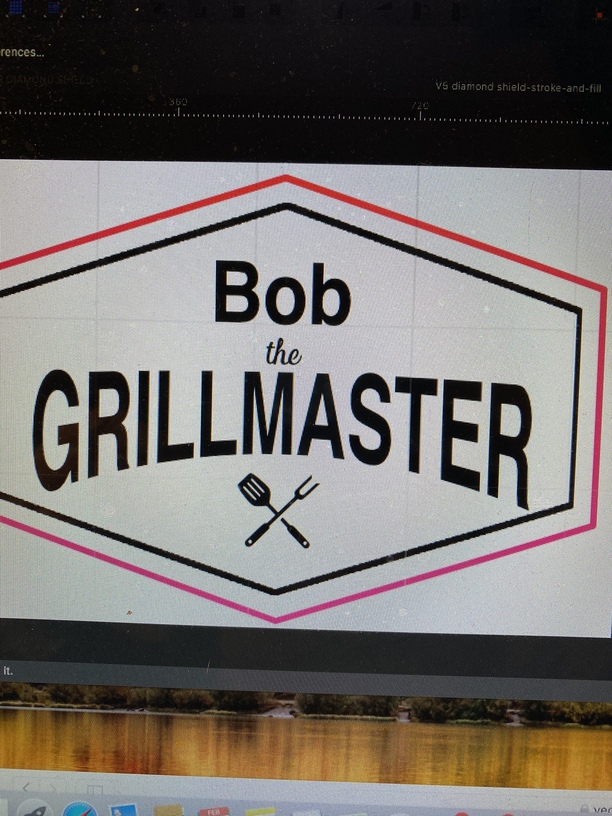
Actually it’s a vector of lettering arched (apparently you can’t do that in Affinity) so I did it in photoshop then autotraced it using vector magic (subscription website). When traced it was basically a bunch of blk shapes with white fill in the “holes” for the a’ and t’s. Now that I think of it I’m not sure if I saved it as a PNG file or a JPEG before I uploaded to auto choice could be the PMG with a transparent background will leave the opening correctly done in the lettering but I’m out right now so I can’t check on my computer. Could be the answer. In any event what was happening is I would take the black sheep and divide it and then select the black sheep and the white shape and subtract in the white shape with disappear in the transparent background would be visible through the center of the are just as you’d expect then when I saved it to SVG and uploaded it to glowforge the R would be solid black with no hole
Aha.
You can create lettering around a shape. Draw the shape, select it, and then choose Convert to Text Path in the Layer menu.
1 Like
Yeah, sounds like you’re not working with text at all, just shapes from a bitmap trace.
If so, better to put the text onto a path in AD, and all your problems will be solved.
I don’t use Illustrator, so I can’t speak to that, but AD has become my favorite tool to work with. There are just a few features it doesn’t have that I like (Trace being a big one and the path eraser and some node tools that Inkscape has), so I occasionally switch over to Inkscape or Sil. Studio. I work with reasonable comfort in all three tools, but it means that sometimes I’m trying to find out how to do something in one tool that the others handle with ease.
1 Like
I think this is some other thing. In Affinity there is already an option to make ALL fonts export as curves which eliminates the need to remember to do it all the time. However, aside from just a normal inclusion of a font to engrave, which I have done millions of times, this is a different thing and I’m wracking my brain to try to remember when it has appeared. I’ll keep looking in a bit.
1 Like
I think you’re running into a well known bug in the Glowforge software that’s been present from the start but which they have shown no sign of fixing. (I report the bug at least once a year and they always just say “thanks for letting us know” and then they do nothing to fix it.)
There are two common ways of deciding which part of a complex shape should be filled. These two “fill rules” are supported by just about all graphics software and the SVG standard requires that all implementations support them. Unfortunately Glowforge only fully supports one of them.
Three ways of dealing with it:
-
Learn how the fill rules work and pay careful attention to the direction of all your paths and reverse some as necessary. (Note: don’t really do this. It will drive you nuts.)
-
Export as PDF instead of SVG. The Glowforge software tends to handle fill rules better in PDFs than it does in SVG files. (I can’t promise that it will always work though. I’ve occasionally run into bugs in Glowforge’s handling of PDFs, too.)
-
Rasterize all the objects you plan to engrave (using the Layer→Rasterize command) in Affinity Designer in order to avoid using Glowforge’s buggy rasterizer. Note that if you go this route you may want to make sure your object is filled with black as color affects power when engraving bitmaps.
5 Likes
I ended up exporting as a pdf that worked. Text on a path converted to curves would be great but it appears that arching type isn’t possible in affinity.
1 Like
It’s perfectly possible. As @ChristyM said, ANY shape (arch or otherwise) can be used as a text path in AD.
2 Likes
I didn’t realize that - I’ll have to learn that next
2 Likes

2 Likes
tim1724
RegularFebruary 22
mikesmithfranklin:
I ended up exporting as a pdf that worked. Text on a path converted to curves would be great but it appears that arching type isn’t possible in affinity.
I’m glad the PDF worked!
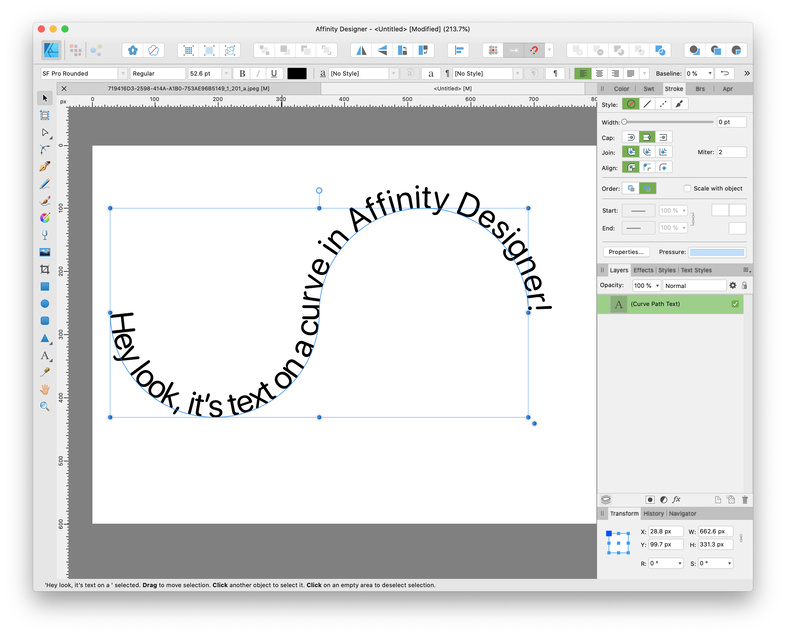
Text on a path? Hmm… let’s see…
Do you mean like this?
The resulting SVG:
Visit Topic or reply to this email to respond.
To unsubscribe from these emails, click here.
No, Affinity Designer doesn’t have that yet. On the Affinity forum they’ve talked about adding something similar to Affinity Photo’s mesh warp tool (which currently only works on bitmaps) but it hasn’t happened yet. They have a long list of features they’re working on* but who knows what they’ll choose to do next. There have been a number of threads over there about other distortion features that would be useful. Hopefully they add some of them soon. They did recently add an isometric grid editing feature which is pretty slick but it doesn’t help with curved stuff.
You can make feature suggestions and get beta versions of their products from there:
https://forum.affinity.serif.com/
* The list of future features used to be published in a “roadmap” document on the Affinity forum but I think they took it down because people were always disappointed when their favorite potential new feature wasn’t the first thing to be added.
2 Likes
You can use Powerpoint to create this text effect and just copy/paste it straight into the GFUI.
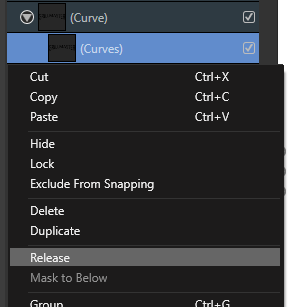
Or you can paste it into AD. Make sure to ungroup, then release the mask before generating your SVG.

3 Likes
release the mask is that near the convert to curves in the menu?
Right click on Curves and Release is about 1/2 way down the menu
2 Likes
This topic was automatically closed 32 days after the last reply. New replies are no longer allowed.