Keychains were made up for the sake of the discussion. I don’t make keychains and I don’t cut my projects out of a bigger piece of anything with the GF.
I get it now but a jig won’t work for my needs.
Thanks anyway.
Sorry this wasn’t helpful. For precision placement on items not from Glowforge (Ikea spoons, bottle openers, knife blades, flasks, etc.) jigs are the easiest answer.
1 Like
I appreciate the help, but I make something completely different. Every item is a different thickness because it’s a natural material.
You’re thinking logo on spoons. Think logo on white bread.
1 Like
I’m so sorry to hear that you’ve been having trouble with the alignment of your prints to your designs. The best way to determine how your printer is operating is to run our standardized test print.
Could you please do the following?
- Turn off your Glowforge.
- Check for small pieces of debris or dust.
- Check the lower door to make sure it closes all the way. It may require some force to open, but open it, wipe any dust off the edges, and close it all the way.
- Remove the tray and clean any dust or debris from the surface underneath. Pay careful attention to remove all debris from the four dimples where the tray rests.
- Check the lid to make sure it closes all the way. Small particles of material, such as dust or debris, can prevent it from closing completely.
- Check the surface your Glowforge is on to make sure it’s flat. Ensure it is not twisted slightly and that there is no debris propping up one side of the machine.
- Turn your Glowforge back on.
- Place a piece of Proofgrade material in the center of the bed and print the Gift of Good Measure using the default settings.
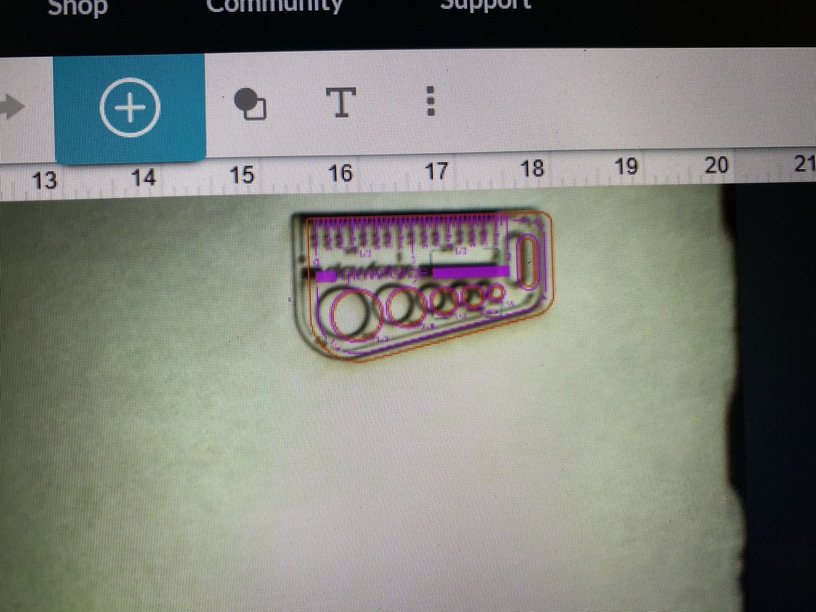
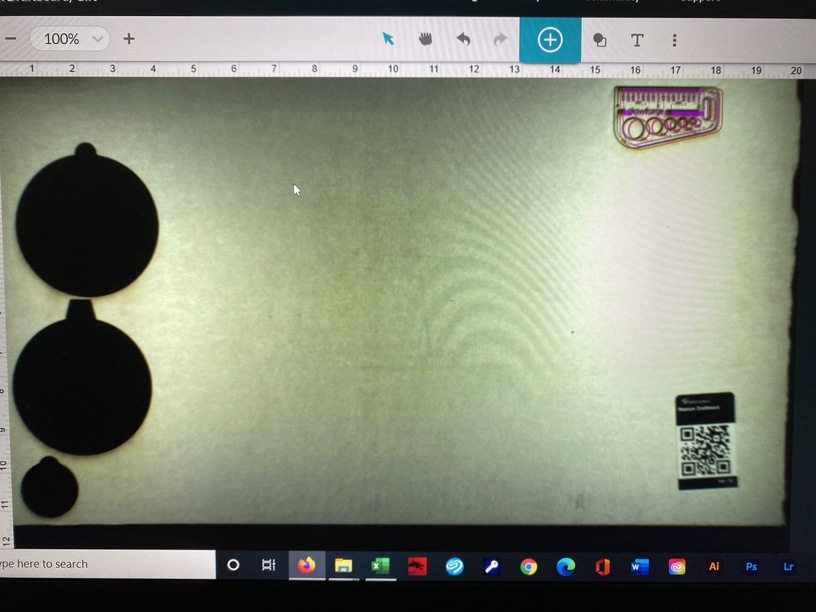
- When the print finishes, leave the lid closed and wait until the fans stop and the picture updates. Without moving your artwork or your material, take a screenshot of the Workspace to show us the difference between the artwork placement and the actual print placement. Make sure to include the rulers in your screenshot and show as much of the bed as possible.
- Mac: Press Shift-Command-4 and click and drag a box around your image. You’ll find the screenshot file saved on your desktop.
- Windows: Click on the Start Menu and type “snipping tool”. Open the Snipping Tool > New then click and drag a box around your image. Click the Save icon and name and save your file.
- Post the screenshot along with the date and time of the print, and we’ll continue to investigate.
You can do a different kind of jig, essentially setting a zero point. Cut a right angle piece, note the placement in the GFUI. Either pin that right angle piece in your GF as a marker or put down tape marks so you can always get it back in the exact same spot. When you put in your pieces, place them in the right angle piece. In your artwork include the angle piece in different line color so it can be ignored. Your artwork will cut/engrave accurately relative to the angle piece, regardless of what the camera view shows you.
As long as your print head hasn’t been moved or bumped while on (or other mechanical failings, of course) GF’s numerical placements always cut in the same spot.
2 Likes
That is well within specs (1/4"/6mm.)
1 Like
Thank you Chelsea for the reply.
This was printed at 11:06 - 11:10am EST on 12/14/2020
That would be unfortunate 
- Wide Angle Camera — Mounted on the lid, provides a view of the entire printable area, accurate within 0.25" (6mm)
1 Like
Your Glowforge uses a wide-angle camera to take a picture of the material in your Glowforge. In the app, you drag your design into place where you want it on the screen. When you’re done with a print, if the print is more than ¼” from where you placed your design, you may have an alignment problem.
The closer the material is to the camera, the bigger it appears on-screen. Most alignment problems come from the material being closer or farther from the camera than expected. The actual print should always land within ¼” of where you put it.
In the photo you’ve attached, your Glowforge is performing within specifications! Please let us know if you have any additional questions or concerns.
Ok I get that, but it just started doing this so my question now is why is it suddenly off by an eighth of an inch and is it going to get worse?
Are you clicking with the Set Focus tool right on the design first, then shifting the design for placement? (Set Focus temporarily corrects the view for fisheye effect, so that placement on the material is accurate. But after the print, the view reverts, so frequently it appears that the print happened in the wrong place. What actually happens is that the design shifted on the screen after the print was done.)
3 Likes
I’ve been doing it the same way for almost a year. And it’s been fine.
Then it started doing this.
I tried measuring the material with a calipers no set focus.
Measuring and set focus.
Set focus on material then move design to position.
Set focus on material with design in place.
Set focus with design on material then move to position.
Every way I can think of and it’s always going this.
It does it on pc material as well as the same material I’ve been using since I got the machine.
I even tried with the overhead lights off.
Nothing seems to work.
I had this happen in the very beginning and it was suggested I recalibrate which I did and it was fine.
I was told recalibrating won’t help this time, not exactly sure why. So as I don’t have any material to recalibrate I’d prefer not to if I don’t have to.
There’s no reason why you can’t run the recalibration. (Except that you don’t have a sheet of proofgrade…but you can use any FLAT material with a light color (or masked)). Go with 1/8" thick material.
3 Likes
I work with leather so that’s not as easy as it sounds. And the stuff my wife uses cost more than the proof grade stuff. I’m going to have to think about this.
Do you have any thick matt board? That works. Just use the white side, assuming there is no printing on it. (You can cover it with white masking tape if needed, but the camera needs to be able to make out the marks.)
I have leather. That’s all I work with so it’s all I have. I try not to buy anything I’m not going to use. My wife has some maple and other types of wood but it’s not as big as a piece of proof grade and she doesn’t want me to use it anyway because it’s expensive. Is there any way I can use leather? I have a ton of scrap pieces.
I don’t think leather is going to be stiff enough, to be honest.
Do you have any large boxes that you can cut down and cover with white masking tape? (Just not the saved Glowforge box…you might need that for shipping.)
I hope the information we provided regarding the specifications of your Glowforge was helpful.
As @Jules pointed out, you may see an improvement in your alignment after performing the Camera Recalibration. This does not need to be Proofgrade material, but any 12 x 20 1/8" material will need to be utilized to perform the print, aside from the leather.
Please let us know if performing a camera recalibration helps to improve the alignment!
2 Likes