I’m trying to print some custom heavy cardstock-style bar coasters using non-PG settings, with material height set correctly. I’m having to offset my art by about 1" to the left and about 3/4" high (EDIT - more like 3/4" & 1/2") in order to get it to print even somewhat centered on the stock - and even then you can tell it’s just kind of randomly placed. Then after the print runs it sits forever on the cooldown window, and when I finally hit the cancel button it gives me an error and bounces me back to my design thumbnail dashboard.
I haven’t cut many things with my unit, but the other things were proofgrade and they worked fine.
Mike, they might not be able to provide support for non-PG materials.
It shouldn’t be off by that much though - are you sure you have the decimal place correct on the inches for the cardstock? (I’ve gotten off by a factor of ten and it’s easy to do.)
A test you could try that might help - put the coasters on a piece of scrap 1/8" wood and bring it up into range that way. Just stick it down with some double sided tape, then add the cardstock height to the lumber thickness and use that for the thickness.
Yeah this is the first paper product I’ve run. Just PG acrylic & draftboard so far. I just ran some PG acrylic and it was perfect. Although I still came off the cooldown with an error & had to reboot.
I’m running one telling the GFUI it is on PG veneer and the alignment is better - probably “only” off in the neighborhood of 3/8" in each direction. But still clearly not centered. And some charring but it’s a test so I don’t care.
Okay, you might be not picking up a correct reading on the coaster because the head is taking a shot off to the side.
You’re just engraving right? Try placing it on a piece of proofgrade maple and just using the default setting for Proofgrade as the thickness. It should be off by much less, and you will see it on the pink preview - you don’t actually have to burn the coaster, you can cancel it.
But if you could take a screen shot of the Preview, that might be helpful to see.
Oh, and center it under the bug - that’s going to get you the best placement accuracy.
I’ll do that tomorrow night. I figured faking the PG veneer might do the trick, Interesting that it did get it closer though.
If I can get it to work I will be running ~75 of them, 15 at a time on the GF. So relying on the under-the-bug accuracy wouldn’t be to my advantage for the big picture, but I’ll try it as an interesting test.
Oh hell…o! If I had half a brain I’d be dangerous!
Try putting something light colored under the coaster. Maybe just a large sheet of paper covering the tray. The lid camera might be having trouble with the black tray outside of the coaster, it takes a shot just to the left of the print area, and it might be shooting down the grid or having trouble with the black.
We’re still improving our layout and alignment, so your print may appear offset from where you put it by up to a quarter inch. For the most accurate alignment results:
Use Proofgrade™ materials
Enter the thickness of the material if it’s not Proofgrade
Use material that is not warped or tilted
Place your design near the center of the bed
Clean the area underneath your crumb tray, particularly the four indentations on the floor
Reboot the machine if you see the alignment drifting
However, like @Jules said, if your prints are further than 1/4" from where you expect them to be on Proofgrade material using Proofgrade settings, please let us know and we will happily investigate.
We would like to look into the cool down error for the print on Proofgrade acrylic.
Did you experience the same thing you described in your original post in that print as well?
Next time it happens on Proofgrade materials when you are using Proofgrade settings, please send us a screenshot of the error as well as the date and time (including time zone) so we can better investigate.
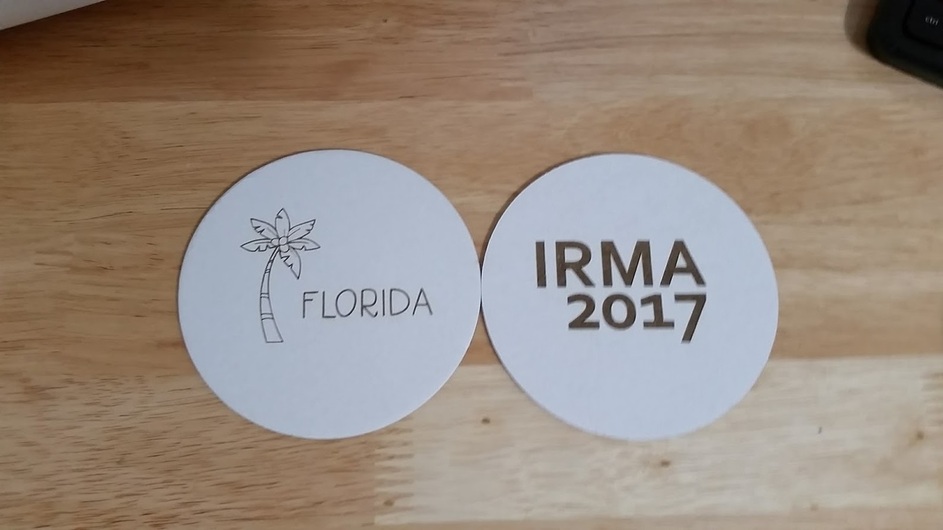
I’ve been “printing” on those cheap 4 inch coasters since I got my machine.
Best thing to do is to use the 12 x 20 hack, cut out the coaster outline in cardboard, I do 6 EA of the 4" coasters at a time with about .05 oversize for placing and flipping the coasters as needed. Once you’ve got the cutout just put your coasters in, ignore the cut and start your engraves. I’ve been using 30/1000/270 for settings as starters
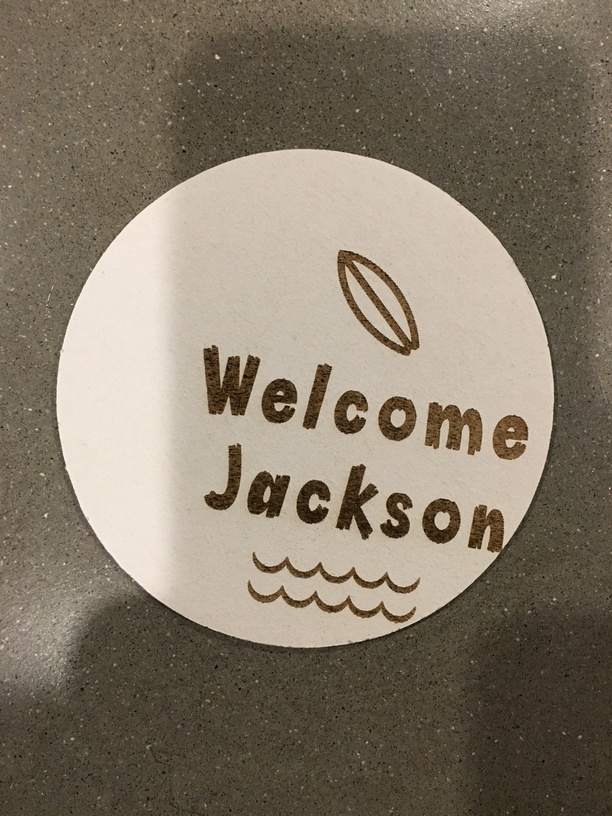
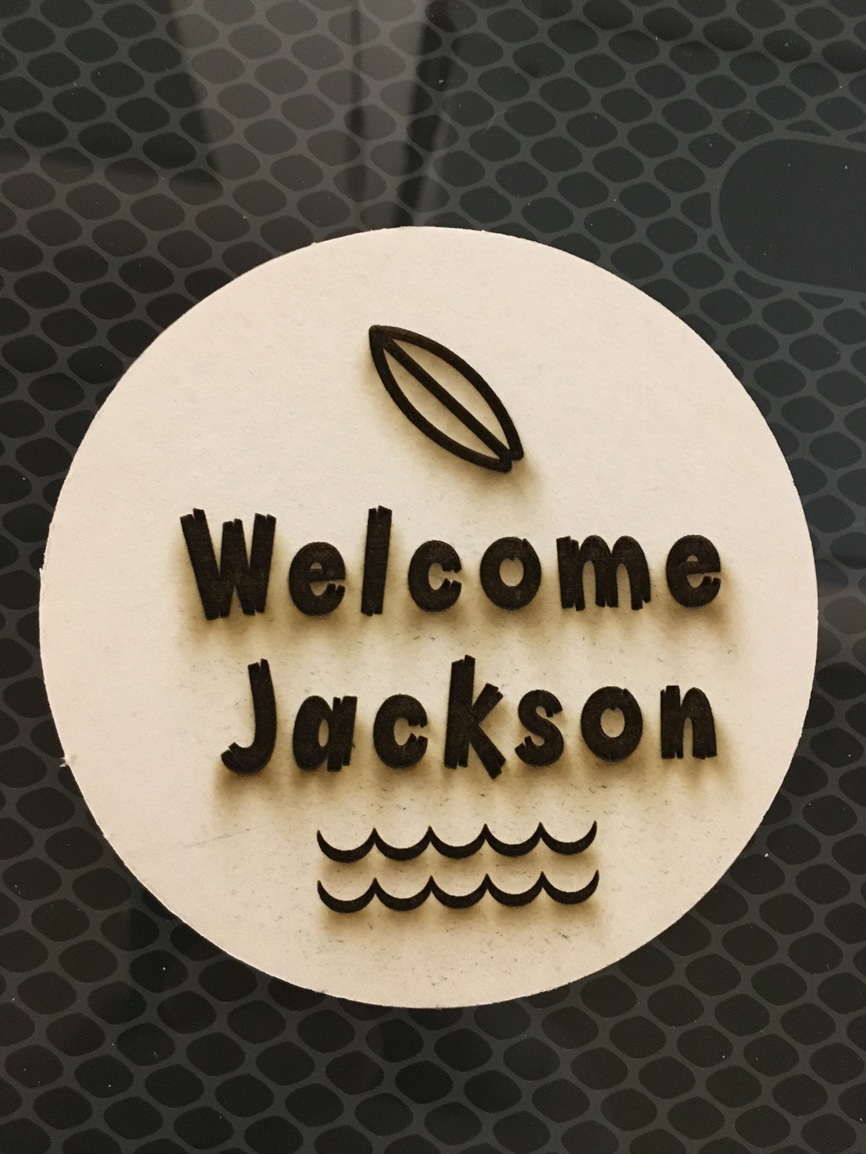
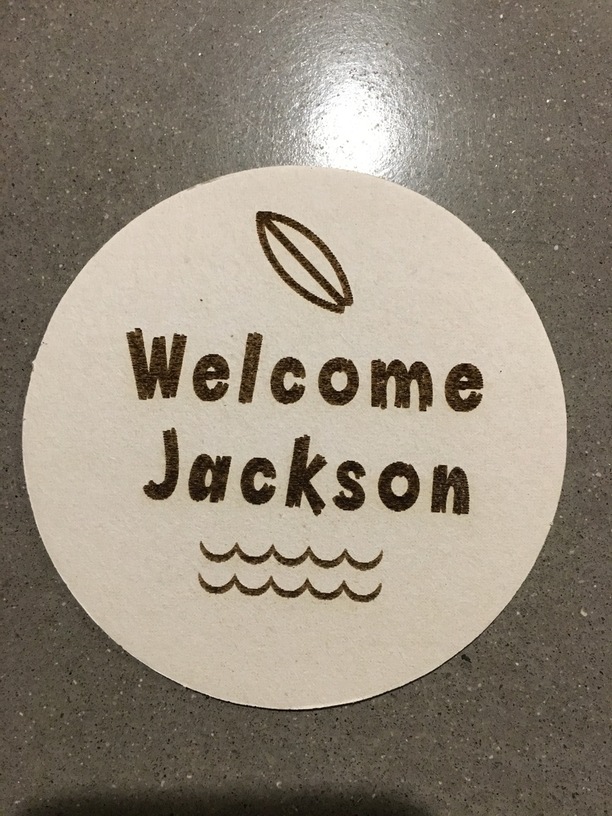
Here are a couple I did the other day (pretend they’re in focus):
Thanks @jaz. Cutting proofgrade is positioning perfectly. Pretending it’s proofgrade, is semi-ok, straight up non-proofgrade with entering the material thickness is waaaaay off. Otherwise I’m hitting everything else on your checklist.
I’ll shoot you guys the cooldown error - I’m sure I’ll get it this weekend. It’s pretty darn reliable. How long should that cooldown screen be up after a cut? It doesn’t seem to go away for me - even if I wait quite a while.
@hansepe, this is great stuff - thanks! Although I still have to get it lined up over the coasters to begin with, and with that cooldown error, it nukes the previous position. So even if I run a test, I can’t just easily go back and tweak placement to get it a little closer to target. So I guess we solve one problem at a time on this one…
The 12 x 20 have should take the alignment back out of the equation.
Create a 12 x 20 sch file with your design, including the coaster cutouts, then put a piece of cardboard into the GF
Cut out the coaster shapes only, ignore rest.
Without moving the cards templates, use magnets, tape, something to make sure it doesn’t move, pull out the circles you just cut out at 100/400 if memory serves
Drop in coasters, ignore cuts, turn on engraves and adjust height and other settings
Print
As long as you don’t move the cardboard you can repeat all day long. You can even use the same templates and change your art.
If you move the cardboard, pull it out, put a fresh piece in and start the process again. Simple and no alignment required in the GFUI