Thanks for this, trying it now. The magnets looks a lot bigger in the lid camera than they are in reality due to the fisheye effect, but it’s a good thought, I’ve removed most of them and I’ll retry it on the back.
I see now (I think you were editing while I was replying). You are trying to align everything to the center of the piece and you don’t have a cutout. So, you are moving the design around as you are trying to align to various dots.
That sounds like a pain lol.
I would personally just get a ruler and mark a physical reference on the wood (or put a little piece of tape and mark on top of that) - you have to have something to align your dot to, right? Let’s put it at the top left of your design. Load it into the Glowforge. Set everything to ignore except your alignment dot. Control-A so you are moving everything (even stuff that’s ignored will be grabbed) and align where you think it oughta be. If it’s off, make sure you are moving EVERYTHING and try again. As long as your wood is loaded square, one alignment dot is all you need.
The key is that you have to move everything in the design together. Once you have one alignment dot hitting, all of the rest are going to be hitting anyways (as long as everything is square).
1 Like
Smart! Good thought.
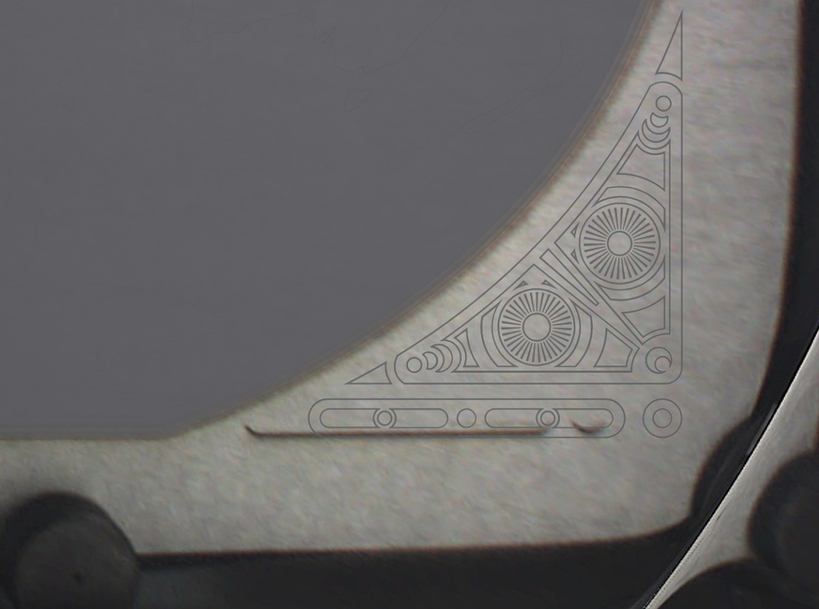
So I flipped the piece over and tried it again - I didn’t think I could salvage the piece because of some cuts made on the alternate side, but they don’t show much.
Good news: I don’t think this specific alignment thing happened again, it must have been a fluke, the lower corner issue mentioned by a a couple people. I bundled the operation with another to discourage it, too - I’m not sure this is what helped, and perhaps I shouldn’t have mixed variables when testing the problem, but I only have so much material to laser!
Unfortunately, I encountered the infinite “Scanning your materials” glitch after my second operation. I thought had waited long enough before pressing go on the next operation (I’ve heard clicking print too soon causes this) but I was mistaken. So then, of course, I needed to realign everything - didn’t nail it exactly, and then after 2 more operations, I had the Chrome browser “OOPS” crash, and had to do it again. I’m seeing chrome pushed an update recently, maybe it will help, who knows.
While many others have much more time on their machines than I, I’m finding that “bigger” projects like this, with multiple operations, can be so risky. I find myself praying and praying and always getting excited and always being let down. Been checking glowforge almost daily, praying for them to push an update through to help with some of these issues.
very cool design, it sucks that the software is letting you down. I honestly haven’t tried any big designs for just reasons like this. Kudos for do it though.
First image is the lower right corner where people are reporting that their machines hit and cause alignment problems so I would think that is what you had happen to you.
Do you have a Pro with shields installed?
This is just a checklist item, but how have you been moving your job? I (almost) always only move things once selected with the arrow keys, because I’ve been bitten by accidental resizes. Also, 12x20 artboard/canvas and a physical jig?
1 Like
Basic
Ctrl+A and arrow keys - pretty carefully. Also, 12x20 artboard in Illustrator, but what do you mean by a physical jig? To keep it in play on the bed, I use magnets.
1 Like
Went for the print again this morning on my last piece of PG Walnut. Aaaaaand…
…it did it again. ![]()
I know people are saying “stay out of that corner” but in the case of this project, it’s not really feasible. The project can’t be shrunk down any more than it is without losing functionality and detail.
Grrr…Ok, I guess I’ll just flip it over and pray.
2 Likes
Have you tried breaking it up in a different way? I’m really not sure what is going on here, but maybe have all four decorative corner elements be the same color/step or the right corner elements the same color/step or the lower ones…
I’ve done similar things without issue.
1 Like
In this case, I did bundle the two right corners (top&bottom) but they were still separate operations. It didn’t help. I went back and edited the file, and now I’m trying having the bottom and top corners on each side as one operation.
The problem is, before when I tried this, the GF was overloaded and error-ed out - can’t handle that much design. But I realized when I did that before, I had bundled the bottom right and left corners together, forcing the laser head to run the entire length of the board for each line that only occurs in the corners, so maybe, if I bundle the sides together, the head won’t have to do so much traveling, and it will be able to handle it. Crossing fingers.
1 Like
Hopefully Support can get back to you soon with why it’s losing alignment in that corner. I think previously a couple of people had issues with Pro machines where it was bumping into the door. It’s a bit unfortunate that this wasn’t caught during testing, it seems to be a design or manufacturing problem happening with multiple units, not just a weird one-off. I predict they’ll end up replacing it.
1 Like
And hopefully to us too, instead of just closing the thread.
2 Likes
Magnets.
That looks like its off in exactly the same way as before. Which, unless I’m mistaken, is not really what other people having corner problems seemed to be experiencing - they seemed to be getting more random-looking, warped distortions. This looks like its just starting in the wrong area? Or maybe it would be distorted like theirs if youd printed more of the design. I dont really know anything, I’m just full of theories.
I’ve begun cutting back on the amount of magnets I use just in case, though the evidence is against the theory that they’re interfering. In this picture, due to the fisheye effect, the magnets look big and doubled up, but their pretty weak and they’re not interfering with other cuts or in other spots, so I dunno…
1: That corner seems to be the devil for a lot of people
2: Don’t adjust anything that requires precision inside the GF UI. Set everything up in your file and only use the UI to eyeball your entire design.
3: Support may replace your unit if your alignment is that far off, I had a similar problem in that corner and my machine started overlapping printed areas on top of each other.
4: Christmas tacos are delicious.
The post processing image can be off on the screen by up to 1/4" in the corners, and the whole file will continue to process just fine if you continue without shifting anything on the screen, or closing the file.
What will happen is that the engrave area currently grayed out will also print at what appears to be a 1/4" too far to the left, but the relationship between the different parts remains constant.
The first picture in this thread shows a real placement issue, because the actual burning of the oval and the corner embellishments overlaps. That might have happened because the images were moved after the operations started or it might have been the rare corner issue. No way to tell after the fact.
But the second picture you posted doesn’t show us anything, because you did not begin the second operation (the map area) to show where it was going to print on the board. It might have come out just fine. You stopped the print when it looked like things were out of alignment.
So my suggestions would be:
-
Take all the magnets out of there, you don’t need them, and if they’re really strong magnets, they might be affecting the head because you are getting really close to them with that large print. Get them out of the machine entirely.
-
Work up a smaller print to test the printing in that corner. Just a little rectangular cut with a centered circle engraved in the middle of it will do. Place that file in the front right corner and see how it looks, alignment-wise, on the screen.
Then engrave the circle and Ignore the Cut. See where it prints and look at the post operation image. If it is far off - do not touch anything on the screen, just set the engraving to Ignore and the Cut to process.
Look at the image again on the screen, see if the cut and engrave look like they are aligned right underneath the screen image. (They probably won’t be.)
But then open the lid and look at what actually happened with the engrave and the cut. They should be aligned just as you created them.
Basically, you can’t trust the post processing image. By creating everything together in the file though, it should maintain the relationships perfectly, despite the fact that the image on the screen looks wonky.
-
If they still don’t line up, your machine has a problem and support is going to have to look into it from their end. Make note of the time and time zone that you ran the file and let them know what it is so they can research it.
-
And only after you convince yourself that your eyes are lying to you should you take a shot at your big file…it will keep you from wasting more Proofgrade.
