I did a search through the forums but couldn’t find any settings for beech. A general Google search turned up even less I’m looking for some starting point for engraving beech plaques. Anyone worked with beech before on the GF?
EDIT:
For anyone interested, I ended up going with 1000 zooms and 100 pews for these results. The wood was 3/8 thick beech.
I’m searching for Beech wood cutting & engraving settings as well but mine is 1/2". I’m still new at this so I’m a bit nervous since I have no idea how to tune the settings for non-PG materials yet.
You had to remove the crumb tray though I’m guessing right?
I have successfully engraved and cut (in one pass) 0.59" pine with the crumb tray in place, but cutting is VERY flamey and - as I stated above - you will struggle to get good results cutting anything 1/2 thick.
Contrary to comment above, engraving on 1/2" should not require removing the tray. That is within the specs of the machine. The pic above shows the engraving as well, which was perfectly fine, even though my material was 0.59" thick.
Keep in mind those settings are also pretty old, so the machine settings may have been updated since then. I doubt it, but it’s happened in the past and I haven’t been keeping up on all my old settings like I should be.
The original suggestion of looking at Red Oak settings should still stand though. As is always the case when possible, test test test. That’s really the only way. Start with some settings close and just play around until you find what works well for you
A customer asked if I could do it, so I had to try at least.
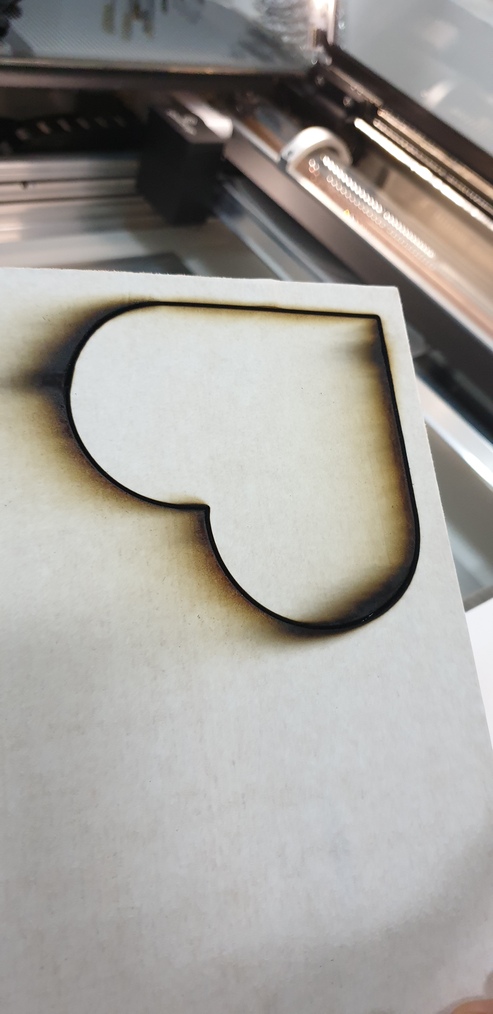
So I tested 1/4" Beechwood the other day & managed to get through with 2 passes (1st try was a pain & I kinda messed it up but played around with the settings with what others have recommended in other posts for Red Oak & eventually got it right the next few tries - 140 speed & full power) I didn’t care to put masking tape since it’s just a test, so there was a lot of charring .
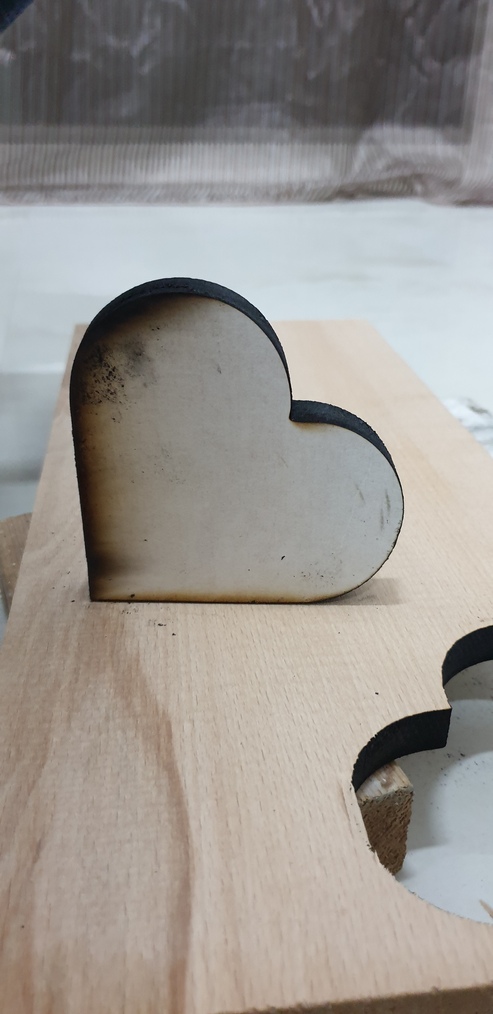
& I just finished testing the 1/2" one (slightly thicker actually) & I did 14 passes with the same settings & type of wood. I assumed I’d get it with 4 passes but anyway … Most of it got cut, only some areas where there were curves were harder for it to do so I guess - the straight lines were A LOT faster to get cut - 1 or 2 more passes I think would have gone all the way through for the whole shape, or adjusted speed, not sure what though. & the edges were not 100% what I wanted, again on the curvy side, but clean enough, just a little sanding would smooth it out more.
There were flames but not too much, & not in all the areas of the cut. @caribis2 I initially put the piece on the crumb tray but felt it was waaay too close to the laser, so I removed it & put in jigs instead.
I haven’t engraved yet, I think that’ll be easier to figure out; I just wanted to get the test cut out of the way to know if it’ll actually work then I can engrave later on. I wouldn’t want to do this on a daily basis but at least now we know it works, so I’d say that was a success! @drelleum

 thanks!
 settings should still stand though. As is always the case when possible, test test test. That’s really the only way. Start with some settings close and just play around until you find what works well for you