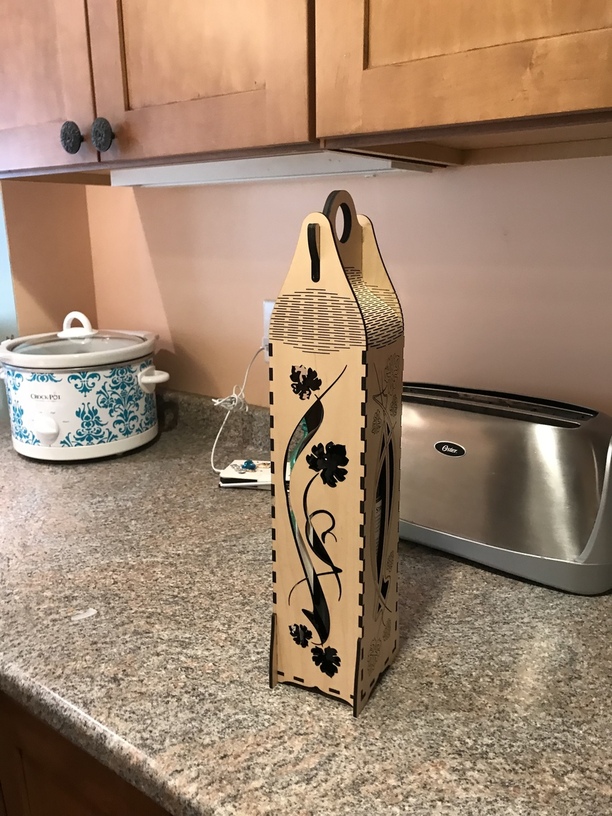
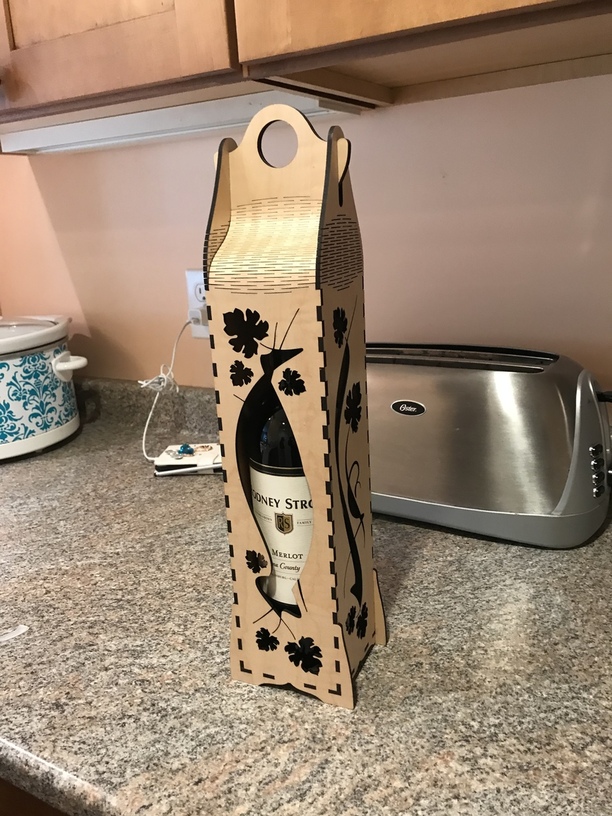
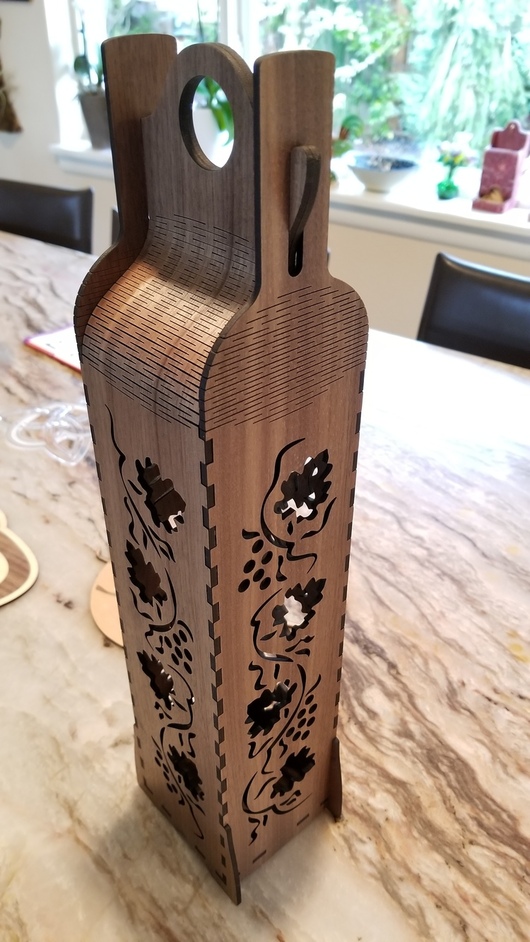
Went on Cartonus.com and bought the vertical wine box plans. Cut them out of medium maple ply. The ply was a little warped so I slowed speed to 150. It cut perfectly at that but in my haste I left everything as a cut on the first two sides but all worked out well. A little tapping with a pastic mallet and the fit was perfect and no glue needed. My mother in law loved it when I gave it to her.

62 Likes
Nice!
2 Likes
Very pretty! Like the cutouts in the design! 
1 Like
Thanks, sometimes a mistake is just a variation of a theme.
6 Likes
Presentation can be everything! Lovely!
Thanks, you inspired me into giving this design a try after buying it a while back. Had a few challenges, mostly my fault, but happy with how it turned out!
8 Likes
For the few projects from Cartonus I’ve tried I’ve found the tolerances really nice and great baselines for customization projects.
3 Likes
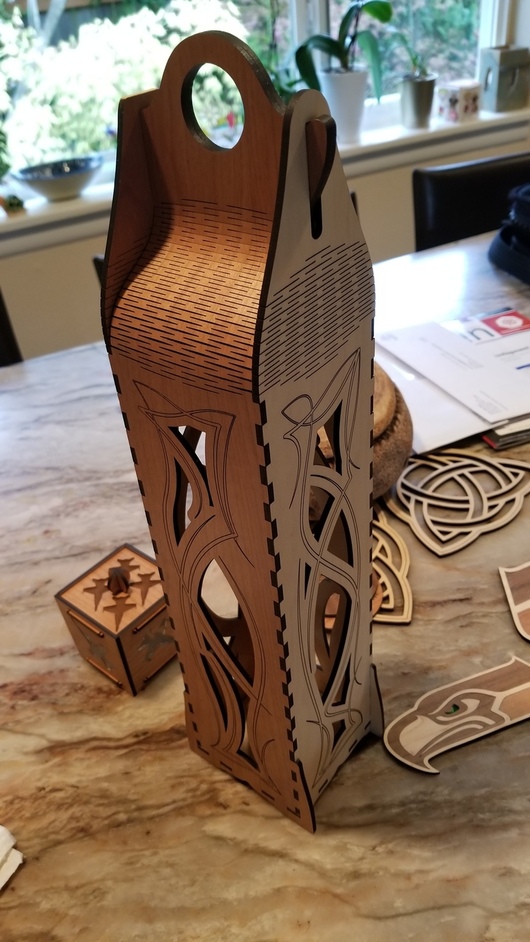
Nice mix of woods
I also tried this but it didnt go together… too tight. Did you edit the size at all so the tongue and groove fit?
I didn’t make changes, but it did take liberal hammer tapping to make it fit. It really doesn’t feel like it’ll fit, but the plywood is pretty forgiving to some force.
2 Likes
I did not alter the design either. it does take a good amount of hammering but fits perfect.
You guys inspired me to follow you lead … and I don’t even drink wine!
The Maple Plywood parts cut at Proofgrade settings were tight but light hammering worked well.
Has anyone tried the Cartonus pattern with acrylic? I’m guessing some editing on the finger joints could be needed. And would the flexible cuts even work on Acrylic?
I’ve made the little locking book box out of acrylic and it worked. I wonder on the longevity (if it gets more brittle).
Bought and made one of those as well - works extremely well with Proofgrade!
Although - not ALL wine bottles fit. Standard ones will, but fatter bottles wont - we found that out the hard way when my adult daughter tried to “force” one in. Cracked the plywood and I ended up re-doing the plans in CAD to make it a bit wider on each side. Still turned out awesome!
For the Acrylic Cartonus book box, did you alter the finger joins or change power/speed from Proofgrade defaults?
Cartonus patterns are designed to be snug, with light tapping/hammering the finger joints into place to hold tightly without glue. And some of my tenon joints on some projects of his have required firm hammering. Making the projects out of acrylic would need the joints eased open a bit so that you don’t force little cracks during assembly.
I’ve had good luck with several Cartonus patterns using PG Maple. Never tried any acrylic and I appreciate that the joints should be loosened. As very inexperienced with acrylic, I was hoping for some specific inset/outset numbers or Stroke Width -> Stroke to Path -> Break Apart numbers. Experiment is always an option that I was hoping to avoid.
I’ve found with cast acrylic that I have found more minor variances with sheet thickness than with the baltic birch and PG wood plys. My PG acrylic sheets will caliper at anywhere from .127"—.138", even varying a little throughout a single 12x20 sheet. So I’ve settled on a generic fit of planning .132" with a kerf adj of +.0038—which generally is a tight enough but easily removable joint. (Though last night I output an acrylic job that I adjusted kerf .0052" just to give a nudge looser fit.)
And if I need the joint to be permanent, I use Weld-On 3 adhesive with a needle applicator like you can see used here on Graylight May’s shelves: https://www.youtube.com/watch?v=R8HQjv1nHk0
2 Likes