So, last week I saw mention of this game called Pencil Park on Twitter. I looked it up and it is a print-&-play game, so I downloaded it, printed it out and @martinell.jan and I are really enjoying it! Here is the game’s page on BoardGameGeek.com: Pencil Park | Board Game | BoardGameGeek
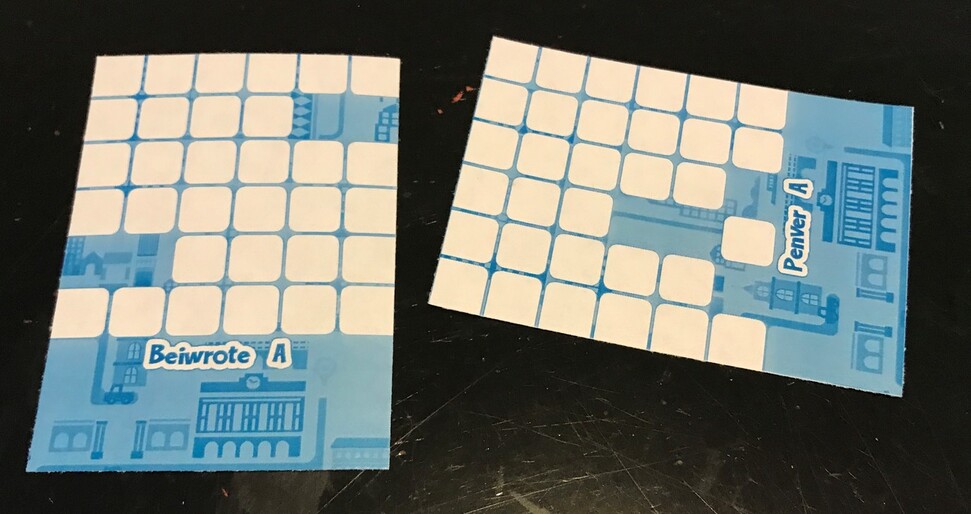
It is a dice-planning game in which you have two cards that make up a 6x12 grid with some spaces covered over. There are a bunch of different cards that you choose randomly, and you can orient them any way you like so long as you have a 6x12 rectangle. In other words, there is a lot of variability from game to game. On a turn one player rolls three dice. Each player then chooses how to use those three dice individually. One die is used to determine the shape of the zones that you are adding to your city. For example, a “1” means you use only one space for that zone, where a “3” means that you use three spaces, but they have to be in a single diagonal line. Basically, the shape of the zones matches the shape of the pips on the die. The other two dice are then added together to determine the type of zone that is being added. Different types of zones score in different ways. If you choose not to use a die roll, or can’t use a die roll then you place an “X” in your city. If you have three X’s and then can’t use a die roll, your game is over and you score your city. Once all players have finished, you compare scores and the highest wins.
Remember that all of my cards are printed on regular paper and cut out (quite sloppily), so they are flimsy and some spaces were crooked, etc… Also, trying to keep two cards on the table when there are dice and pencils flying around is challenging.
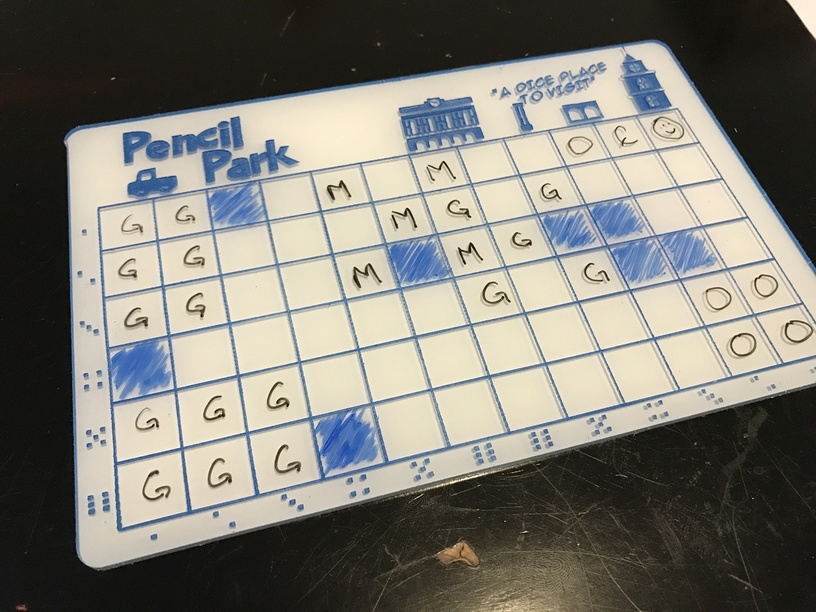
So we tried taping the pages together, but that is also tedious. I thought about making a cover out of acrylic that we could just place over the cards and then use dry-erase, but then I thought, why not just make a full board? I etched the board into 1/8" clear acrylic. Then I spray-painted the etched side in blue, took off the back masking and sprayed the back side white. When dry I took the front masking off and it turned out pretty good!
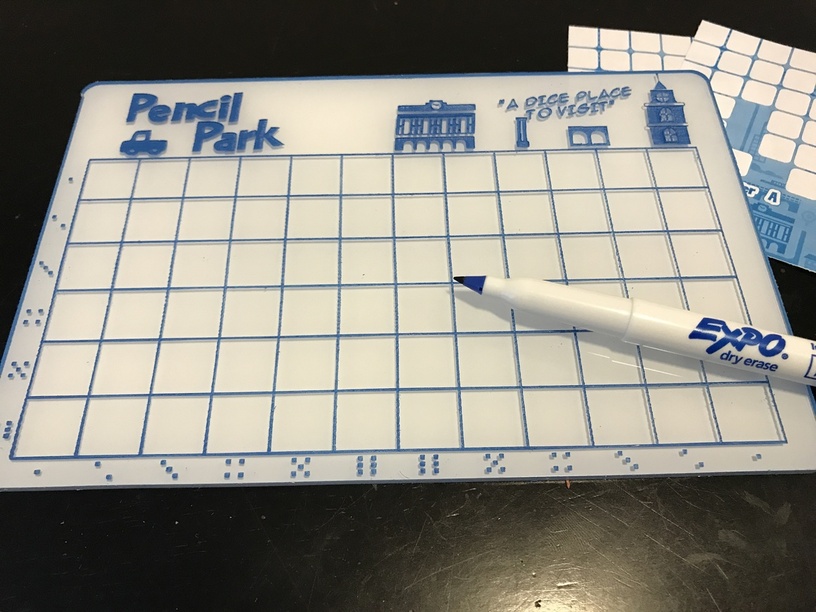
The little die-faces next to the rows and columns is so that we can randomly determine the blanked out spaces in each half.
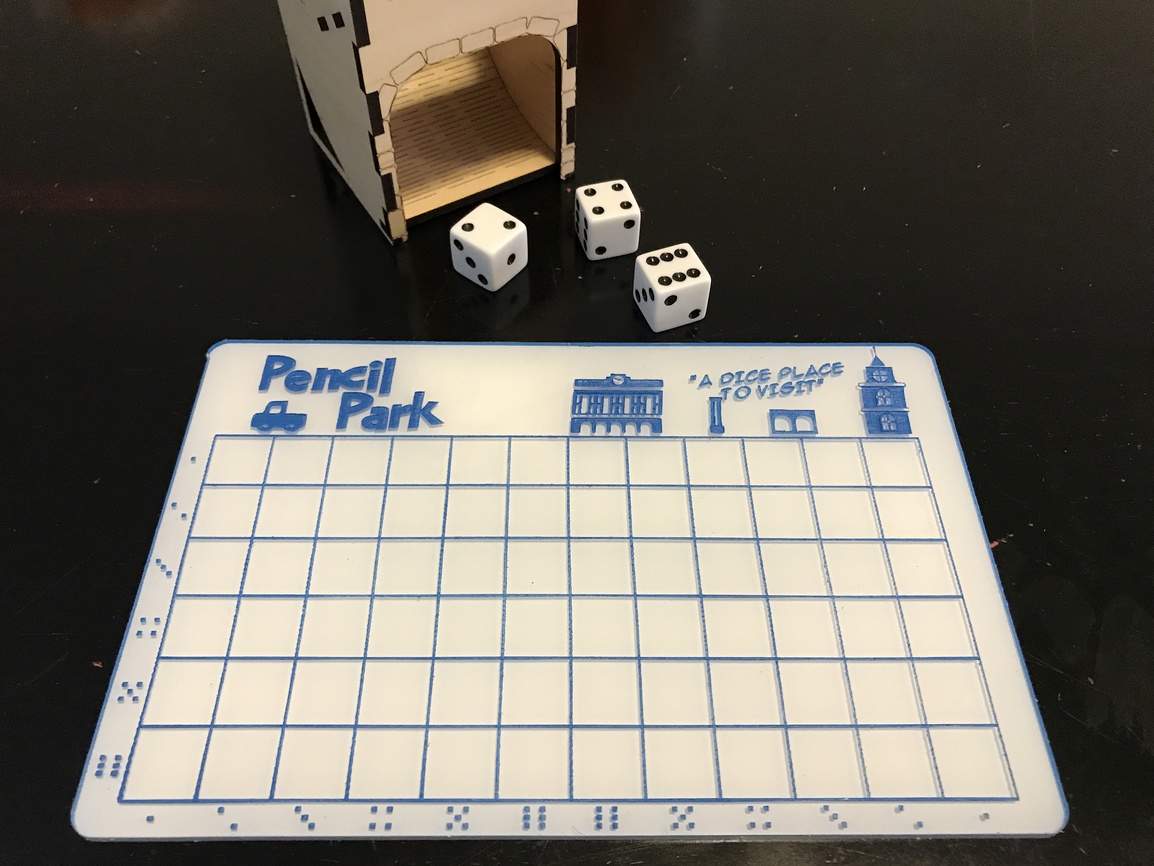
Here’s a game in progress.
And here’s the completed game!
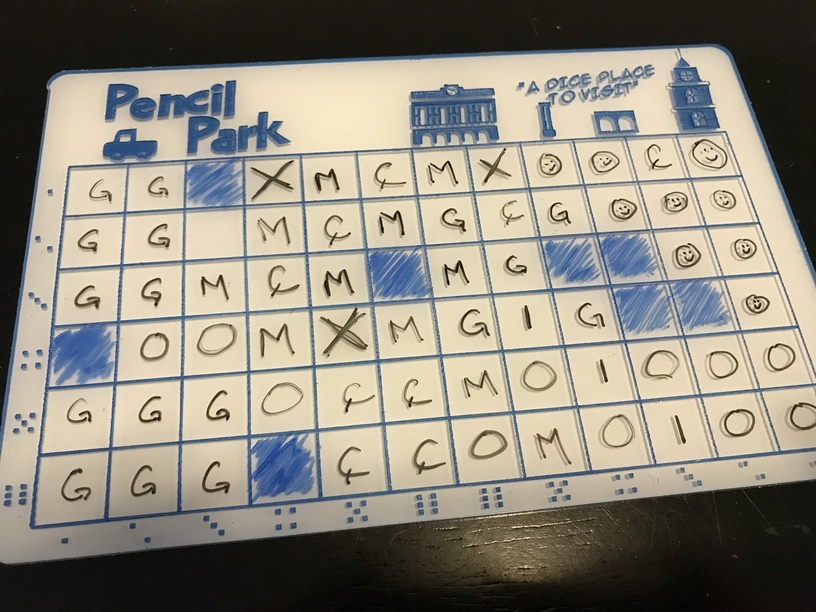
This was my board. I think my final score was 94. @martinell.jan whooped me this game with a score over 270! That’s the highest score I’ve seen… but I got her back in the second game!
We came to a couple of conclusions. First, I am going to re-make the boards with the mirrored board etched on the back. Then I’ll spray the blue. Then I’ll unmask that side and spray the white… then I’ll back with foam or felt to protect it. Then I can take the mask off the front and have a nice, smooth piece of acrylic and not have to worry about getting dry-erase ink down in the grooves, or brushing up paint when I erase the board. I’m also going to add a scoreboard off to one side so that at the end of the game you have somewhere to write down your score.
Check out Pencil Park. It’s a fun game!