See screenshots. Yes, the camera focal distance is set correctly. Even if it weren’t, not that the object is several inches out of place!
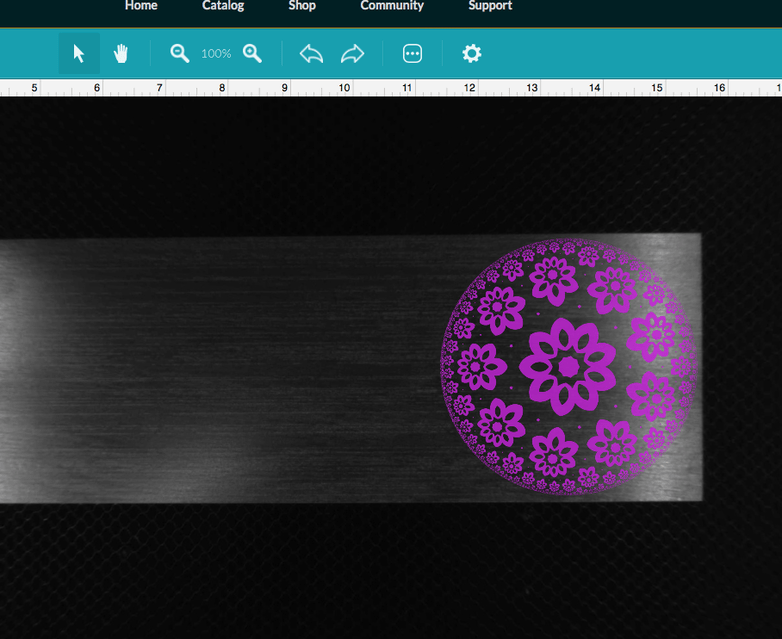
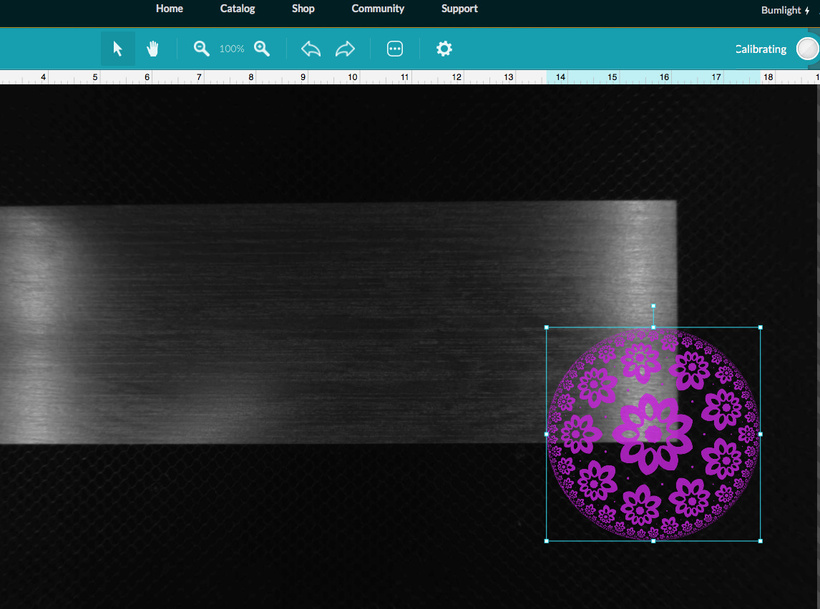
Appears like the material image shifted, not the design.
Design still has about the same relative reference to the usable area.
What is interesting is that upon reloading the page, the design is now rendered shifted to where it tried to engrave.
So, it’d appear that the problem is in the layout UI and not the print pipeline.
I’m sorry your prints aren’t coming out as expected.
We’d like to have you try a few troubleshooting steps for us:
-
Turn off your Glowforge.
-
Check for small pieces of debris or dust.
- Check the lower door to make sure it closes all the way. It may require some force to open, but open it, wipe any dust off the edges, and close it all the way.
- Remove the tray and clean any dust or debris from the surface underneath. Pay careful attention to remove all debris from the four dimples where the tray rests.
- Check the lid to make sure it closes all the way. Small particles of material, such as dust or debris, can prevent it from closing completely.
-
Check the surface your Glowforge is on to make sure it’s flat. Ensure it is not twisted slightly and that there is no debris propping up one side of the machine.
-
Turn your Glowforge back on.
-
We included an extra piece of Proofgrade Draftboard with your materials shipment for troubleshooting. Place the Proofgrade Draftboard in the center of the bed and print the Gift of Good Measure using the default settings.
-
When the print finishes, leave the lid closed and wait until the fans stop and the picture updates. Without moving your artwork or your material, take a screenshot of the Workspace to show us the difference between the artwork placement and the actual print placement. Make sure to include the rulers in your screenshot and show as much of the bed as possible.
- Mac: Press Shift-Command-4 and click and drag a box around your image. You’ll find the screenshot file saved on your desktop.
- Windows: Click on the Start Menu and type “snipping tool”. Open the Snipping Tool > New then click and drag a box around your image. Click the Save icon and name and save your file.
-
Send us the screenshot along with the date and time of the print, and we’ll investigate.
This is a GFUI issue and I’m pretty sure I know how to reproduce it. The UI is, effectively, “dividing by zero” when resizing a particular PNG image (that has worked fine in the past). Once that happens, then the layout in the GUI no longer matches where the GF is actually going to print.
I’ll reproduce the issue this evening to confirm.
I experienced a similar issue yesterday evening. I was seeing some weirdness in the GFUI when I was copy/pasting an additional object where a different object not selected moved to the spot instead of creating a clone of the selected design as expected. This happened twice before it behaved as normal. I finished the layout and started the print, this is a screenshot of they layout on the GFUI right after I stopped the print.
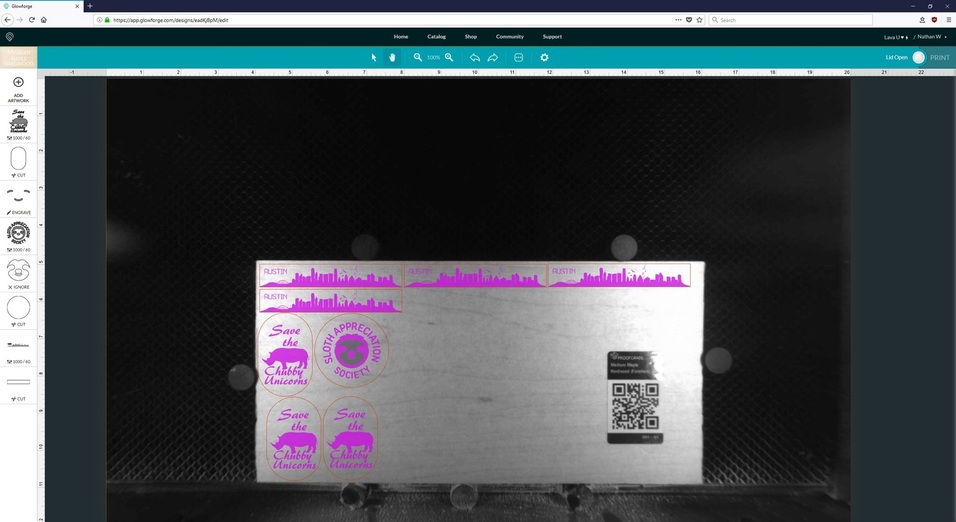
After I re-opened the design from my list this is what the GFUI showed (the two items that moved from the copy+paste were deleted and two copies randomly added to the layout).

I will note that I’ve had the Glowforge for more than 8 months and this is the first instance of ever having a complication of a print. I’ve only responded to this post because it is easy to dismiss a problem as user error when past history would suggest nothing but successful prints.
1 Like
As someone experiencing print complications I really appreciate you chiming in with this. Thanks.
Something in the air.
Happened here once also.
Saw it and backed off. Redid everything and it straightened itself out.
ONLY ONE FACTOR that may relate.
The design that failed was a redo of an existing one in the UI. I opened it and eyeballed the thickness and parameters. All looked ok, so hit print and it shifted (failed - same as shown in photo above).
Next go round I also selected the thickness selection and inserted the proper one, then checked again on the design actions again. Looked right and printed fine.
SO → if you do not trigger the thickness selection on a reprint, does it go off into limbo?
Maybe there is no check for previous thickness as displayed in the design actions.
Part of the new and improved as mentioned below? Did not get that message so was a ninja fix if it was involved.
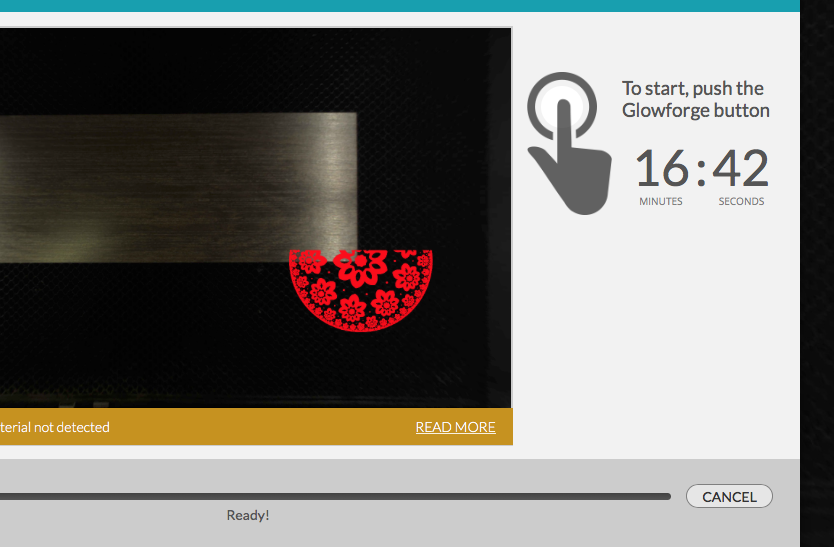
Material didn’t measure. Your material was not measured accurately, so the standard focus height for your material will be used.
Thank you so much for the details. I’m looking into it now. As soon as I have more information I’ll update this thread.
I’ll reproduce the issue this evening to confirm.
The team is still looking into this, in the mean time, I wanted to check back and see if you had been able to reproduce the issue?
I’ll try to reproduce the issue this weekend. Temperature should be back to sane.
Using the same source image and the same steps, I was unable to reproduce the issue.
If you see this again, please make a note of the steps you took just before it happened, the date and time, and which design you were working with. Send us those details and we’ll add them to the investigation.
Restarting the browser should resolve the issue in the short term and get you back to printing.
I’m going to close this thread - if the problem reoccurs, please let us know in a new post.