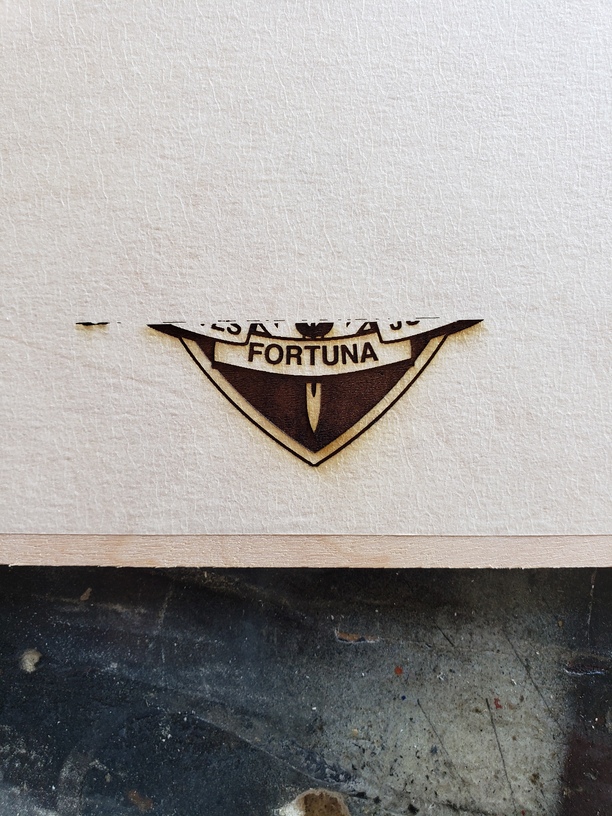
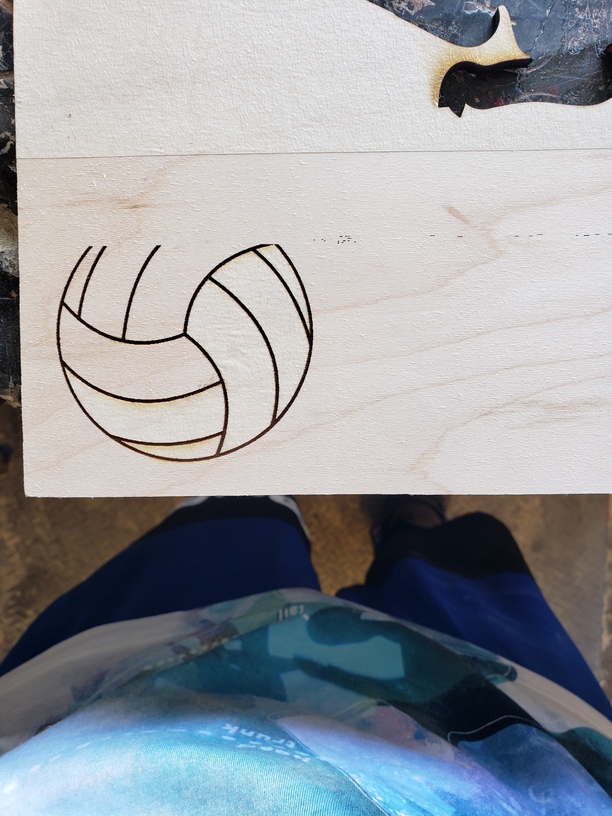
I was engraving and cutting a few projects yesterday when in the middle of a print the laser head started to almost “glitch out” and jump from side to side almost as if it was getting stuck in spots and I received the “BUMPED The laser head experienced a bump. Open the lid and check for anything in the way before printing.” Error message. Nothing had hit the machine, and when I opened the lid and checked, there was nothing there. When I attempted to restart everything the laser head was having issues centering and homing and was getting stuck in the left side middle again jumping here and there until I would receive the “BUMPED” Error message again. I did a relatively deep clean to make sure nothing was in the way, and let the machine sit over night hoping the issue might resolve itself. Today I attempted to run the machine again with a different image and had no issues with centering and homing and started the engraving and about 1/4 of the way through I received the “BUMPED” Error again and now it is having issues homing/centering. Attached are pictures of the 2 images I was engraving when the error occured.
Is it a side to side jump? Sounds like the wheel might have cracked. Turn off the machine and remove the laser head to check the two wheels on the carriage plate.
Yes, it is side to side and I have checked the wheels on the carriage and they appear to be fine (no visible damage).
Okay, in that case, run your finger along the metal rim that the wheels ride on…(it will get dirty). If you feel anything sticky, you might need to clean the whole rim front and back. You can wipe it with a paper towel moistened (not wet) with a 50/50 mixture of vinegar and water. (It’s great for cleaning the interior.)
Also check the tension on the belt underneath the laser arm. If it feels loose it might need to be tightened.
I had checked that yesterday when the issue first started and the rail seemed relatively clean but I had wiped it down just to be safe. I just rechecked everything and the rail is still clean and the belt seems fine as well.
With the machine off, slowly move the carriage plate side to side and see if you can feel it hanging up on anything.
If not, you might need to take a picture of the belt underneath on the right side at the pulley. (Support can sometimes tell if there is something amiss with the pulley itself by seeing that.)
Other than that, i’m out of ideas. 
Everything move fine by hand. I can move everything side to side and front to back with very little pressure. I even just checked the teeth on the belt to see if maybe they were worn down but everything seems fine. Also, I probably should have put this in the original post, but it is the Basic model and is approximately 5 months old (received it in March 2020). My only other ideas is either a software issue or a stepper motor issue.
The steppers are really pretty hardy little things…I’ve never seen one go bad. 
What I did notice is that it seems to be running along fine for a while on the engrave…and then it goes bonkers. That would indicate a problem with the side belts…maybe a tiny bit of debris in one of them or it hit something on the side. You might want to check those over carefully too. And slowly pull the laser arm forward and back to check for resistance. (Machine off.)
Maybe Support can see something from the logs.
There is nothing in any of the moving parts as far as I can tell. And I’ve cleaned all the moving parts 3 separate times since I started receiving the error yesterday. Both examples are on 1/4" plywood and leaves plenty of clearance. And both examples were more to the center of the crumb try with one being on the left side of the camera and the other on the right side of the camera (to determine if the problem is location related)(which it is not).
Are you using magnets?
Magnets for what? I have not put any in the machine for “clamping” if that is what you mean. Everything I put inside is relatively flat and at most I might use thin double-sided tape to keep things in place if need be, but even that is rare.
Yeah, some of the early adopters prefer them to hold the material down. They can interfere with the head if they are strong enough.
Guess support’s going to need to review the logs. Sorry we couldn’t find it.
No worries, I just hope they can get to me soon. I use it almost daily for orders and I am slowly falling more and more behind schedule. Thank you for trying to help me and for your time, I appreciate it.
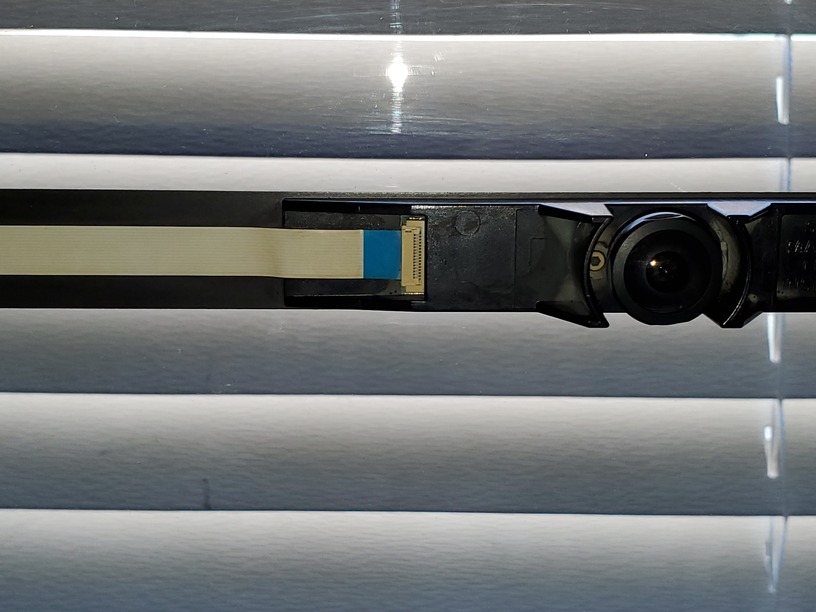
Is the ribbon attached securely to the laser head? Try removing the laser head from the gantry and ribbon while the machine is off and then reattaching it. The ribbon should snap into place.
I suggest following the tutorial below from time 3:25 to 8:51.
Also, check that these two other ribbons are secure:
Also, to borrow Jules’ responsive to another GF user: cable connections.
- Turn off the unit.
- Carefully remove the printer head by pulling gently up and back to disengage the magnets and remove it.
- Check the connection on the white ribbon cable in the laser arm. Make sure it is fully inserted into the printer head, until it has clicked into place and that the pins are in good shape.
- Check all of the ribbon cable connections in the lid. The connectors need to be fully closed.
- Turn off your unit.
- Open the lid.
- Using both hands, gently roll the laser arm to the front of the unit.
- There are 5 clips pictured below. Check each one to ensure it is closed. The clip should lie flat, and you shouldn’t be able to flip it in any direction. Check that the cable is not kinked or bent where it passes over the metal lip at the green arrow shown.
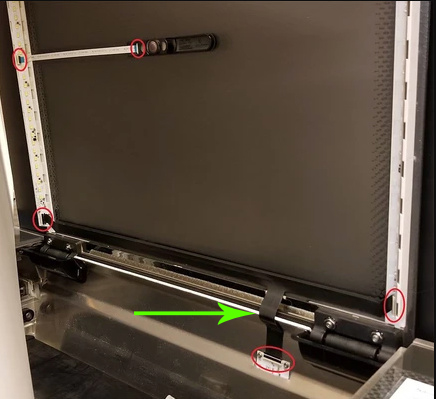
- If any of the clips are open, ensure the cable is inserted straight into the clip and close the clip.
- If any of the cables are misaligned in the clip, take a photo of the clip and cable and send it to Support before you proceed
So all the ribbon cables are secure with no kinks or bends. The only thing I noticed was that the ribbon cable attached to the laser head does have a little play in it after it is “clicked” into place. As in when the cable is connected and “clicks”, the cable has the ability to slide in and out a hair while still staying locked.
Hmm. I just tested and my cable attached to the print head is able to move around a little too. Does it seem like the cable will stay in place during normal operation on your Glowforge unit?
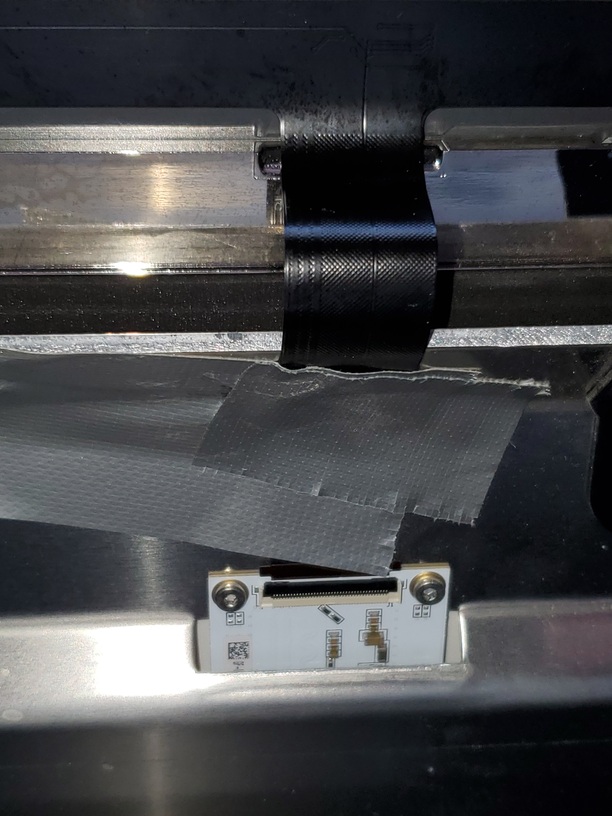
So, the cable doesn’t disconnect or anything when its running, it stays locked in place and even when the movement starts to “glitch” before the machine pauses itself the laser is still firing but I will do a test quickly with the cable taped tightly to the carriage and see if that resolves anything.
So, taping the ribbon cable that attaches to the laser head had no change and it is still getting the “BUMPED” error.
If you’ve already cleaned the camera and swapped out the materials, I can’t think of anything else at the moment. Hopefully support reviews this soon.