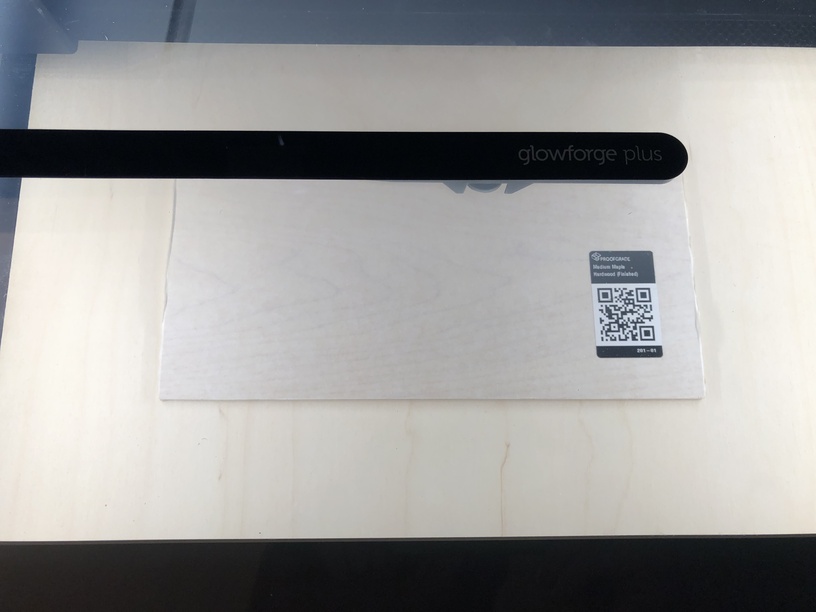
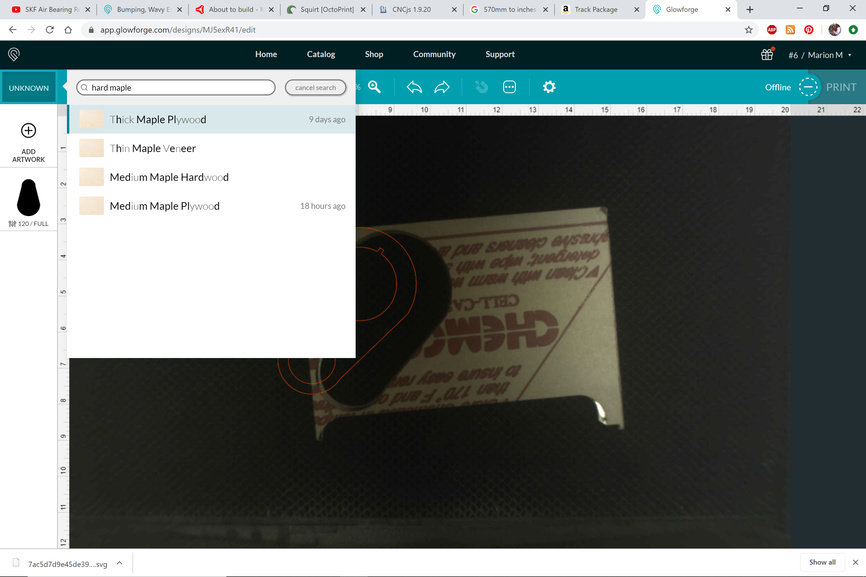
After I Set Focus on the middle of the temple to get the alignment correct. I take out the small piece of Medium Maple Hardwood Finished with the QR code on it out of the machine. GFUI Scans the area and becomes ready.
During the print (as I have tried three times but only showing on this image two passes canceled midway) that the print head bumps into the side of the arm on the left in this video.
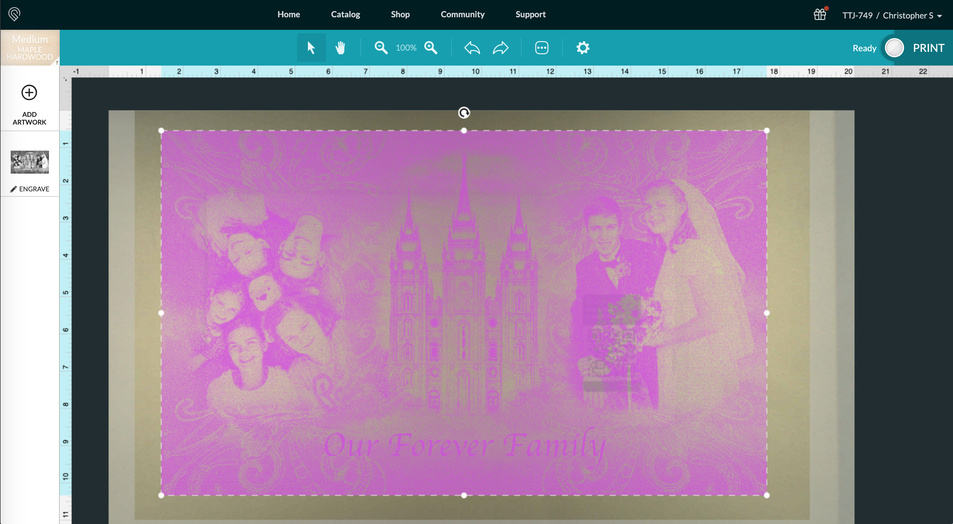
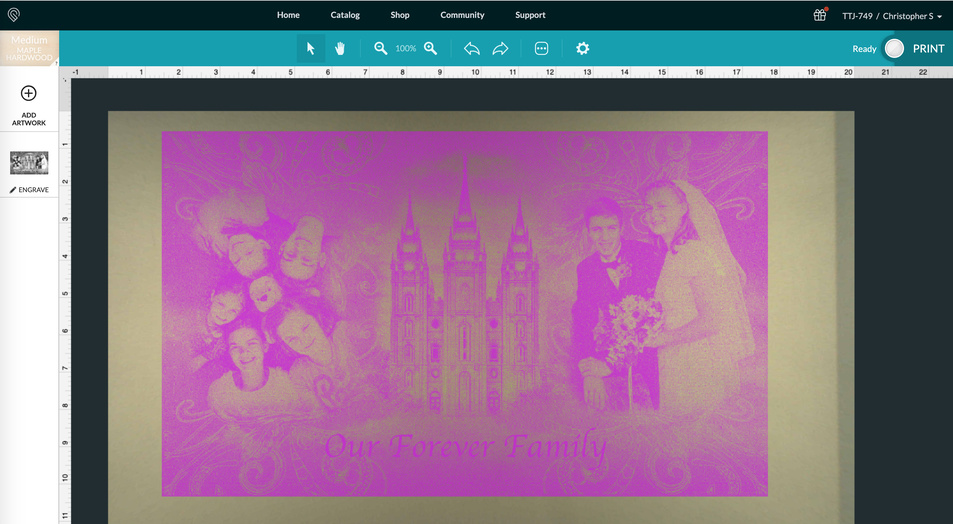
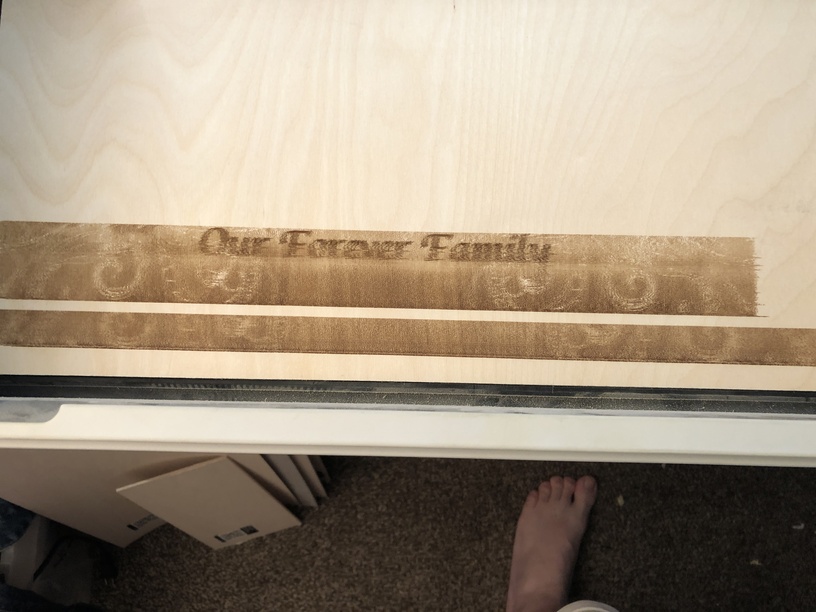
The engraving is very wavy and not crisp. I started the document 12in x 20in with 300 DPI, and exported as SVG with 300 DPI so I don’t understand why it looks like this?
Here is the SVG file I have made and exported from Affinity Photo.
I thought the wavyness could be that the machine may need to be cleaned as I got it in the end of November 2019, and having cleaned it. I don’t understand why the wavy patterns are happening. I don’t understand why its hitting the side of the arm on the left unless its not really focusing or aligning right. Or its a combination of other things I’m not yet familiar with.
I have to get this working because it needs to be done by tomorrow or otherwise I lose this client. Its pretty lame right now.
Is it possible that you bumped the printhead when you switched out your material and the machine was turned on? If so, turn the machine off and then back on so that it can re calibrate.
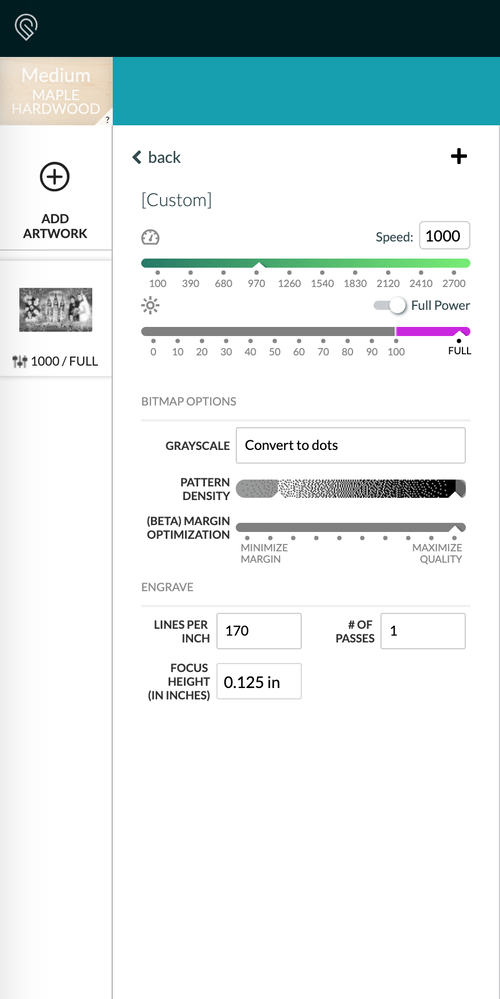
You’re doing a few things you don’t need to do, such as saving a bitmap image as an SVG. A grayscale JPG or PNG would be better for what you’re doing.
If you want to use a proofgrade setting for your engrave you can just click where it shows the material at the upper left and choose the material you want to emulate. I’m not sure which engrave setting you are choosing, but you can always go manual and choose Vary Power for your output to get different depths of engrave based on the levels of gray.
If nothing else though, I’d convert the image to grayscale, check out the Glowforge recommendations for preparing photos in Photoshop or Gimp (the technique will transfer to Affinity Photo if not the actual commands) and you should get better results.
Also, search the forum for photo preparation tips. There are lots of discussions on the subject.
After turning the machine off and back on, I suggest putting in your baltic birch, using the set focus, and then placing your design. You can manually input the setting you wish and select un certified material.
You can choose the material and don’t use the QRCode. Just type in a few words of the material in the upper left materials box and that will allow you to use the default settings for another material. It will still give a warning that PF is not detected, but as long as you have some appropriate material, you are ok.
As to the bump, I’ll think about that and get back.
Something is interesting here because you are going pretty far into the margins that are usually no goes. You do have a pretty slow speed, but still.
Try it without the PF piece on top and use the Set Focus. Don’t open the lid back up. And turn off machine before using again and let it calibrate again once turned back on.
Yeah I was trying to maximize the size of the image. I thought it was interesting that GF allows a 12in x 20 in piece of wood but it wont allow one to print to that size. Even the grey boundaries dont allow anything to be printed unless one is within the range of printable area, which I find super annoying.
I cannot even cut a 12in piece of wood in half without having to move the wood and make a second pass over one line, and hope I get it right on the same line. I don’t have a table saw, other wise I would cut it to size first then place the design to be engraved. It is what it is.
I think one of the problems with the bump is I was trying to print up to the edge of the grey area and coming up as close as I could to it. I’m trying to make large prints, and making those prints has been very difficult with different kinds of non PG materials.
I see you got some great advice from the extremely knowledgeable owners, thank you all for your help.
At this time I am going to close this thread. If you run into any trouble please feel free to make another thread or email us at support@glowforge.com.