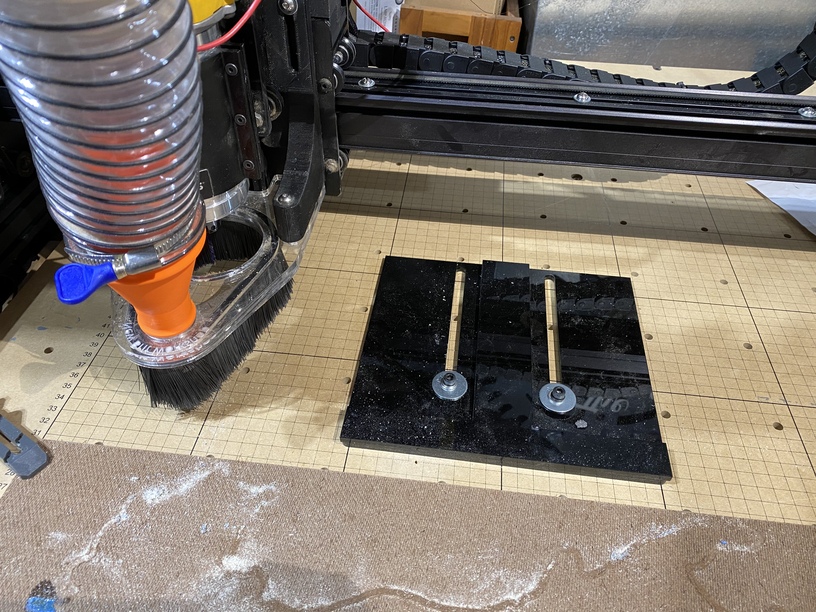
Alright calm yourselves. Yes, with my job you might expect something for my colleagues in colo-rectal surgery but no this is a pressure clamp for my x-carve.
Since the x-carve has an open frame on the y axis you can carve very large objects and unlike the Glowforge there is of course force involved in carving so while the regular clamps that screw into the wasteboard do a good job of applying pressure they really just push the edges down (and if you’re not careful bowing the piece). Even worse when you part is cut out of the stock it is no longer held by the clamps of course and one touch of the end-mill and your project is destroyed. So normally you leave tabs in the profile cuts (ugh). They work but mar the finish at their points, no matter how well you sand. So what folks will do is the “tape and glue” method where you stick blue painter’s tape to the sacrificial piece and the brim of your stock and the CA glue them together (essentially making your own cheap double stick tape that is more easily removable) and that works great (you put the clamps on the sacrificial board underneath) now you won’t cut through the clamps and no warping. But that tape isn’t super strong if you’re turning a big tool (like a 1/4” 90 degree v-bit) you need a lot of lateral holding power. So this clamp is a modification of Phillip Lunsford of Paw Paw’s workshop on YouTube’s design. His are made of birch ply but getting back to the pass-through you need guides to keep the piece square as you push the stock through (and square means to the actual machine square not the printed lines on the wasteboard - pro tip just engrave 2 thin lines one up Y and one across X for 750mm to indicate the actual squareness. Then this clamp of course can be secured parallel to those lines (it can tilt probably 20-25 degrees) and the reason I wanted acrylic is it is much more slippery for sliding the stock along for sign making. Not having a guide is terrible with tiled signs since even a 1 degree error is huge over. 6-8 foot sign.
Now I do realize the irony of cutting acrylic on the Glowforge for a machine perfectly capable of cutting acrylic for itself. But the edge is smoother with the laser and less nasty dust to deal with. So 1.4” black acrylic it is left over from another project. and yes the dust shoe is proof grade thick clear on the Glowforge with a 3D printed hose adapter on my prusa. And apparently I am a bad man and made puppies cry by printing it in PLA and not PETG. Geez. Like seriously how much force do you put on your dust hose? Enough force to tear apart the PLA would also pull the X-carve out of the path so the answer should be as little force as possible! The bigger issue is the snap tabs that click into the acrylic wear down more quickly with PLA but since this is a quick part to print and costs like $0.20 who cares.
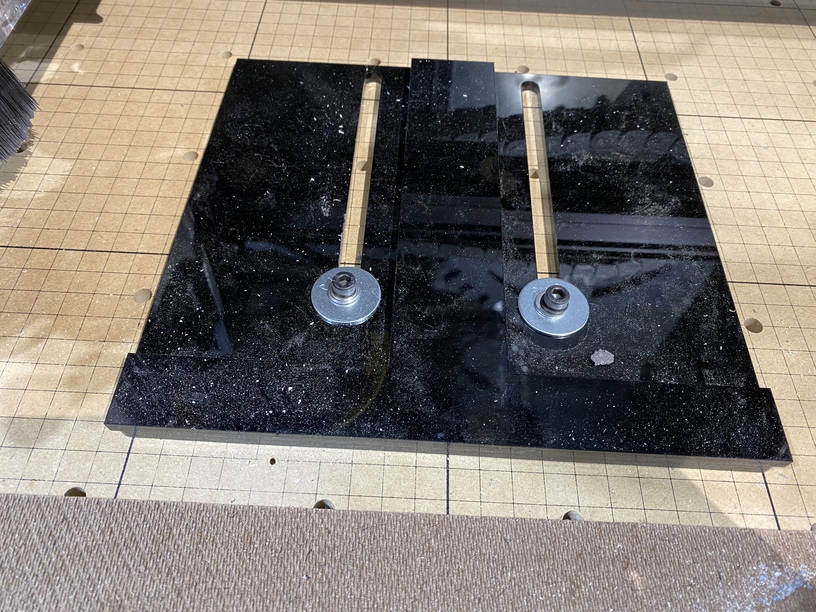
I will upload the file if anyone is interested. The bolts need fender washers for best holding without cracking the acrylic. The bolts are M5 and the fender washers are 1/4” and there is a M5 washer above it to make sure the head doesn’t slip through the 6.5mm hole.
