I’ve had my Glowforge for several months now and I’ve been slowly making more advanced/precise projects.
My current project is a bunch of wooden “coins” for a government agency. I engraved the fronts, flipped them over, and attempted to engrave the backs and cut them out. Unfortunately, this is where I’ve noticed my Glowforge seems to be “off” from where the software shows it’ll cut/engrave.
On most of my projects, to date, this wasn’t something which would have grabbed my attention. But now it’s causing me to put a customer project on hold.
I’ve tried blowing out the bed and cleaning the lenses, with no such luck.
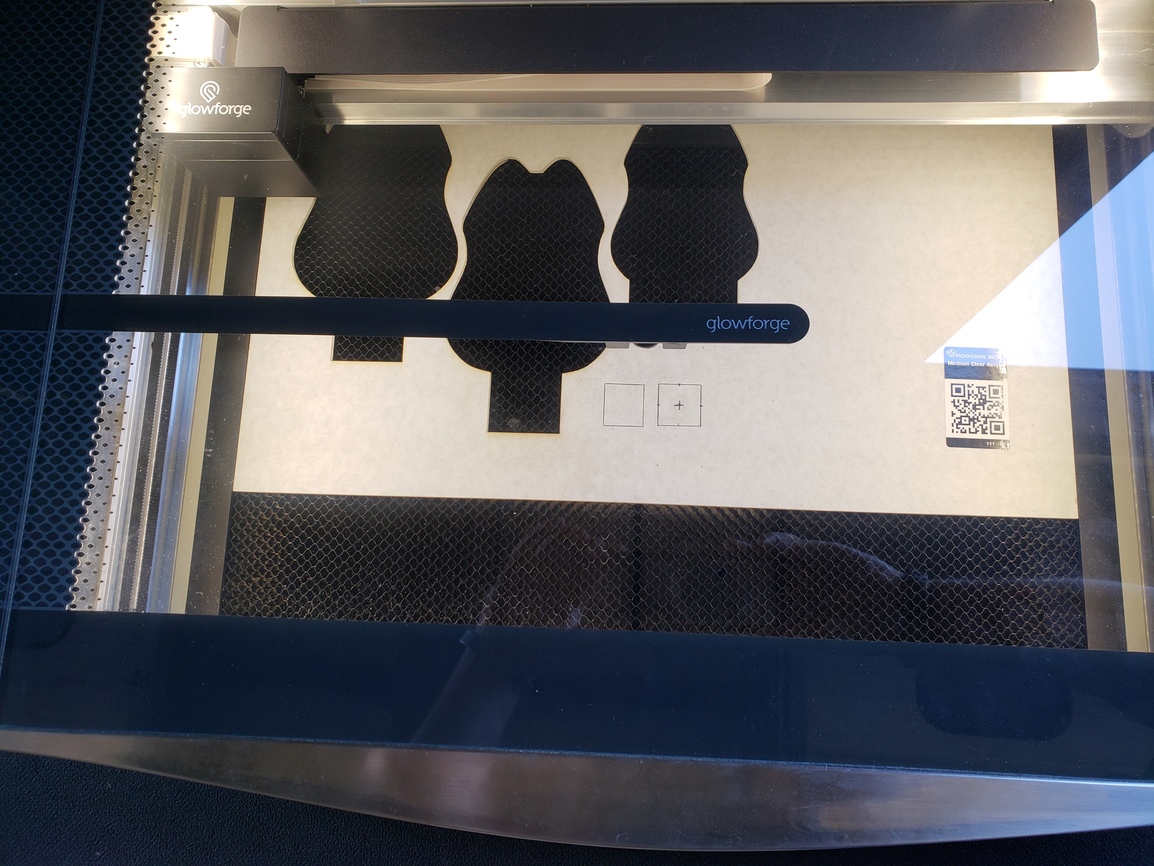
Below are some images and screen captures of a quick accuracy test I tired to do with a 1" box and a 1" circle, placing them inside drawn 1" boxes.
Proof Grade Material loaded and as centered under the camera as I could get it
Alignment problems galore… but for yours, an easy fix.
Include BOTH front and back images in your job.
Ignore the back. Do the front engraves, and the cut.
Flip over, ignore the front, and the cut - engrave the back.
Make sure your board/material is PINNED DOWN firmly so you don’t move it when flipping the coins.
@Bigjohn is right on. I’ve done 5,000 1-1/2" tokens and all engraved perfectly.
Super impose both front and back designs in different colors. The different colors distinguish different operations. They will show on the sidebar, so you enable one side and the cut while ignoring the other, then flip and ignore the cut and the engrave you just completed.
If the material you cut them out of moves, you’re hosed, so pin the material down well. I found a piece of masking tape is great for picking the cut tokens up to flip them.
I think there’s a misunderstanding. Maybe I didn’t explain it thoroughly enough.
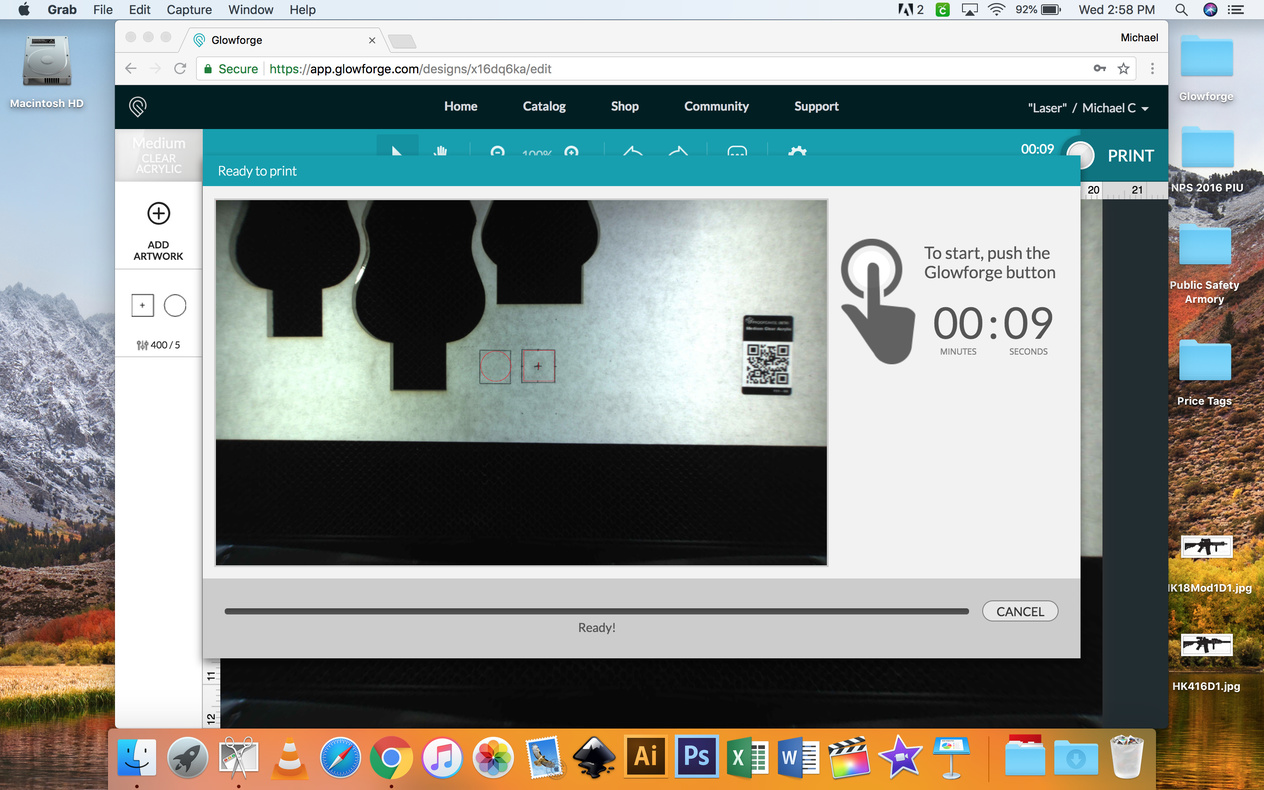
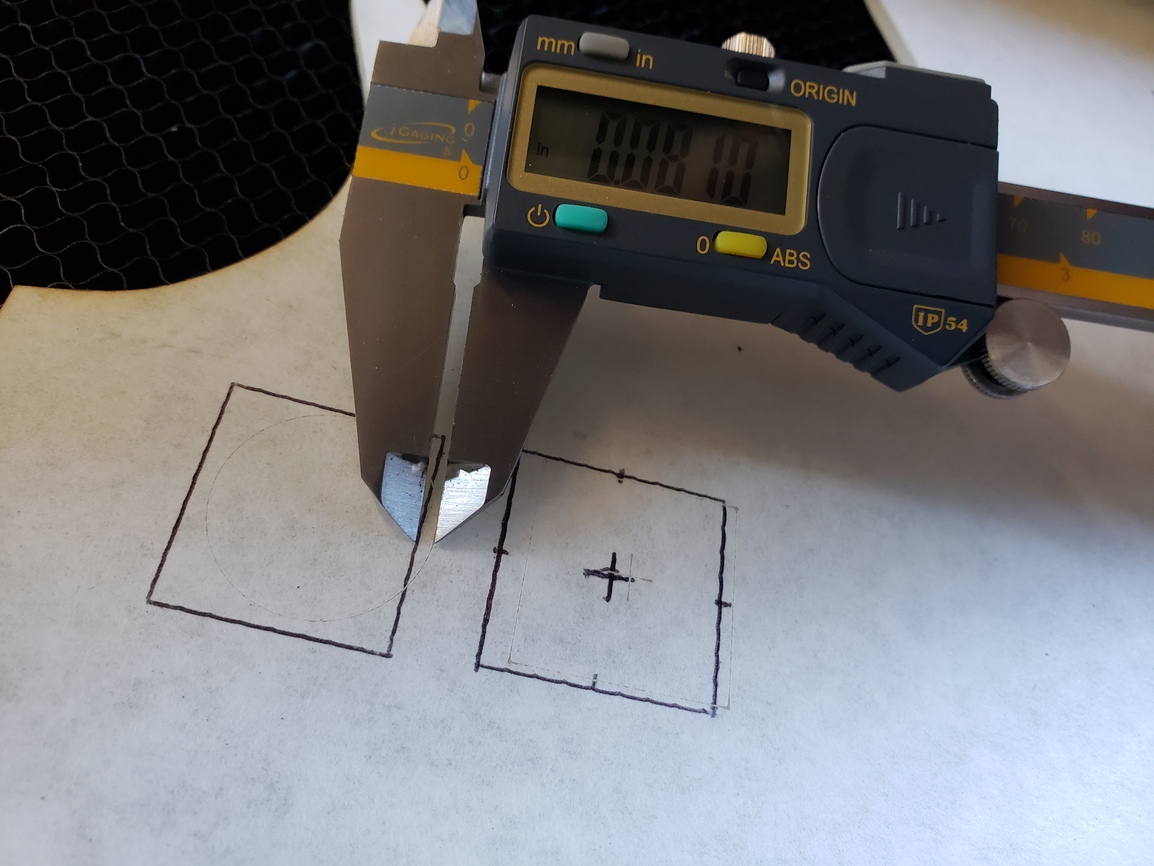
The problem I’m having is my engravings/cuttings don’t actually lineup with where I’m placing the art on the material. If you look at my pics, I added the test square and circle inside the drawn squares in the bed image. When I click print the red outlines of the test art is inside the squares. But when it’s actually engraved/cut it outside of the area.
My issue, is not, alignment because my media moved when I flip it over to engrave the back.
We can’t really align to something that has already been burned on the material directly…the alignment is going to be off due to the fisheye effect from the camera.
If you have created the square shapes and the circle and plus mark additions in the same file though, they will align perfectly relative to each other. That tutorial I listed above describes how to do it.
The secret is to get all of your parts into the same file to start with. Both the squares, and the additions.
If necessary, you can drag and drop the additions into an opened file, but you will have to align them inside the file if you do that, and it’s more accurate to align the parts in the file before you save it as an SVG.
But if you absolutely have to align it on the screen, align it to the pink preview, not what you see on the bed. (Again, that gets back to having all of the parts in the same file.)
The better tutorial to understand is the one I linked earlier, but if you do want to make an addition to a file that’s already opened, this discussion might help:
I might be misunderstanding, so ignore me if so, but…
If you are talking about the difference you see onscreen when the artwork is not aligned with the camera image of what you just cut – that doesn’t matter as long as the artwork for the other side of the item is already there in the same project.
So if you have your front and back artwork lined up to match each other on the screen, engrave and cut the front, flip the piece over without moving the material it was cut from OR the artwork, and engrave the back, your front and back should be perfectly aligned to each other, even though the camera image shows them not exactly lined up to the artwork on the screen. They’ll still be aligned in relation to each other.
Wow. That’s really hard to say. I hope it made sense.
And just to say it one other way… the problem is that the picture on the screen is not an accurate representation of the placement of what’s on the bed relative to where it’s going to cut. They are telling you to ignore the picture.
And although it seems like it may not work, try it. It does work.
Thanks so much, everyone. The suggestions in this thread are great. A few comments mentioned something that I’d like to confirm here:
When you open your Workspace in the Glowforge app, the camera on the lid of your Glowforge uses a wide angle lens to take a photo of the entire bed. The software then uses the height of the material to correct the image so the image you see matches what’s in the bed. The software is still improving, and you may see an alignment offset of up to 1/4".
Could you please let me know if you had better results using the suggestions offered here?
It’s been a little while since I’ve seen any replies on this thread so I’m going to close it. If you still need help with this please either start a new thread or email support@glowforge.com.