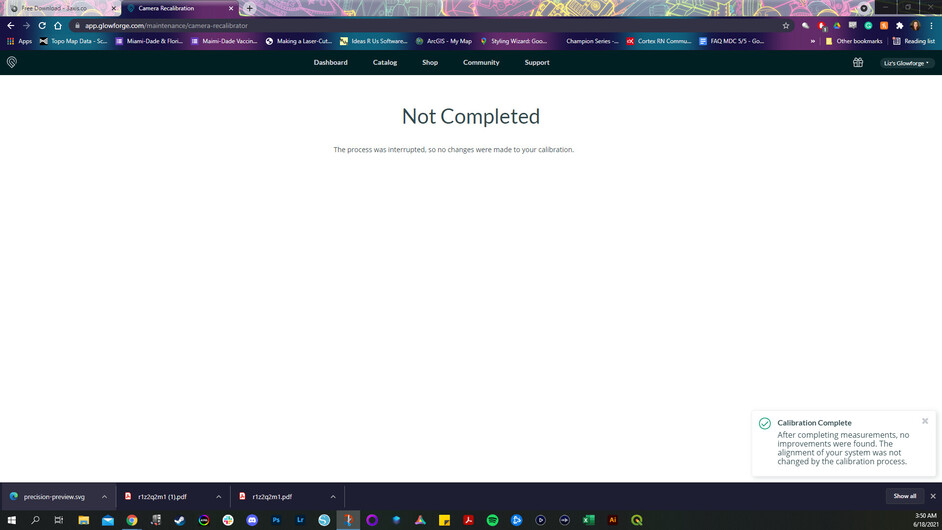
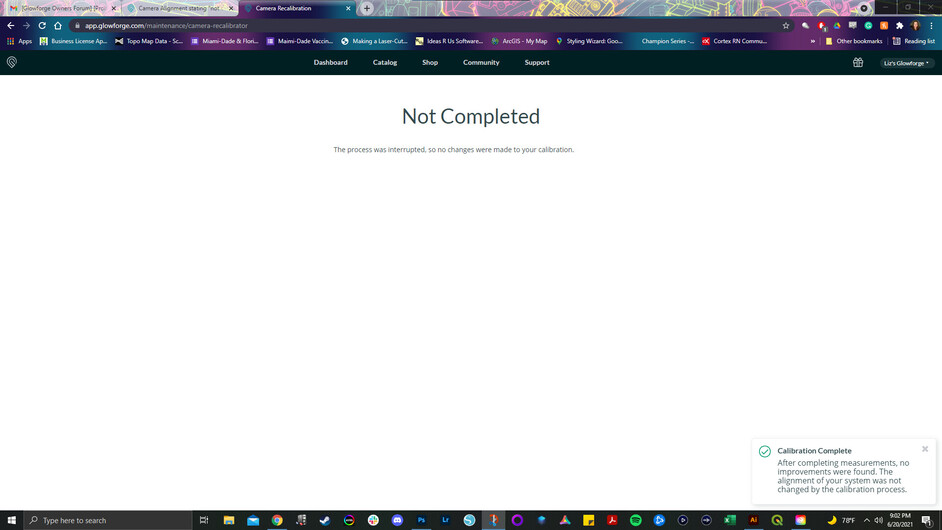
As you can see in the photo, what is actually being scored is off from the file. Is it being off this much okay? I tried to run a camera alignment but it would not complete. I followed the directions completely and even covered the top to make sure there was no glare. Any tips?
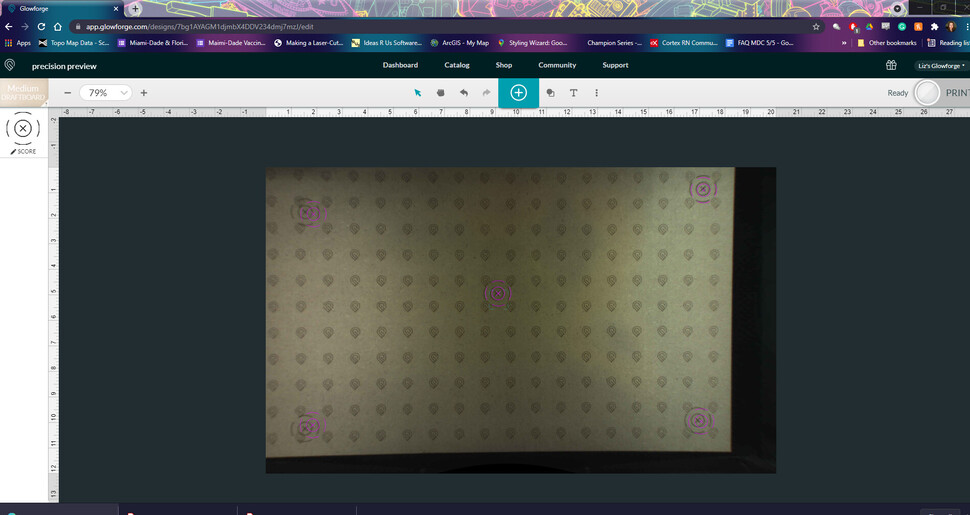
It appears the one in the center is in alignment. Because of the fisheye effect (distortion) of the camera, this is normal. If I have ‘1’ thing i need to do, i make sure i put it under the camera which gives you the best alignment. If you ‘reprint’ those and haven’t moved them, they will be where they printed the first time.
2 Likes
Hello! @baldwinelizabethm I am very sorry to hear about the issues you were running into while calibrating your camera. After reviewing the logs of your Glowforge printer it looks like we need to check the bottom of the printer head.
Please send photos of all your cleaned optical components, with special attention to any damage you might find:
-
The bottom of the printer head

When you reply back with that photo I will be more than happy to assist with the next steps. Thank you!
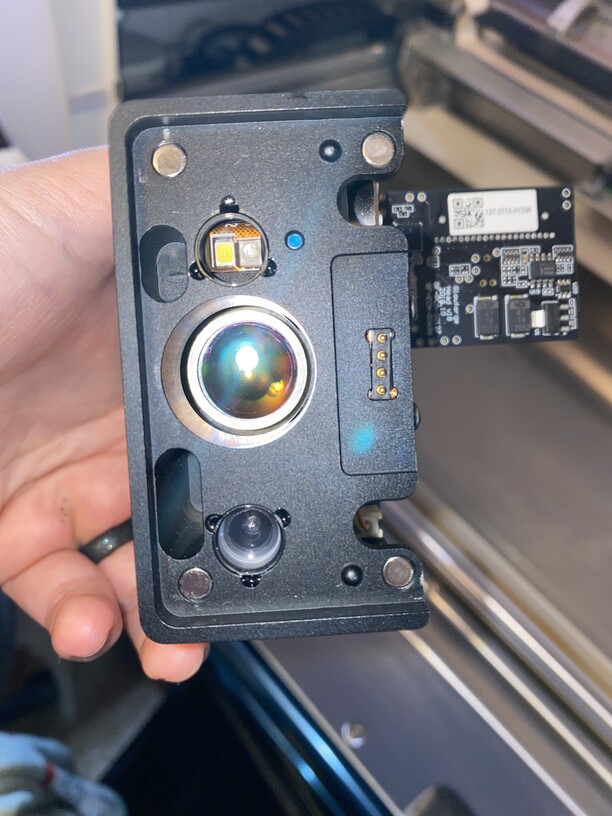
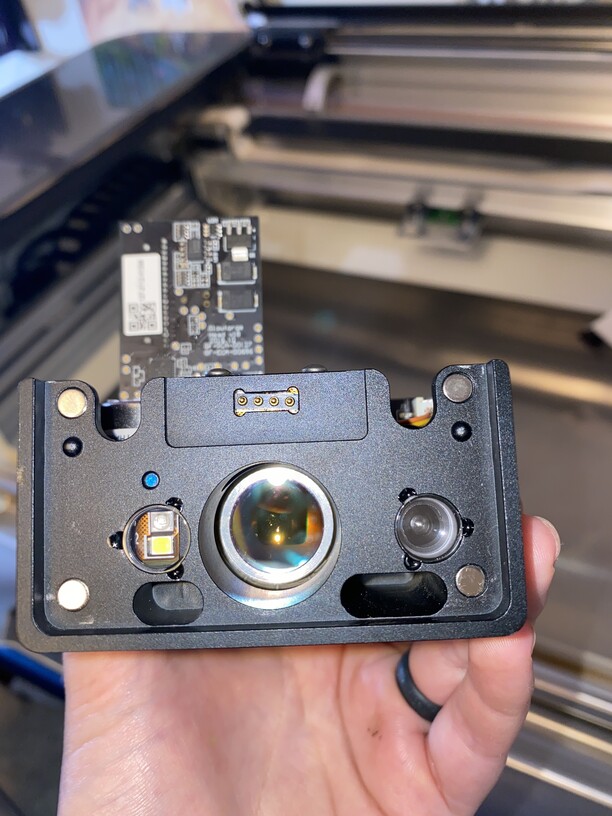
Thank you for sending over these photos! Based on the images, the windows on the bottom of your Printer Head appear to be clean, and free of debris.
I’ve extracted the log files from your Glowforge to review your most recent Camera Calibration. It looks like it may have experienced trouble when properly printing the calibration symbols. I’d like to see if the same trouble occurs if the camera recalibration is completed once again.
Could you please perform the Camera Recalibration, and let us know if you hit the same snag? You can use the other side of the material you completed the calibration on previously, or a new piece of material. I’ll make sure we send over a gift card to reimburse you for the material used during the calibration.
Let us know how it goes!
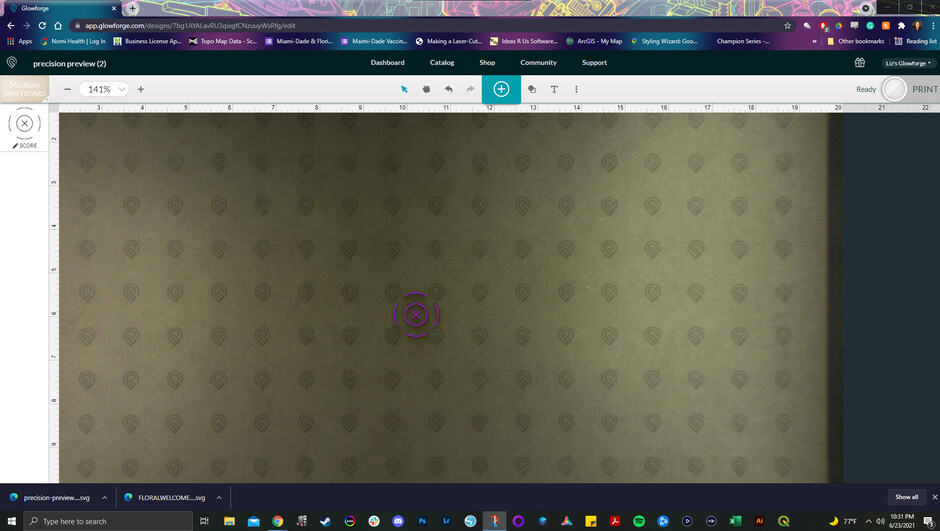
I ran another camera recalibration and then printed a precision review just like last time. It seems to be doing the same thing as last time? Thank you for your help!
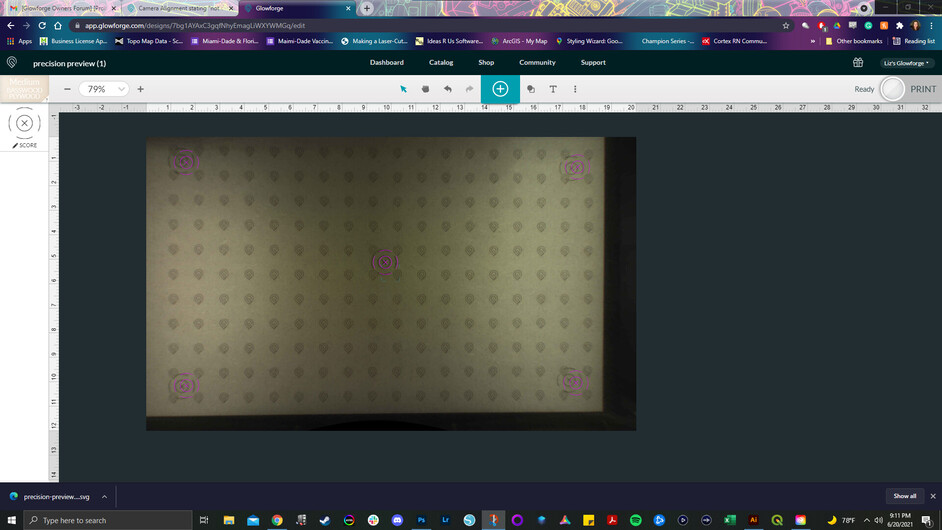
You have to hit Set Focus over each of the marks - it’s focused on the center (which is the default location). You then hit Set Focus in the upper left and place that mark, and then hit Set Focus in the upper right, etc. The overall view will only be correct for the one you did Set Focus with most recently.
1 Like
Yes, I have noticed that. Unfortunately even the center one which I focused over is off. That is what I am unsure about on if it is suppose to happen and why the calibration does not finish. The customer support said there was an issue, hopefully this fixes the problem.
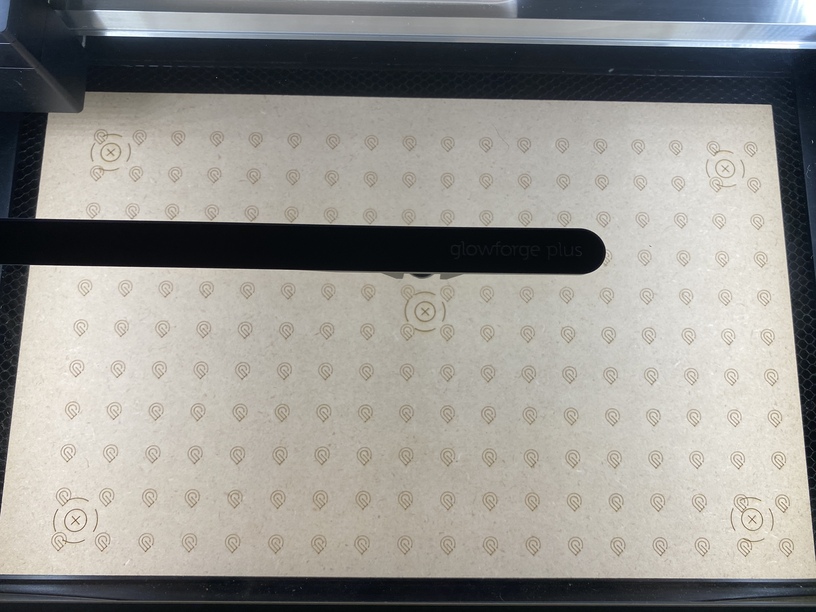
Hey @baldwinelizabethm Thank you so much for sending over that information. After careful review of the logs, it looks like the material on the most recent recalibration may not be 12"x20", which is needed to complete the calibration. Do you have any material that is 12"x20" available to run the calibration? I know you’ve done a few calibrations already so I went ahead and sent you a Gift Card to your email so you can purchase the material if needed. Either way, Let me know how it goes 
Most aftermarket suppliers cut full sheet material 11.75" x 19.25". I have 12" x 12" on hand, and it is more readily available since GF is always sold out of their stock. Is there a way to maybe set up a calibration test that can be run to the left side of the bed on a 12" x 12" section, and then on the right side of the bed on the same size material, on the back side? I am desperate to resolve several issues I’m having as I have spent too much time down for cooling problems, not cutting through material at slow speeds even, broken gantry wheels, and now the machine is cutting 1/2" higher than shown image on screen. I have cleaned the lenses. I did make another post about my problems, but from reading this post, it seems I am stuck waiting on material of a certain size to even proceed. I am lacking enough product for a show I am registered for in four days.
1 Like
Hasn’t been true except for a while mid-pandemic when everyone was sold out of their stock (or majorly upping their prices)
For the calibration you can use a plain piece of cardboard, it doesn’t require specific material, just a specific size and for it to be done correctly.
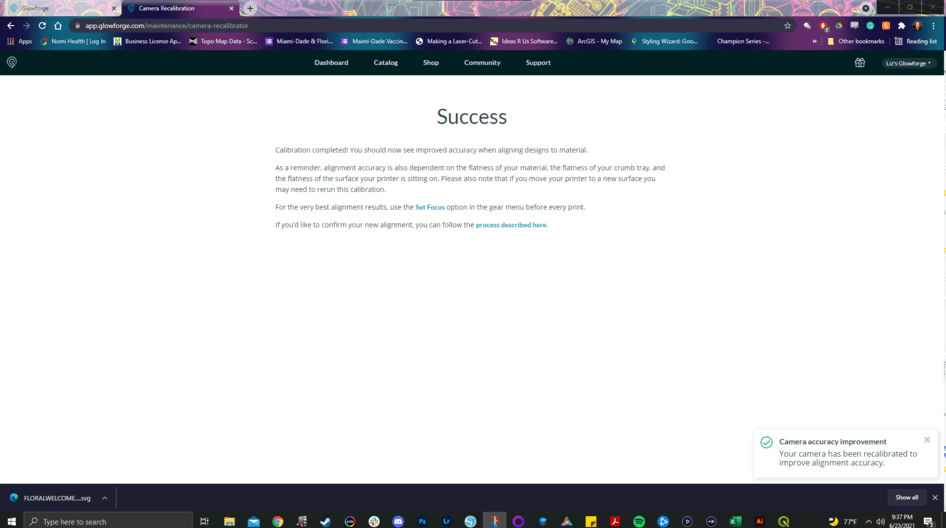
Ahh, I can’t believe I missed that bit in the directions ![]() I ran the calibration with the one piece of glowforge MDF board that I had left that is the proper dimensions and it made all the difference! Thank you so much for the great customer service and help!!!
I ran the calibration with the one piece of glowforge MDF board that I had left that is the proper dimensions and it made all the difference! Thank you so much for the great customer service and help!!!
3 Likes
I’m glad you resolved it! I’m going to close this thread. If you run into any other trouble, please start a new topic, or email us at support@glowforge.com. We’re here to help!