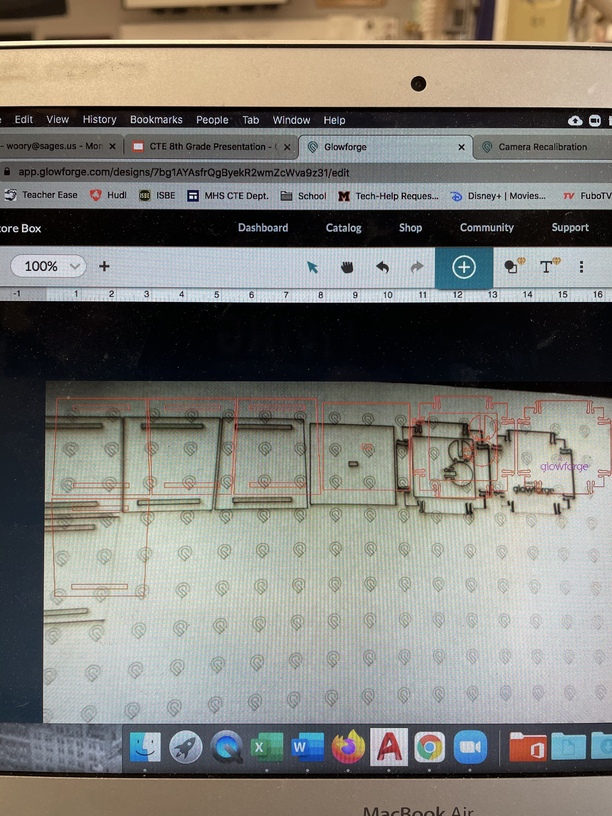
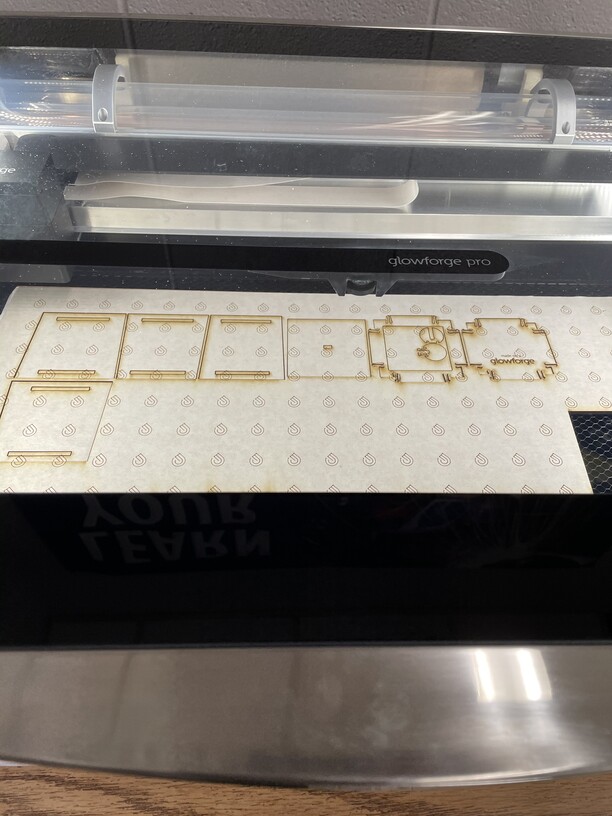
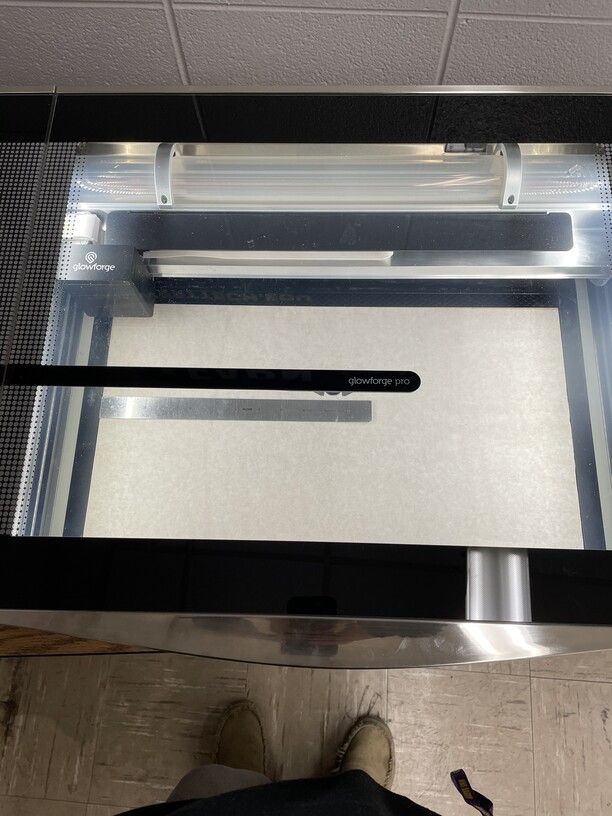
I just unboxed my new unit yesterday and couldn’t wait to start making. My camera is way off though. I was still able to cut a couple things but the camera is pretty much unusable. Please see the attached pictures for more information.
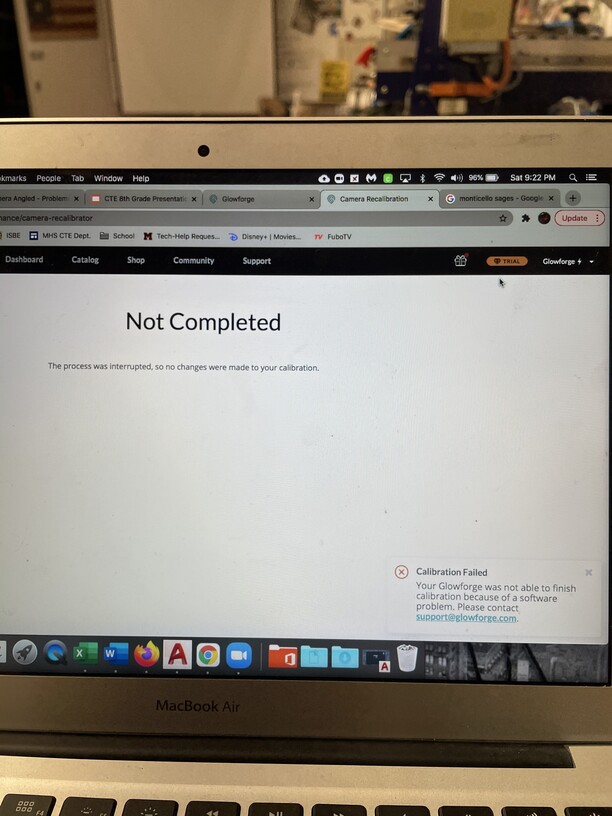
I have already checked that the machine is level. I tried to calibrate the camera but both times I’ve tried it says there was an error and no changes were saved. I’ve wasted two draft boards on it so far.
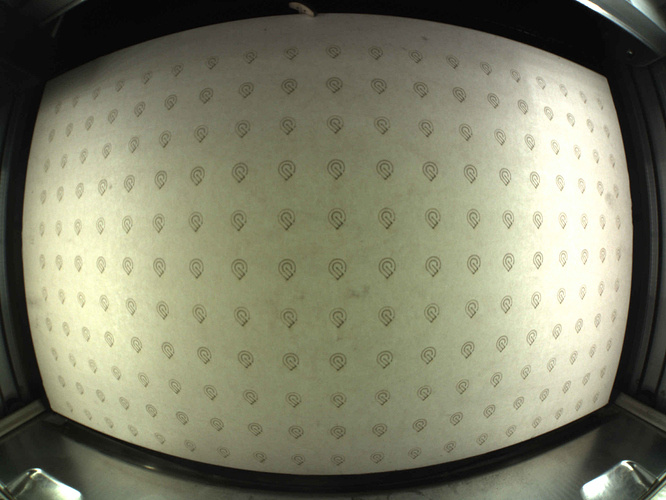
The camera image is software-corrected from a view like this:

It’s always going to look a little warped out at the edges, because of that. The Set Focus tool allows you to choose the area where you want optimal image correction, for best visual placement; when I’m printing away from the center I always use it to check the placement of my design before hitting print.
Look at printhead of your Glowforge in its home position in the upper left corner of the bed. The Glowforge cannot cut/engrave behind this point. Also, it cannot cut/engrave any further to the left. Orient your artwork relative to the lower right corner and you will be able to visualize it better. Always use the set focus tool before placing your artwork. As for the camera calibration, make sure your material is absolutely flat and placed on the bed the way the instructions tell you to. You can remask a piece of material that you have already used for the calibration if you happen to have masking. Also, you can use something like cardboard as long as it is absolutely flat.
Is your crumb tray sitting in the right place? It should be pushed all the way forward, so the handle sticks into the front door, and the feet fall into the dimples for them in the bed of the machine. If it’s too far back, it won’t sit right and the lid camera calibrator is unlikely to work.
Keep one sheet of Proofgrade Medium Draftboard set aside to use for calibrations. You can re-mask the sheet to reuse it again and again. Here’s a link to where you can get a roll of 12" masking very similar to what’s already on the Proofgrade wood, which will come in handy if you want to use material from other sources in the future: https://www.amazon.com/gp/product/B07DF7TDSF
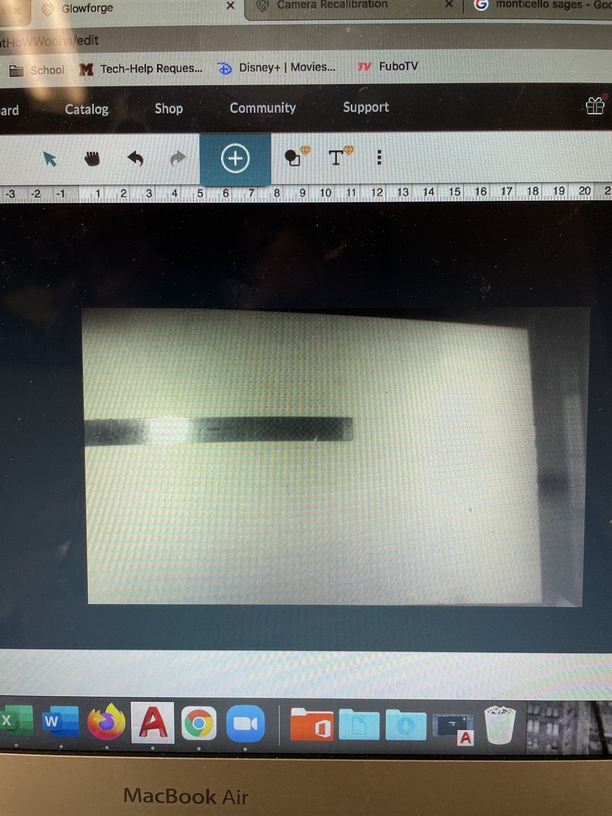
Yeah it looks like the camera is pointed towards the right. I tried moving my object to the lower right hand corner and it was still off by about an inch or so.
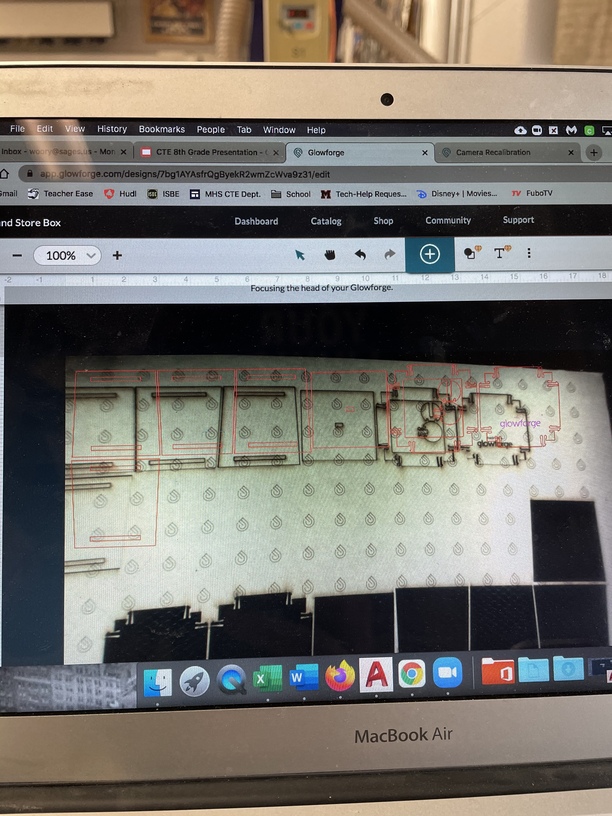
Here is a picture of what is in the machine compared to what I’m seeing. I put a ruler in hoping that would help. I’m seeing more on the right side than I am on the left.
That part’s normal. You can see more of the right side than the left on all Glowforges. The curvature of the image at the top right is the unusual part.
If I wanted to test how accurate it is printing in accordance to where I want it, where should I try to print at? In the middle, bottom right, bottom left, etc.
Baseline for printing with best results would be right under the lid camera. That is generally the closest. It skews as you go wider in any direction. Calibration does help the lid camera image sync well with design placement and material.
One thing I would suggest if you could would be to do a screen shot with the computer rather than with a phone. It would give a closer representation of what is going on.
Once you snap a screen shot (shift, command and 3), it’s in the buffer and you can command + V to paste it right into the post.
As to calibration, a pretty solid, consistent network signal is important for the calibration routine to finish.
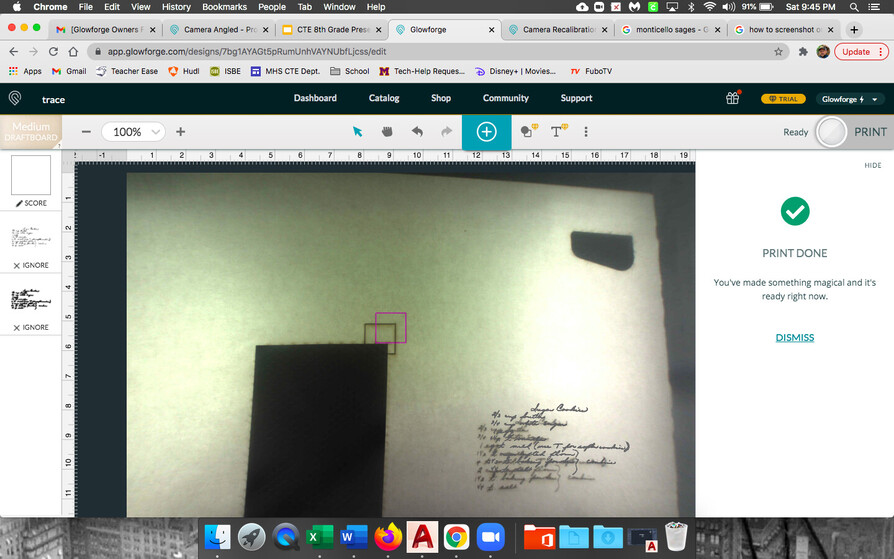
Alright this is my last post of the night before I shut it down and head to bed. Just to prove I wasn’t crazy I drew a 1" square on the proof grade medium draft board. I set the quality to high and then drew a square directly on top of the square I had drawn. Here is the screenshot what was actually scored. I also placed this square directly under where the lid camera is located.
I think that if you could get a good calibrate, the image would adjust and realign properly. Your REAL problem is all the calibration fails. It COULD be your network…
Definitely need that calibration. Your material looks really skewed at this time. Having a square like that at the center so off isn’t quite what should be possible, even though it looks like it is at the edge of 1/4" accuracy.
In the meanwhile, there are work around with light scores and adjusting as needed, but it gets challenging with not having a good image reflecting where things line up. Hope it gets sorted out.