This thread is for community discussion of Camera Calibration.
Camera Calibration is designed to take machines that are more than 1/4" out of alignment and fix them. Many other customers have also used it to improve their camera alignment, and we encourage you to try too! The calibration process will let you know if it was able to make any improvements, and will leave things alone if not.
If your camera is within spec and you’d like it to be even better, CS can’t help you, but someone here might be able to! The Glowforge Customer Success team only addresses new tickets, so replies to this thread will not be answered by CS - this is for community discussion.
Just for the fun of it, I tried a fifth time.
Nope.
goes thru printing, then the photo, then to the “Processing Measurement” screen with “now calibrating your machine”, followed by “error”, “we’re sorry, an unexpected error has occurred”
starting to run out of draftboard.
understood, I was trying to make sure I had as “pure” a surface as possible. The proofgrade stuff probably meets that standard better than when I apply. Although on the other hand, it doesn’t seem to matter, does it?
On the positive side, I have some draftboard sheets I can make into a boatload of hold-down clips.
I fired up my GF for the first time in a few weeks, planning to run the calibration/alignment since the last time I used it, it was off quite a bit. The machine powered up and the GUFI said it was focusing and centering, but then it said “offline”. I power cycled and this time it got through everything and then appeared to spontaneously reset, after which it came up as expected. I’d wasted time in my limited window so I figured to compensate for placement based on memory, run my job, and deal with the alignment some time later. Except when the print was finished, the alignment was pretty much perfect. If my machine got a FW update that improved something it was doing and that’s why, I’m pleased. If it just changed by itself, that’s kind of disturbing… but at least as far as the last print is concerned, my alignment is great now.
I tried my calibration a couple days ago (on the old version?) and all hell broke loose…
The laser mechanism started doing everything right, back and forth, up and down until it got to the bottom of the sheet and - it tried to keep going! I don’t know if there’s a limit switch, but it just kept going and going until it looked like R2D2 bumping into a wall over and over.
It knocked itself off the “track” and was crooked. I was able to straighten it out and put it back on the tracks and it has been working since, but I"m scared to try again.
So frustrating! I hope your issue gets resolved very soon. I’m going to try to restart the wifi and move the Airport Express wifi extender that I have in the room that the GF is in. The wifi signal is the only possible issue that I have not addressed.
One common problems with adding extenders is that a lot of times people place them near the devices they are trying to extend the network to, so they end up extending what is effectively a very weak signal. You should probably try to find a happy medium somewhere between where your primary access point is and where your device is located so that the extender has a decent connection to the AP it’s extending, and the device (GF) has a decent connection to the extender.
Just had a chance to run this and the results are amazing! The accuracy is now almost 100% no matter where I cut, score, or engrave. Thank you Glowforge Team!
Hi. I love my Glowforge and the alignment actually wasn’t too bad… yesterday. Today I tried the Camera Calibration and my results are worse than before re-calibration. I am using Med Draftboard, positioned the board to cover the bottom of the tray, it appears to be flat, I ran the calibration procedure (including cleaning) 2 x’s and end up with approximately the same result which is worse than before re-calibration. I reboot the Glowforge between calibration and testing and use Set Focus before the test print.
Glad to hear there is a lot of success, let me know if there is something else I can try.
I’d re-try with the board firmly pinned down to ensure it’s flat – even if it looks like it is, there’s pretty much a 98% chance it’s not. Oh – and you can just re-mask and reuse it; don’t waste another board.
Thanks. Will give it another try. I had strong magnets on the top and bottom. If there is a bow in the center, how do you pin down the center? I thought of using the previous pattern to position a magnet or pin through a hole, but would that throw off the camera image?
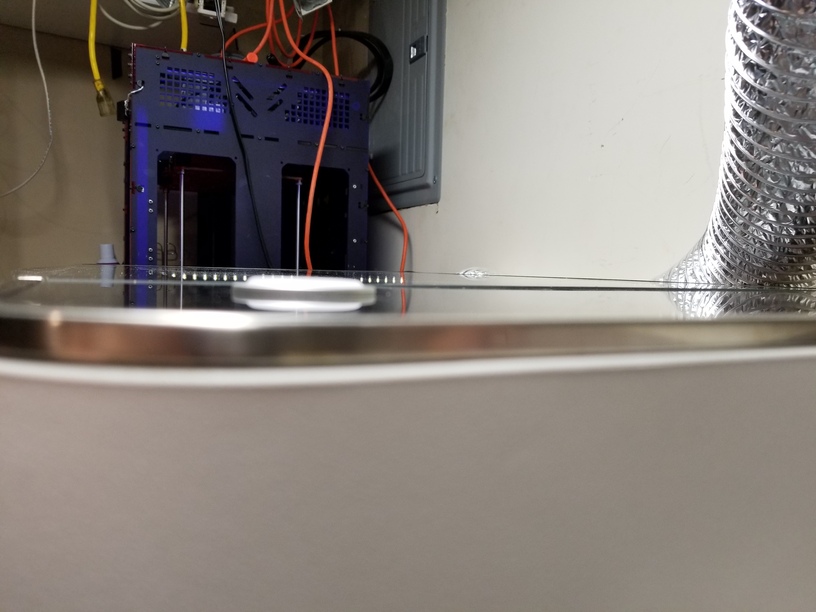
Ok, I flipped the board, remasked, pinned the front and back and saw no give in the material. I ran the recalibration. Same results with no improvement. I looked at my lid to make sure it was seated and I noticed there is about a 1.5mm bow in the lid. It is flush at the back and front, but sticks up about 1.5mm about half way back (a little back of the camera). If the level material is that sensitive, maybe the lid is the problem. Hope not. I cleaned the rim of the lid and reseated but no change
Here is a pic, don’t know if it shows the bow but my calipers could measure it.
 Have you found a solution to this issue?
 So frustrating! I hope your issue gets resolved very soon. I’m going to try to restart the wifi and move the Airport Express wifi extender that I have in the room that the GF is in. The wifi signal is the only possible issue that I have not addressed.
 Oh – and you can just re-mask and reuse it; don’t waste another board.