I just received my Glowforge basic today. I have gone through with the setup and have made some basic cuts.
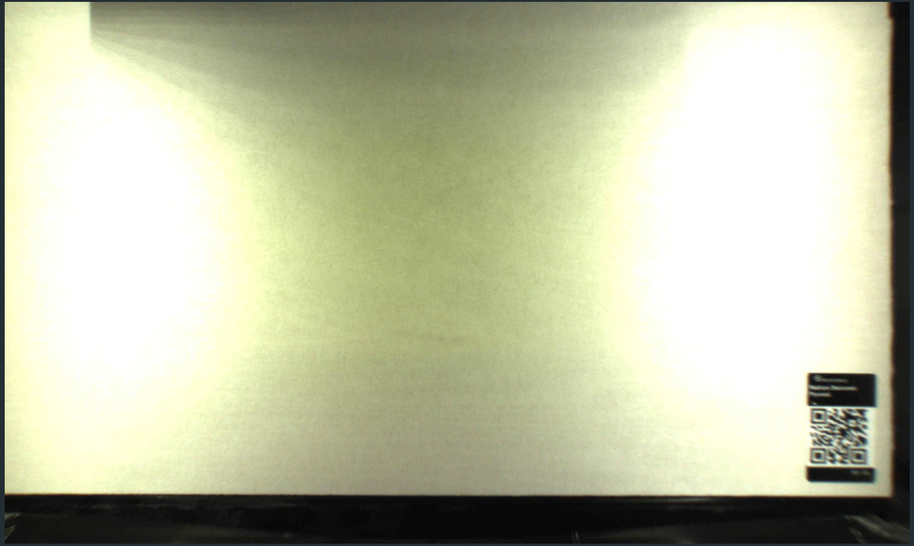
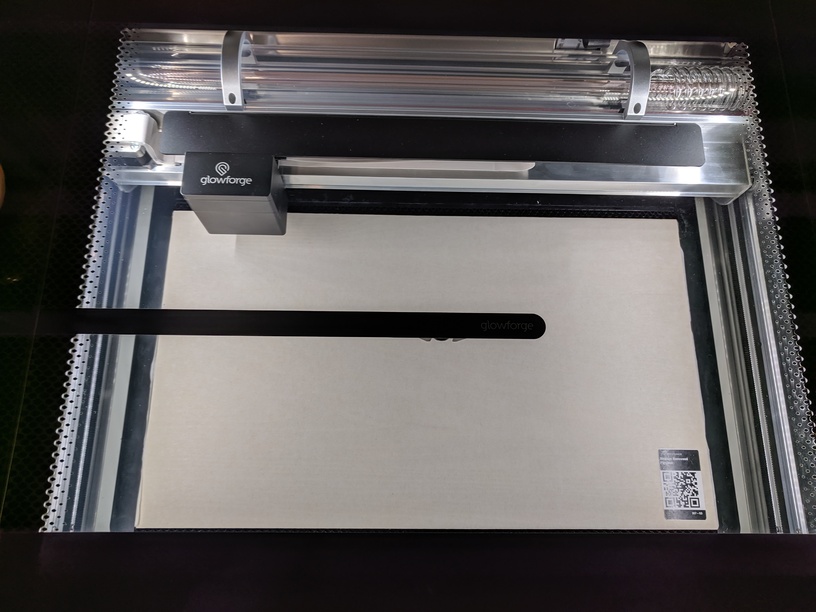
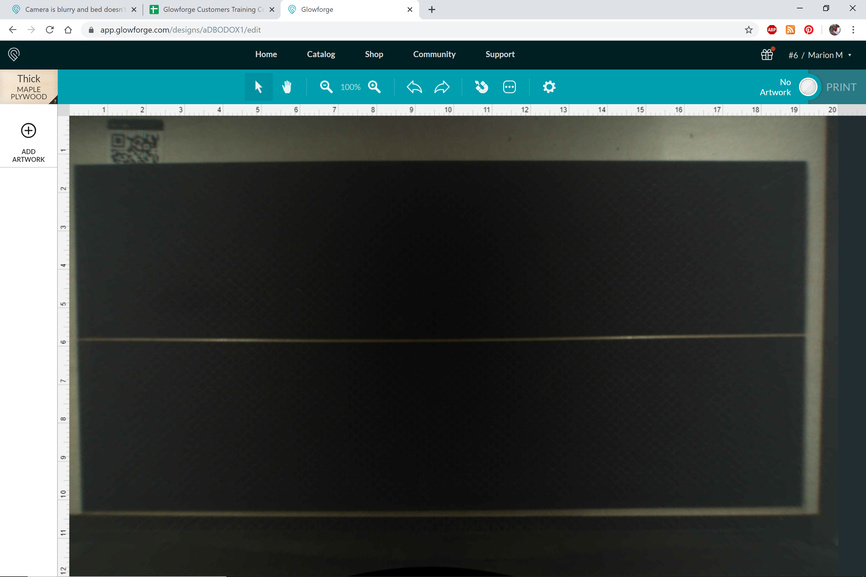
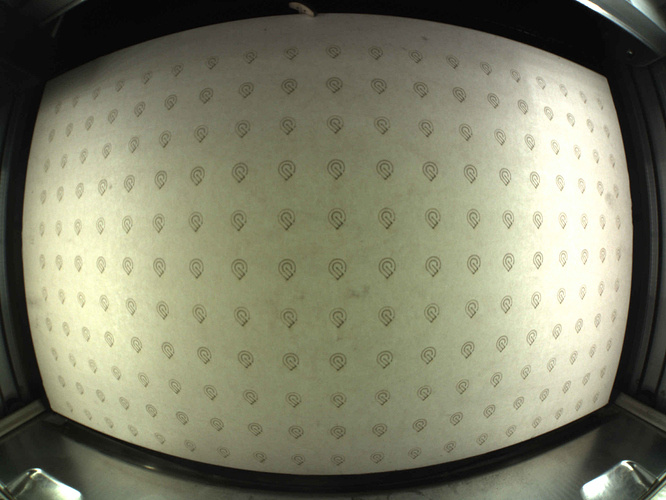
However, I have noticed that my camera is extremely blurry (see picture) and the bed is actually not aligned as well (see picture). I have gone through the following steps after reading the support forums:
Clean the lens with the wipes
Made sure that the honeycomb tray is set properly on its dimples
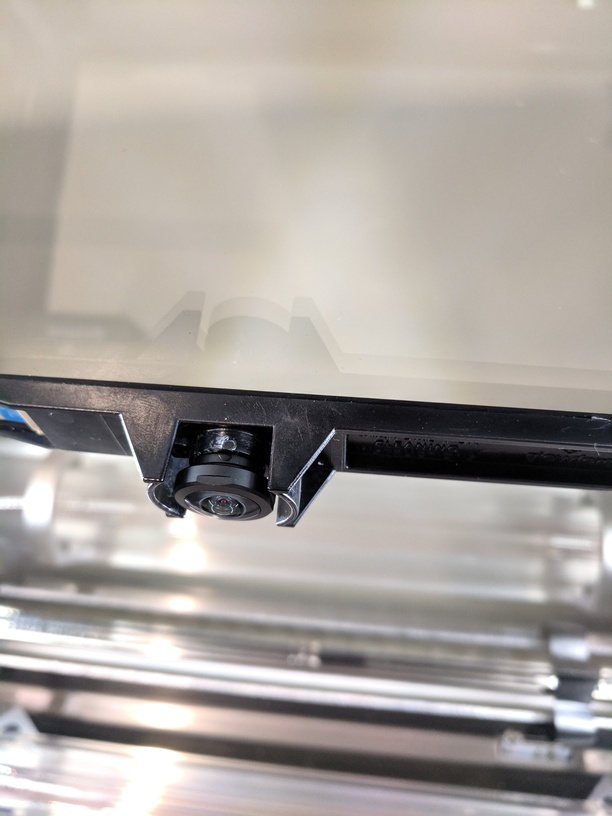
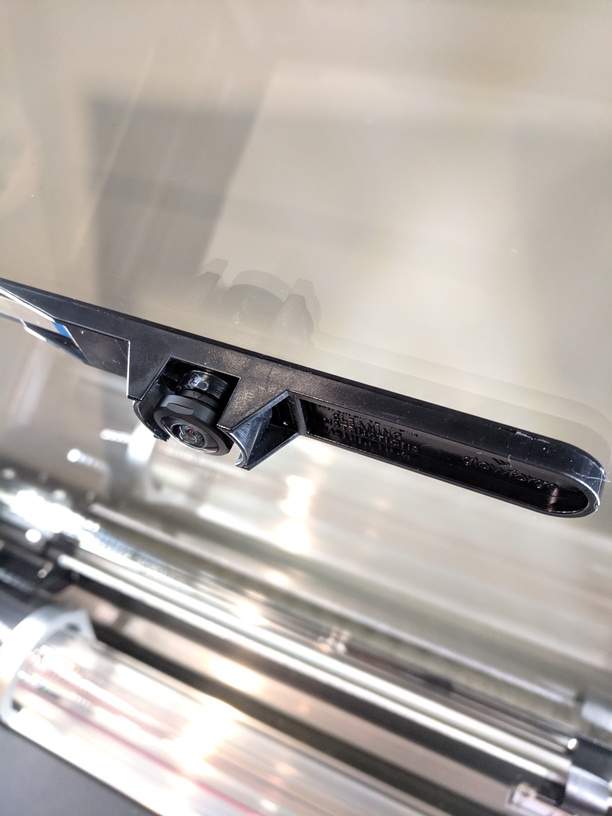
Made sure that the camera is not loose
Made sure the lid is completely closed.
I have read several forums to no avail. The camera is not detecting the material present. Any help is appreciated.
Mine has never really been centered, per say. I just work with what I have. I have been a GF owner since spring of 2019.
The blurry part MAY go away once you manually select the Proofgrade material you put in there, if the camera isn’t seeing it. You could also try putting the QR code in the top left corner to see if that picks it up when you close the lid again.
I scoot my Proofgrade material down the the door’s edge (butt right up against it) so I can get the most use out of the material at the top (it is safe as there is always a GF buffer never going to the edge-edge). I have a good appros 2" gap at the top of the tray (with honeycomb holes) being visible and wish the material could be aligned at the top of the tray, not by the door, mostly because all of the air swoops down towards the door to then be pulled to the left and over and out the hose. My door gets aaaalll that sticky residue on it and I have to clean it more often then I would like. Mine is currently running so I can’t actually measure my gap of tray visible.
Sometimes it can read the QR code of my material on the bed/tray. Sometimes I have to select it manually. I was hoping with the latest update they did with speeding things up, the camera centering area would have been straightened out as well.
I hope someone else reads your posts and gets us some answers.
Good luck with all the awesome things you are going to be creating and printing!!!
For future reference, if you email support and open a topic here you have two open tickets and they will have to resolve one of them before they can assist, which will delay your response. There are two pinned topics in the Problems and Support section that explain how tickets work and how to go about troubleshooting. You may want to read them to be better able to assist Support when they are able to get back to you. Right now it looks like Support is busy. Until they are able to catch up, you may want to post here to get community assistance before emailing them.
Your image looks about like what mine looks like and I don’t have any issues.
Select your material using the button in the upper left marked Unknown. You will get a drop down menu to select the material. Once you do so, the machine will adjust the focus and you will likely be able to continue. Make sure your focus is correct and your material thickness is correct. Go through the three tutorial cuts that are suggested in your startup guide to learn to use the machine.
There’s always a strip at the left and along the top that you can’t see. It’s outside the printable area, anyway.
We used to not be able to see the bottom or right side, either – it’s getting better!
The camera blurriness is pretty normal. Usually they can read the code anyway, unless there’s a reflection on the label that confuses the camera. If it just won’t read, you can always just select the material from the pulldown in the upper left corner.
Thanks for your reply. Is there a camera calibration routine that I should know about? I read the manual but couldn’t find anything about calibrating the camera. Unless you are referring to the “Set focus”? which I have done and to the same effect.
Yes I have done some prints, and it doesn’t seem like it’s affected that greatly if the material is dead centre. However, I did notice that some of my prints were not aligned with what appears on the camera.
I was just wondering if this is a small fixable issue that I can handle on my end.
a quarter inch variance of position between lid camera image of the bed and material with the overlay of the design and then the resulting cuts and engraves is within specs. With the calibration, that variance can become much, much smaller.
Yes that’s because of the fish eye lens. The farther you go from centre the more offset your image will appear from the actual cut etc. A quarter inch is no big deal. around the edges of the bed.