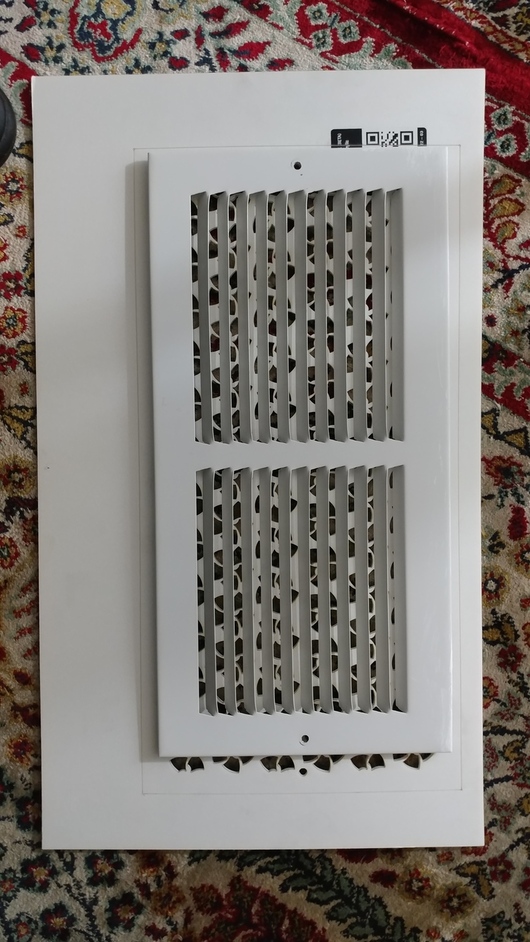
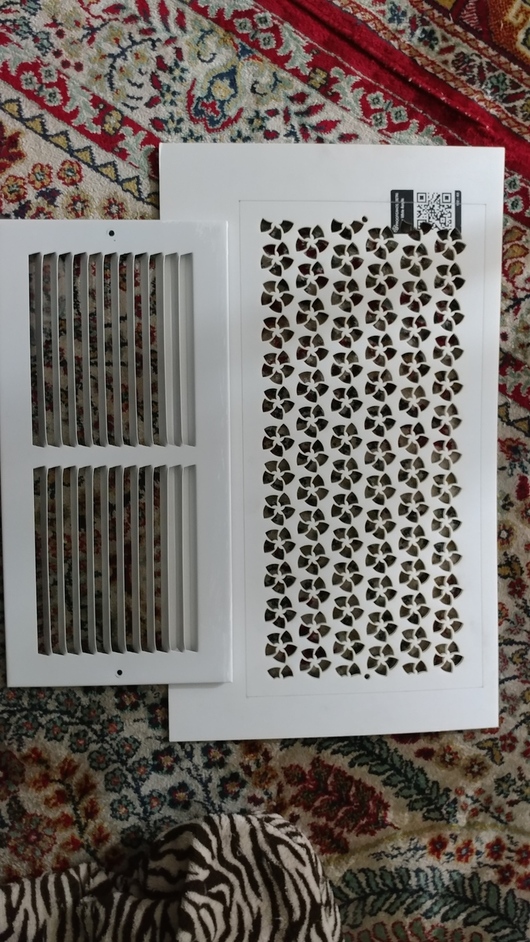
I was trying to cut a new air intake vent cover with my new GF. I was having trouble in Inkscape with getting the screw holes placed exactly where they need to be when I thought of using the camera trace function. I thought the trace would give me an exact sizing of the object, but when cut, the image was larger by an inch length and width. Additionally, the exterior cut only offered me the option of manual cut even though I was using proofgrade material. The exterior cut didn’t go all the way through even with a second pass.
Did you remember to adjust for the thickness of the grill cover when you scanned it? It might make a big difference in the size of the image.
(Given the fisheye distortion in the lens for that huge bed, I wouldn’t trust it to give me an accurately sized reproduction on a full-bed sized object right now. It might be better later once they finish tweaking the software.)
I’m so sorry your print didn’t turn out the way you expected.
Like @Jules said, if you hadn’t adjusted the material height to accurately reflect the height of the vent cover, your image likely wasn’t to scale when you traced it.
Regarding settings, you can toggle between manual and Proofgrade settings:
Make sure that your Glowforge has recognized Proofgrade material in the bed, or select a Proofgrade material from the menu where it says “Unknown” in the upper left corner.
Click a step along the left hand side of the screen.
Choose the arrow at the top right of the box that appears.
Choose the setting you want.
I’m going to close this topic, but please post a new one if you have any other questions.