I’m having some trouble with Snapmarks but I’m pretty sure it’s because the camera is not focusing. I have tried a couple of different materials, I have cleaned the cameras on the lid and the head with Zeiss wipes, but I cannot get a snappy image from the camera so it’s hard to line anything up and Snapmarks are not recognized. Any ideas that I missed?
The lid camera focus is fixed, so if they were working, the only thing that could potentially cause it to stop that you’re going to be able to address is ensuring it is clean.
The comment about using a PG sticker is confusing. Snapmarks do not require PG materials, but did that not get recognized?
I just ran a quick test to make sure the functionality wasn’t broken (as I haven’t used snapmarks in a little while) - it’s working as it should. I even put my little guide out at the edge of the bed where focus appears to be the worst, and it still found them and aligned everything as it should.
I’m sorry that you’ve run into trouble while trying to use the Snapmark feature. In order to look into this for you, would you please take a photo showing how the Snapmark printed on the material you’re using? Also, may I have a bit more information on the type of material you’ve been using for your recent prints?
Not sure what’s going on. I’ve loved using the Snapmarks and have used them quite a lot. I’ve made a bunch of foam board airplanes which is always fun.
I have found foam board to be a very cost effective solution to making forms for projects. The foam board comes in 20x30 inch sheets which is just wide enough to use the passthrough slot and I have been able to use the Snapmarks to align prints so large that they take up the full 20x30 sheet.
Right now I’m trying to print out a form for a logo. I have printed out all of the logo parts and pieces, now I just need the form to correctly align them all on the wall. I have tried with white foam board and brown. I would even spend money buying a Proofgrade product to make the form out of, but there isn’t a product large enough for me to do that with.
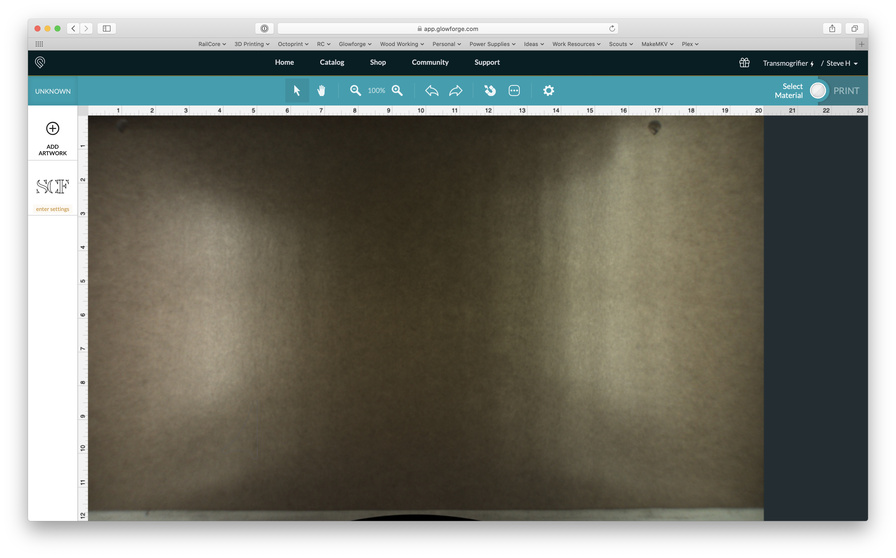
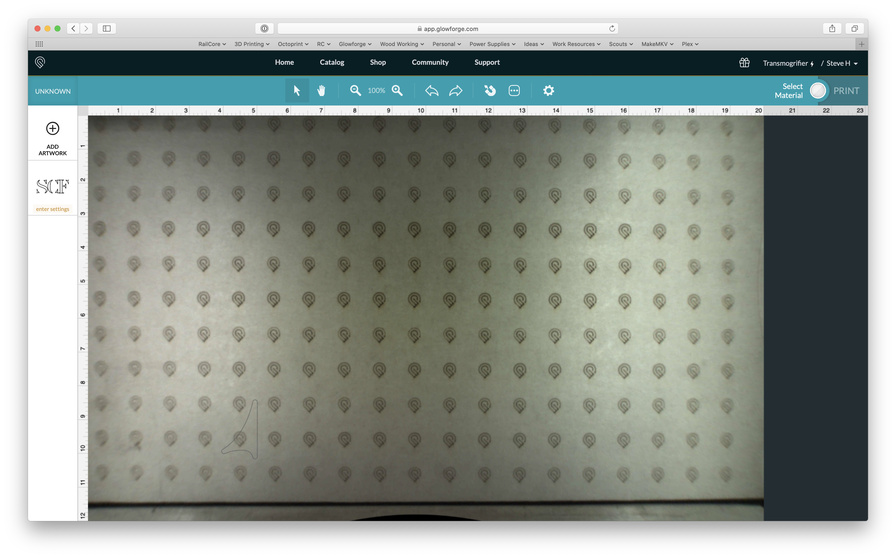
Here are two pictures: a picture showing the Snapmark on the foam board (using the same settings I have used many times) and a picture showing the Snapmarks printed running the lid camera calibration. You can clearly see that where the Snapmarks print in the upper corners, the lens is very out of focus and unable to find the marks.
Can you try shifting the material down a little bit so that the Snapmarks are not right at the edge of the visible area…sometimes they can’t be read right up at the edge like that.
I’ve tried placing them right in the middle with the same results. (In the middle vertically, not horizontally.) All though I tried that, functionally that would have been fairly unusable since I would loose half of the potential workspace.
If that’s the case I’d check the physical size of the snapmarks in the file. They have to be exactly the right size, and spacing, and if they are off by even a hair…it can mess up the read. (In other words, try re-creating the file. Sometimes they can get just a little dragged or resized while dragging, and that’s enough to mess it up.)
If it still locks up on scanning while printing the Gift of Good Measure (no snapmarks) then you might have an issue with the machine. That would be my next suggestion for a test to run.
I can’t get it to load at all anymore. Something has definitely happened. What should my next step be? Is this post sufficient or should I send an email?
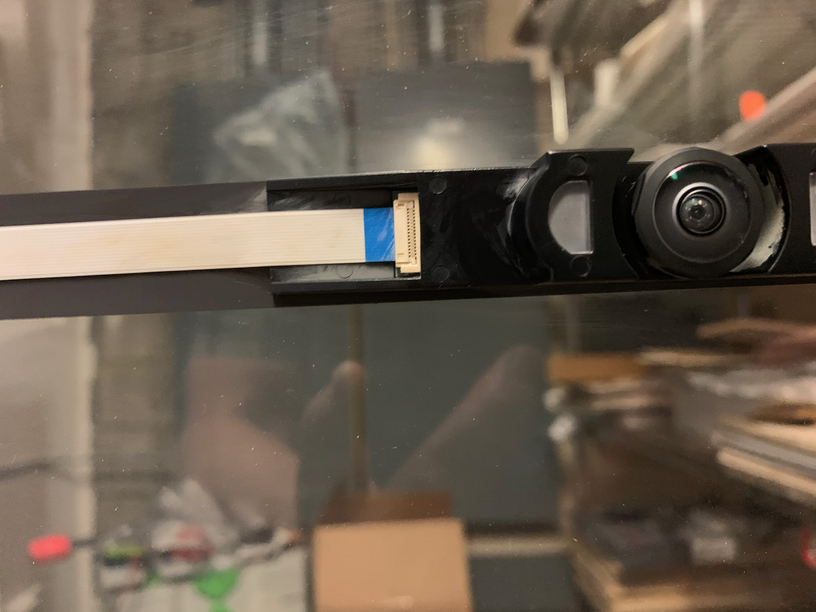
No, this one will keep the ticket open. It might be the lid cable has gone out…it’s a fairly common issue, but they need to look at the logs to see it. Just sit tight and wait to hear from support. They might have more tests that they want you to try.
The issues you’re seeing might be caused by a poor connection with the cables on your lid. Please follow the steps below to check the lid connections:
Turn off your unit.
Open the lid.
Using both hands, gently roll the laser arm to the front of the unit.
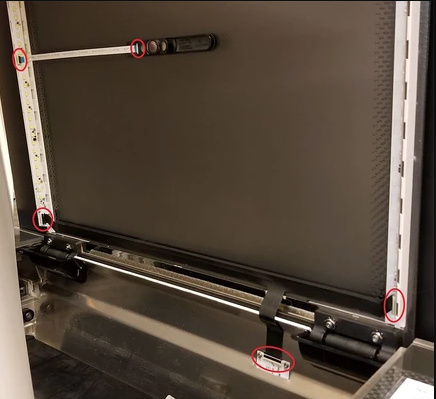
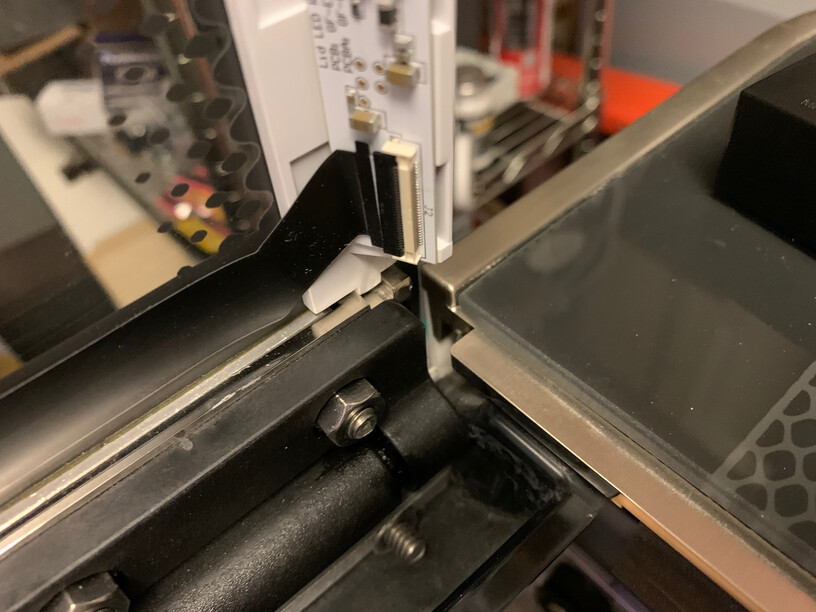
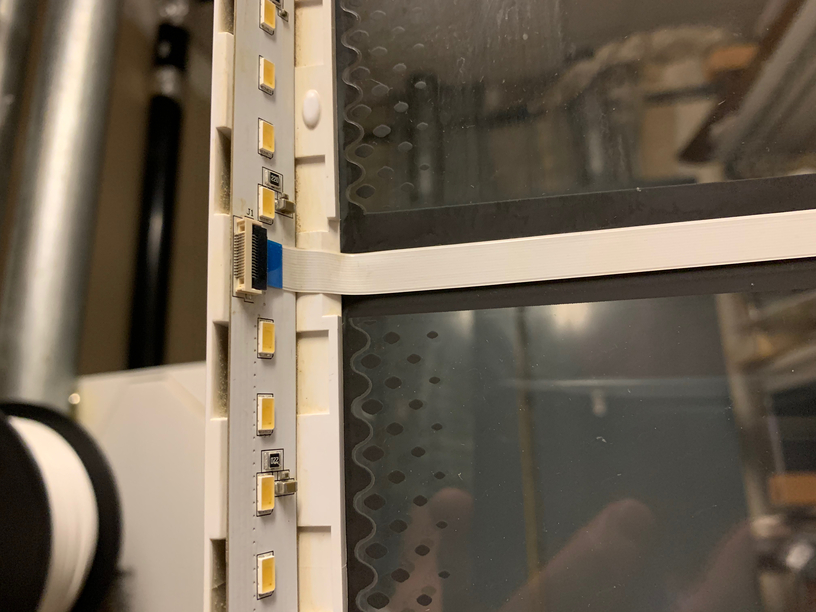
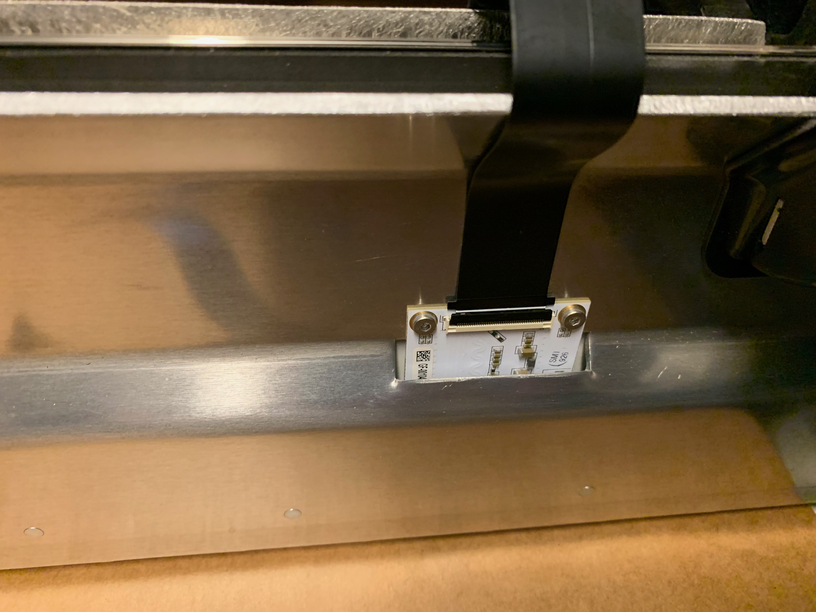
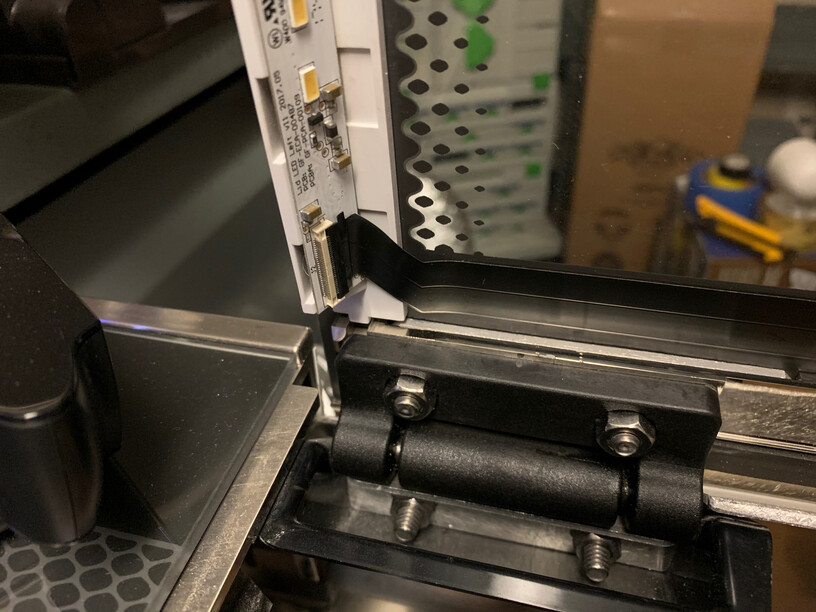
There are 5 clips pictured below. Check each one to ensure it is closed. The clip should lie flat, and you shouldn’t be able to flip it in any direction.
If any of the clips are open, ensure the cable is inserted straight into the clip and close the clip.
If any of the cables are misaligned in the clip, take a photo of the clip and cable and send it to me so I can take a look before you proceed. Do not try to adjust or reseat the cable.
Close the lid.
Turn your unit back on and wait for it to calibrate.