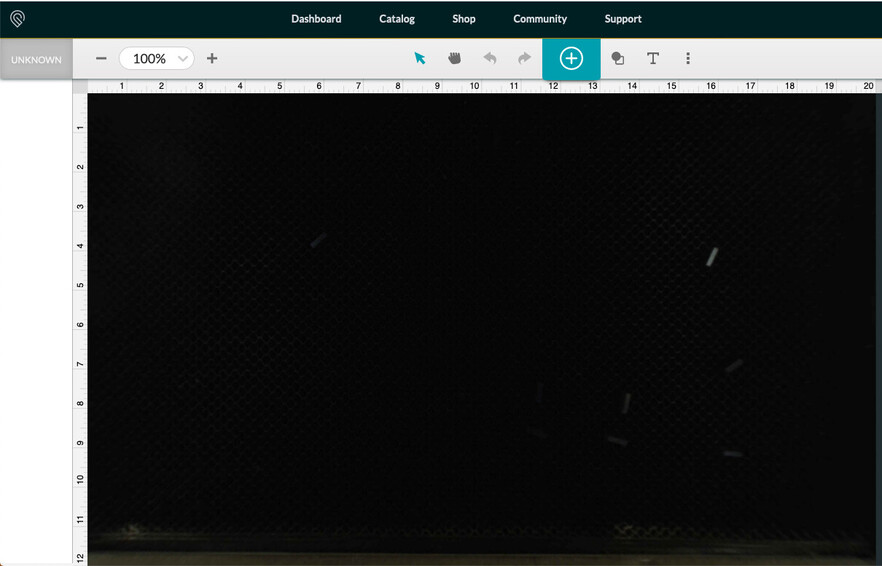
Camera is missing almost 2 inches of the top of the board and the left hand side of the board. It was described as cutting would be able to cut 11x19.5. I have almost a 2inch boarder on the top and left size that doesn’t cut because my camera isn’t showing it. It shows all the way to the edge of the board on right right hand side and the bottom of the board. Why?? And how do I get this fixed? I have a sign to do for a customer and can’t get the right size.
Welcome to the forum.
This is normal. The camera shows the usable part of the bed. Look at the printhead in the home position. It cannot print behind itself. It cannot print any further to the left. The actual print area of the bed is 10.9" x 19.5"
2 Likes
if the camera is still focused for a differently sized material, you may not see the entire available area for the current material. Did you use the Set Focus function after inserting this material into the GF?
i will try that but i havnt been able to see the whole board since the day i got it. i have only had it about a week
you won’t ever be able to see a whole 20x12 board. You should, however, be able to see the entire 10.9"x19.5" working area.
Note that the working area will shrink for engravings, especially if set to higher speeds, because it needs extra room to speed up and slow down.
2 Likes
You can move your board forward and to the right a little. What your image shows is the normal view we all see.
1 Like
it cant go to the right any further. its against the rail of the print tray. and if i move it down any further i cant put my pin in. BUT even without the pins i still have almost 2 inches that it cant cut and that i cant see. im just trying to get ahold of the company to find out if this is normal or not because my print bed at the moment is not to the sizes they say it is.
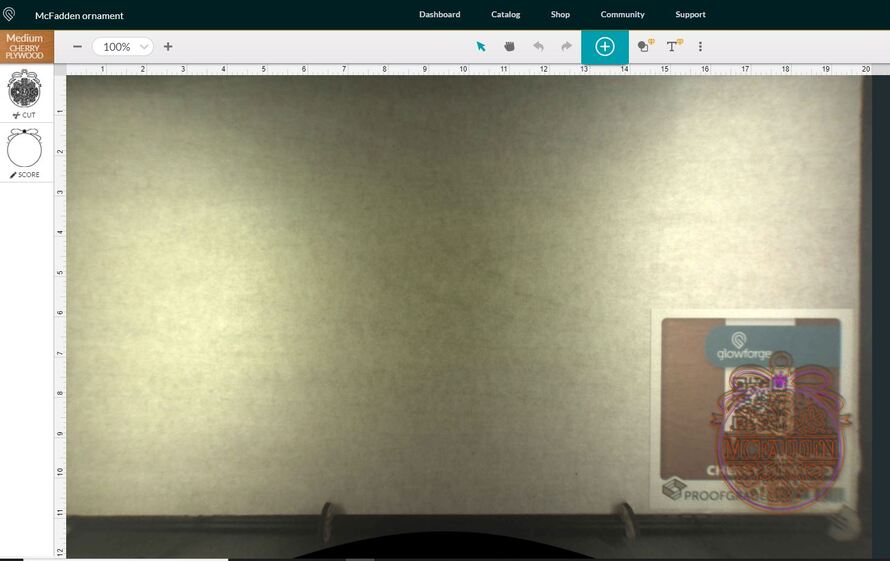
The boards are 12x20 but the cut area is only 10.9" In your picture, you can see (and use) 10.9" according to the rulers on the left. You have 11" showing. Of course you can click the minus sign in the interface to zoom further out, but it won’t change your cutting area or what the camera can see.
3 Likes
Yes, this is normal.
2 Likes
I found it easy to size the sheets for the work, allowing use of all the material.
These two pieces are a 12x 20 sheet of proofgrade. Two operations instead of one, but use all the sheet.

6 Likes
If you look at the scale at the top and side of the screen you can see it start at 0,0 to the size they say it is capable of. It is possible to move your design to less than 0,0 but it will not cut at all if you do.
Also when the work is selected you can find the icon in the lower left corner that will tell you the size and location to the second or third decimal point. If you save and return to those numbers, the cut will be in exactly that location.
By rotating or flipping the material you can cut anywhere on it.
Thanks, everyone for the helpful advice. That is correct!
The Glowforge Basic and Glowforge Plus bed can accommodate materials measuring 12 x 20.4”. The maximum printable area is 11 x 19.5”, and it’s reduced somewhat when the laser operates at high speed, as it can take space for the laser to decelerate. There’s a tray for materials that are up to 0.5” thick, or the tray can be removed to accommodate materials up to 2” (50 mm) thick.
The Glowforge Pro adds the Pro Passthrough slot to accommodate material that is up to 20.4” wide, up to 1/4" thick, and as long as you want.