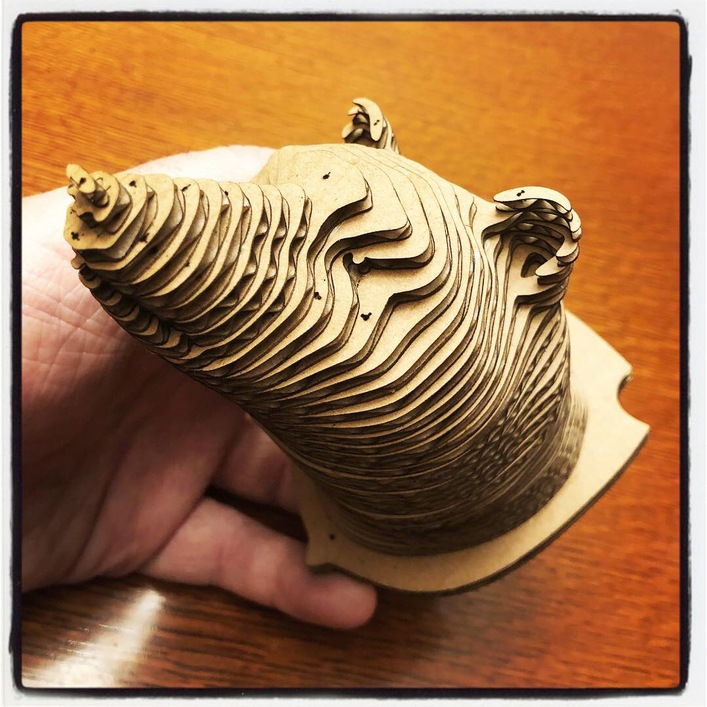
Decided to try a small stacked cardboard project. Used Autodesk Slicer for the breakdown. 3.7mm thickness, cut at 225/100.
The pins are great idea!
What was your engrave setting?
Looking good!
Has anyone found a cardboard cut setting which doesn’t leave char which rubs off on the side of the cut? I see packaging made from ‘lasercut cardboard’ all over the place, and it’s cool (comes in layers which are shaped to the piece they’re packaging) but every time I try this the soot rubs off on the items and gets all over the thing I’m packaging 
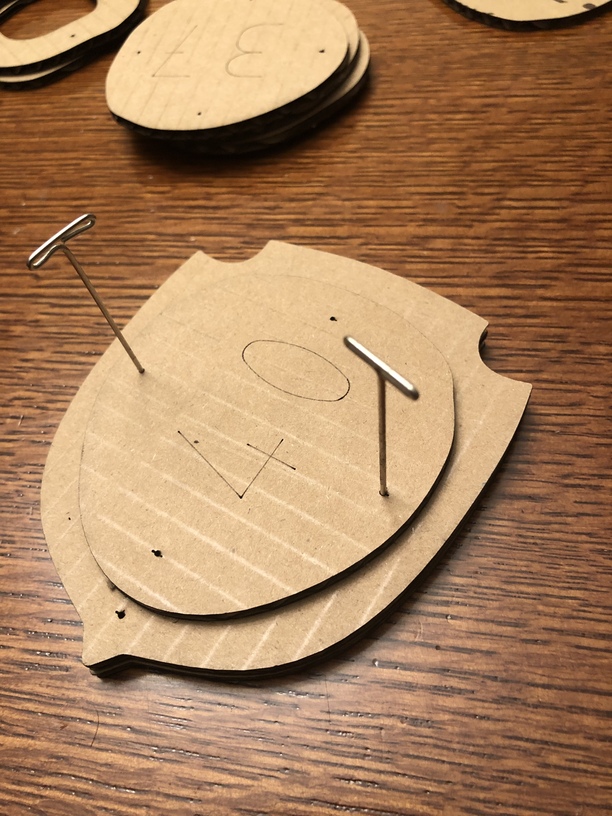
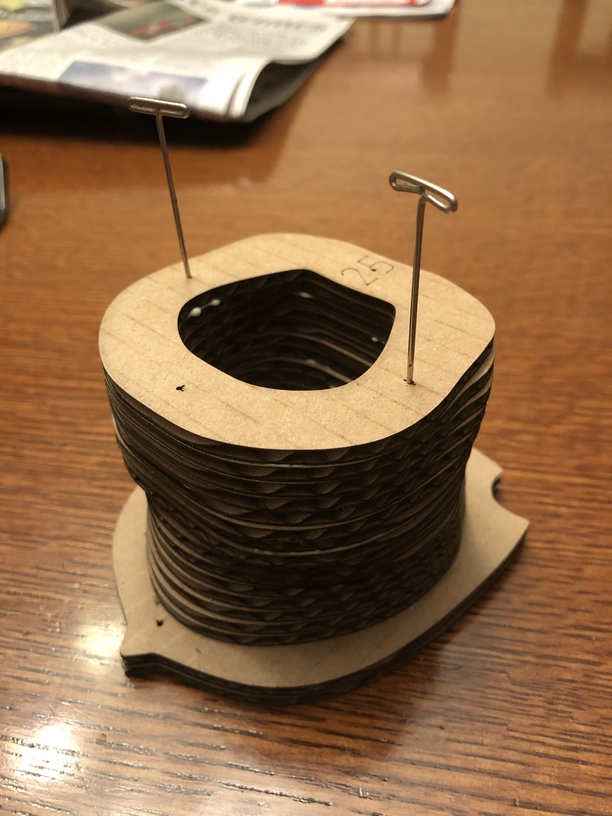
I had seen a video describing their use. The software adds holes for registration, using pins like these.
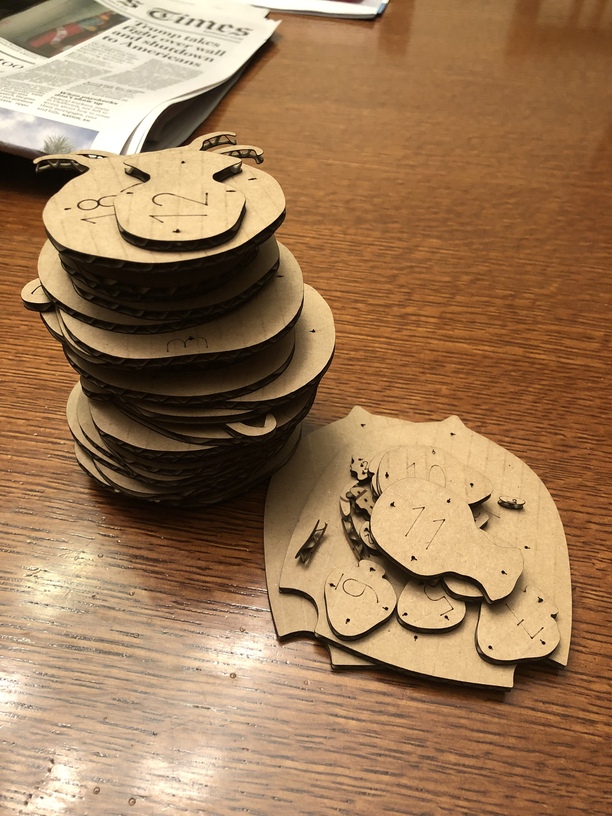
The numbers and other markings are scores, done at 400/8.
I haven’t seen a project like this in a while! Hope you keep doing them to inspire a free others to post some, too.
Fun Fact: I was standing in line in my fourth grade class getting ready to go to the library. A friend of mine dared me to stick one of those T-pins into the light switch, and being a kid, I thought sure, why not! I got as close as I could, but didn’t actually plan on doing it. Just as I was about to pull away he shoved me and we sent that needle into the socket. There was a loud pop and flash, and then the lights went out. Pretty exciting, up until the principal, who didn’t like me, suspended me and gave me mandatory fire safety classes with the fire department…It had scorched the wall and burned out the switch. Still to this day do I swear that the switch sucked the needle in, there’s no way I would have been able to push it in without being shocked.
Also, not to be that guy, but when personal settings are shared, for any material, especially non-pg stuff, the forum rules are that we can only discuss or share them in Beyond the Manual. You can also direct message the person asking. It’s not discouraged to share the settings, but just to keep people safe from using the Glowforge with non official settings that may cause damage to them or their machine. Also something to do with lawyers…Plus if you share your settings there, it’s easier to search for them when others use the forum’s search function, rather than seeing them in a random comment in a post.
One last thing, if you didn’t know, now you do - don’t stick needles into electrical sockets 
7 Likes
How do you decide between engrave and score?
Scores are basically cuts that don’t go all the way through. So they’re just laser-width lines. Engraves can be any width you want. For an engrave, the laser goes back and forth over the area to be engraved, so it takes a lot longer.
Mostly you decide by how you want it to look. If thin uniform lines are adequate, scores are better because they’re a lot faster.
2 Likes
Moving to Beyond the Manual since this discusses non-PG settings. 
Points - electrical and otherwise - taken.
1 Like
Sorry - new kid and didn’t quite grasp the rule.
1 Like
The caveat being that the ends & direction change nodes are going to burn deeper resulting in points that are darker/deeper than the rest of the line.
There are ways to mitigate that by reducing power & speed but that may slow things down more than you want to make the trade-off worth it to you.
In this case, it was a somewhat lazy decision. The paths for the number markings that Slicer made weren’t always properly closed, but I couldn’t tell until I got it into the GF UI. They weren’t going to engrave, so I set them to score. When the model’s built, they’re all covered up.
whoa…I LOVE THIS!!! Thank you for the inspiration!! So very cool 
1 Like