So, after much procrastination, my daughter finally got to work on improving her castle as the due date loomed. We’d talked about a few options that would make it better, most of which she was able to implement before bringing it in to school.
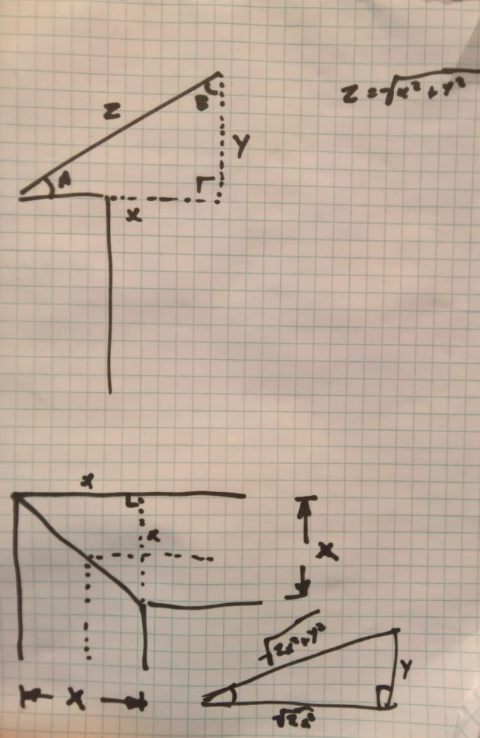
My contribution (beyond pestering her to get it done and helping her understand how to do some stuff in Illustrator for colors/layers) was to try and figure out the roof. Last version was just wrong, this one was only partly wrong. We started off trying to figure out angles and lengths using math.
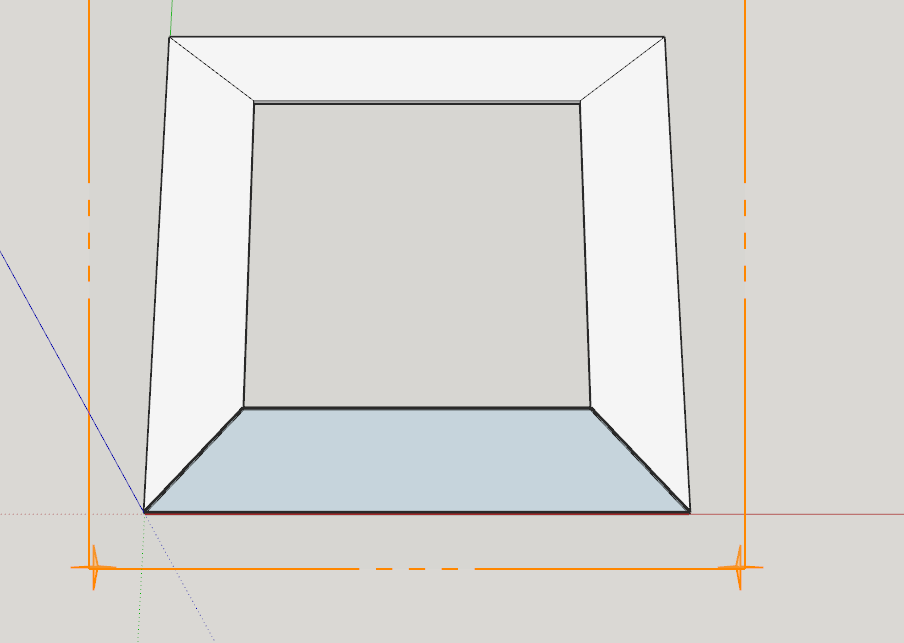
But then I came to my senses and figured out it might be easier to do in sketchup so I worked with her to draw the sizes of the roof exterior and interior dimensions, then raised it up in by the center vertices and did a section of one of the roof segments which I exported to dxf and imported into Illustrator. We later figured out there is a plugin that will just save faces as an svg which would have been even easier.
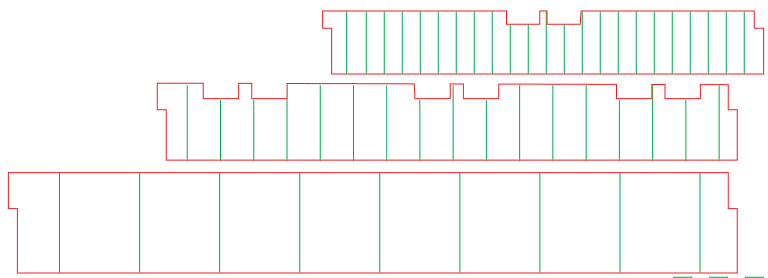
This got us the general shape we needed, then she just added finger joints to it by adding a rectangle to the shape on one edge and removing the same rectangle on the other edge which gave us a single shape to print out 4 times to make the roof ring.

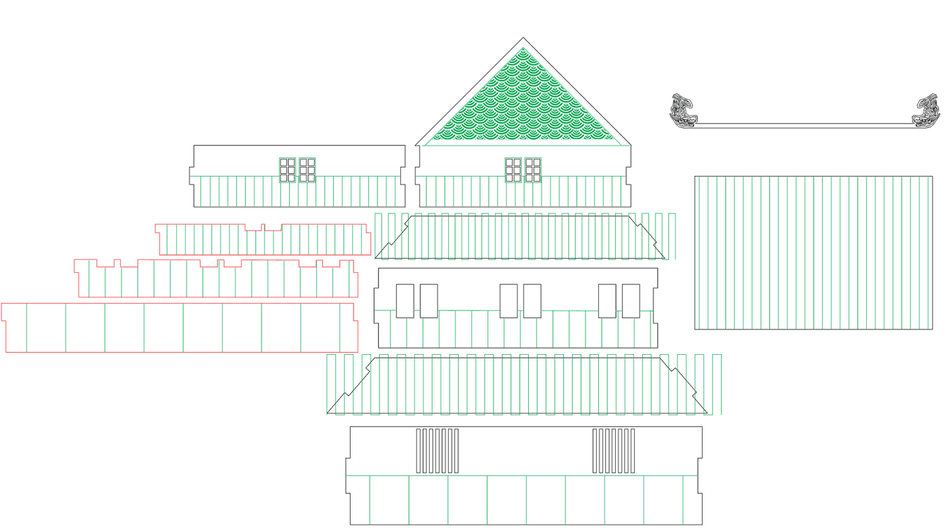
She traced the bottom half of all the wall patterns she’d made so we could do a second cut of veneer to add accent coloring to match the castle’s actual design (dark and light).
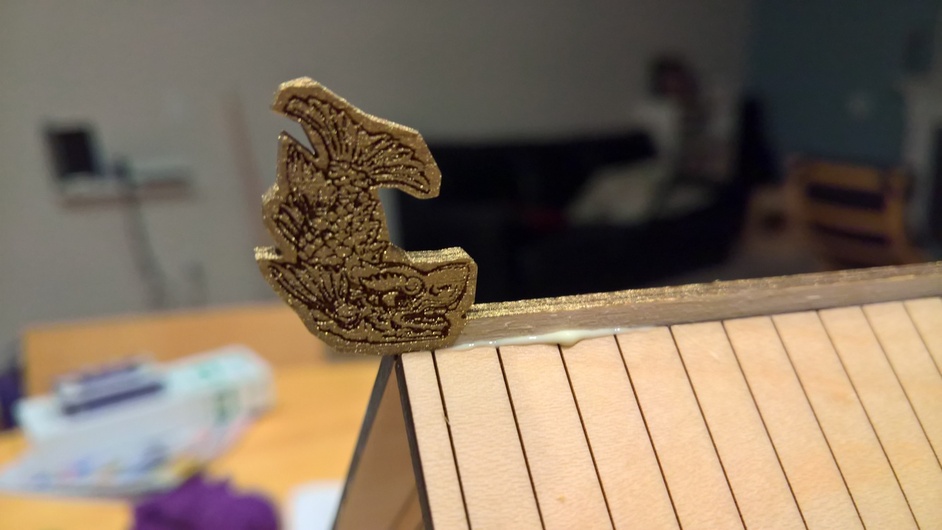
She looked around the web for pictures of the fish that usually go on the tops of the castles and once she found one traced it and made a piece that would glue to the top of the roof and hold them in place. It was a raster image in a vector cut outline. We tried two variants of the raster image to see which looked best and ended up with this one.

She also cleaned up her file to make it easier to see which parts were for what floor and added cut lines for all the windows.
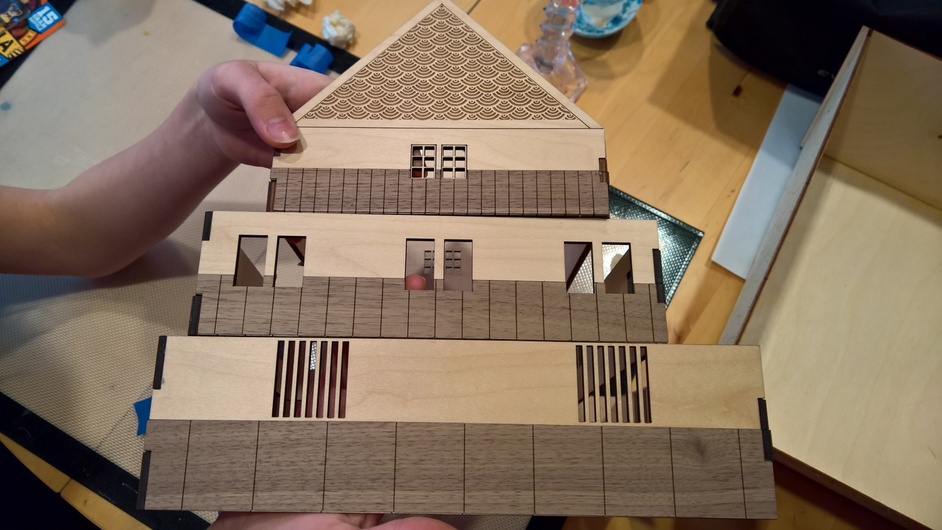
with her new optimizations we only needed one of most floor walls except for the top floor which she joined with the roof triangle on one side so we printed two each of those.
Printing went pretty quick since we had leveraged a lot of score lines over rastering. Next was assembly time. She cut some tracing paper squares and taped them behind all the window holes.

We used super glue for any of the proofgrade finished plywood since it was already sealed and that worked much better than wood glue on it.
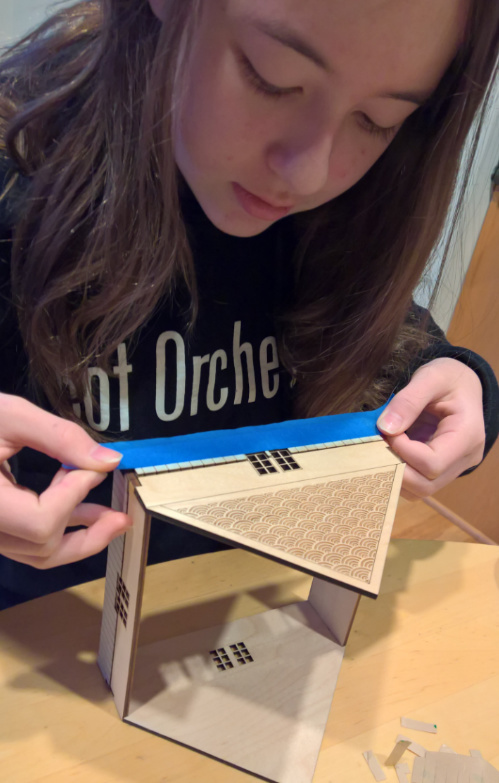
We learned after assembling the top floor walls that it was easier to apply the veneer on the walls while they were apart, but also, for fragile pieces like scored veneer which is easy to break into small pieces, we applied blue tape to the face of it first, then pulled off the adhesive backing paper and applied it and finally removed the protective surface paper.
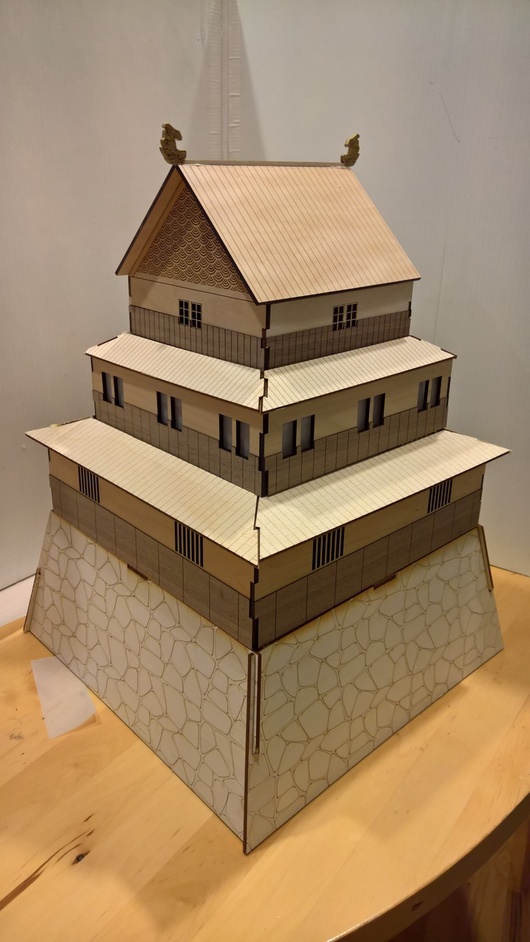
I think the two tone wood look worked quite well for the walls, but I love wood grain ![]()
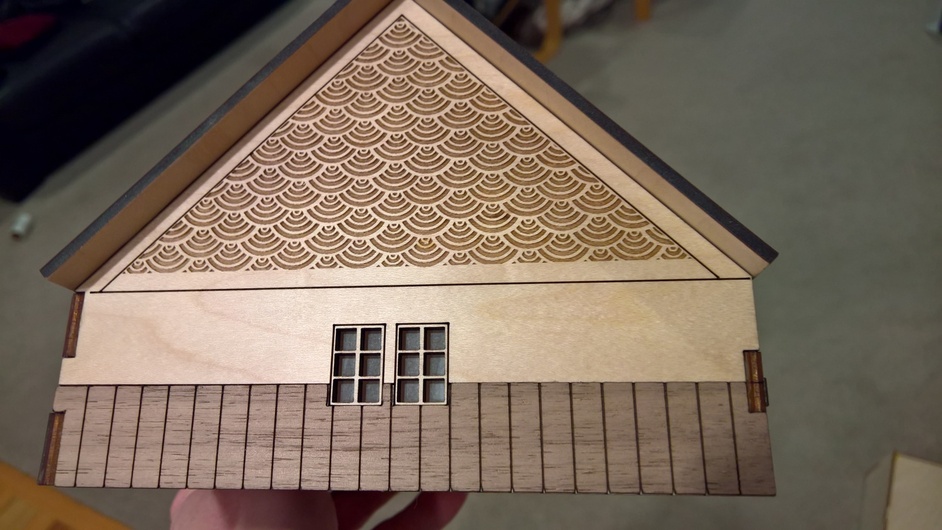
it was starting to come together quite nicely. and the three floors were pretty good looking.
When we cut and etched the fish for the top, we did our first pass as both etch and cut. For the second pass I pulled out the piece from the material and flipped it over and put it back into the hole it left so it was in the same location and then turned off the cut portion of the job. That left just a single etch pass on the back which turned out great. After that we pulled off the protective paper from just the fish and painted them gold with some spray paint and finally removed the rest of the paper we’d used as a mask.
So, the new version turned out even better than the original (as expected).
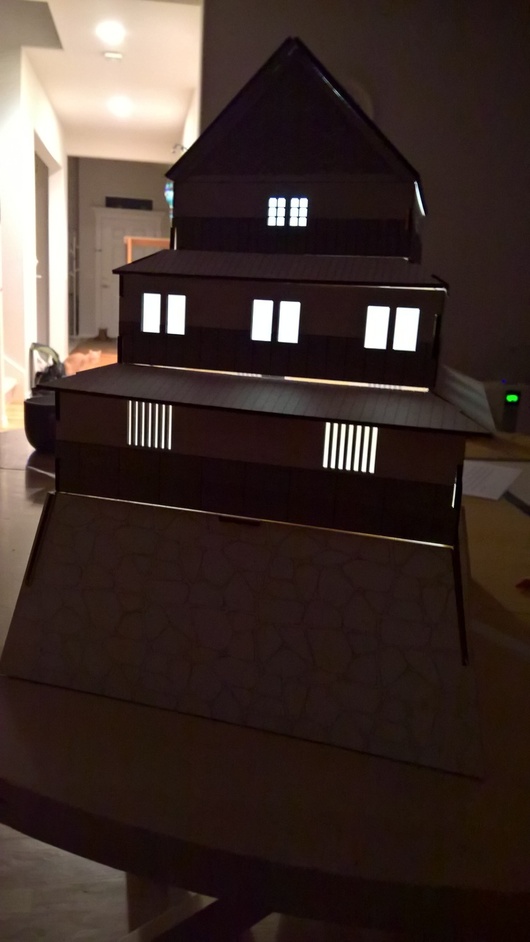
if you put a light inside and turn off the lights the windows work well too.
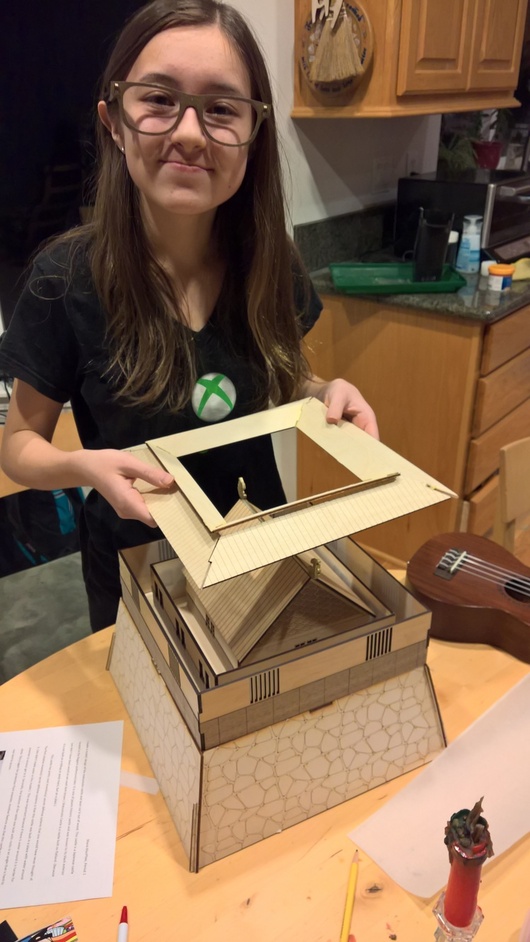
and it still travels well by fitting inside of its base ![]()
Overall it turned out quite nice and she did a great job working hard drawing and assembling (the laser did all the cutting work ![]() ) and she got great feedback from her teacher and school (who put it up for display in the main office). It’s great to see her getting that sort of feedback for putting in the extra effort like that and hopefully will continue in a virtuous cycle for future homework assignments
) and she got great feedback from her teacher and school (who put it up for display in the main office). It’s great to see her getting that sort of feedback for putting in the extra effort like that and hopefully will continue in a virtuous cycle for future homework assignments ![]()

 I want to give to this at least 100 likes!