I’ve been dying to do stained glass work with the Glowforge. I have all sorts of different ideas for techniques combining wood and glass, but the very second thing had to be to prove that I could solder the wood with the glass without the wood burning up. (The very first thing was experimenting with cutting and engraving glass. Before you ask – none of the glass in this post was cut with the glowforge, but I do have another technique to try so I haven’t written it off just yet.)
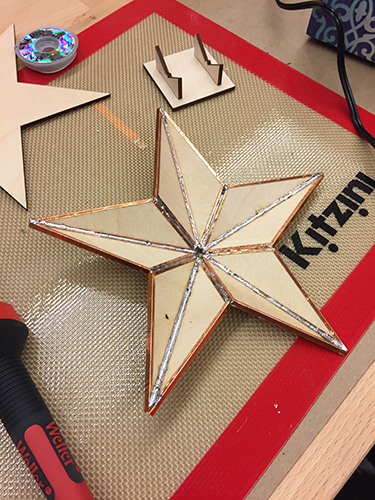
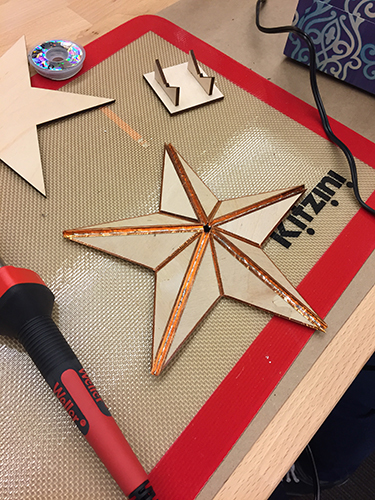
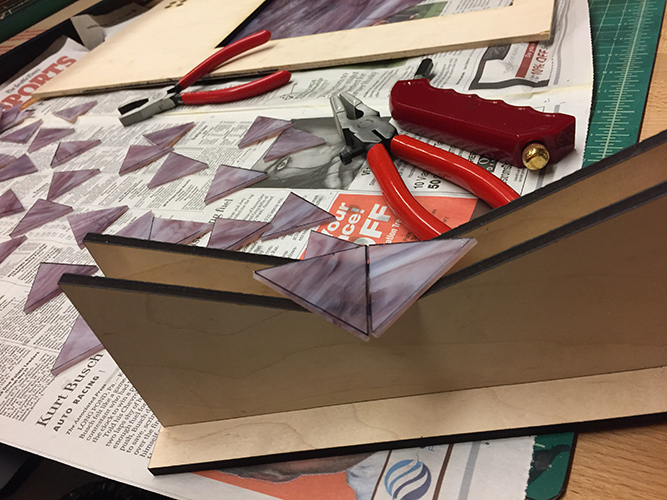
I put together a simple little star shape in plywood, mostly to play with 3D applications, but also because I want to eventually replace a paper star lantern that I ripped. I’d like to make one in nice wood with intricate holes and engraves in some sort of fancy patterns, but for this one I just wanted to see if I can just wrap and solder wood successfully. Since I had made a 3D model of the star it was relatively easy to figure out the angles needed between the individual pieces of wood and then between each point of the star and I made up some quick jigs to hold everything in place as I worked. My favorite part of this whole project was sitting there with the pieces and wondering how I would get the angles right and then realizing I have a laser.  The actual soldering was pretty easy after @ned helped remind me how to do it (it’s been like 15 years since I last picked up a soldering iron) and @shell helped provide an extra set of hands. I didn’t detect any wood burn type things going on at the edge of the copper tape. I think the tape disperses the heat enough along the edge that it’s okay. I’ve always thought the copper foil looked so pretty (no idea if it will eventually tarnish or if the coating will keep it shiny clean forever?), so I only soldered the insides of the joints.
All in all I thought it was a great success, though I learned an important lesson about acute angles and materials with thickness that doesn’t match how the planes on a 3D model work.
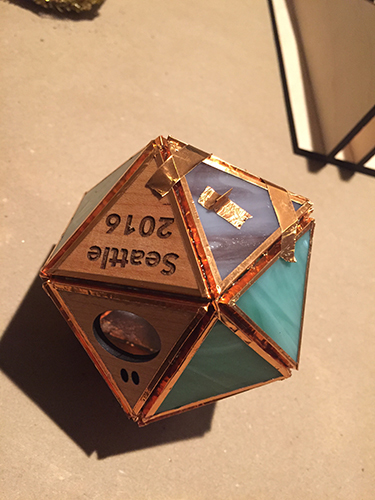
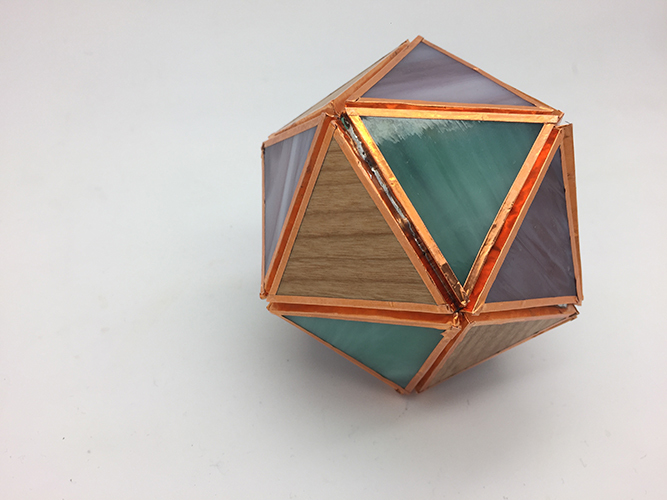
The next evolution of the project was to add glass. Keeping in mind that I wanted to avoid acute angles this time until I figure out how to handle that in 3D software, I started looking at polyhedra. There are some very pretty polyhedra, but our favorite icosahedron (d20) was simple to cut (everything is a triangle and the same size), pretty low poly count, and looks like a Christmas ornament already! I designed one wooden triangle with a spot to tie a ribbon and another hole to put a light from your tree lights into so the ornament can glow. I made myself a jig, cut some glass and some wood triangles to mix in and got assembling. In the end, I had to glue the last two pieces in because I was trying to keep the soldering hidden inside. The whole thing ended up being much sturdier than I was expecting, and it’s relatively weighty from the glass and metal in it. I tried antiquing it using black shoe polish, which is something I had seen done before, but it really didn’t work well. I was hoping that it would stick to the little bits of silver showing through the copper joints, but the metal was too slippery and just ended up leaving bits of grease in the cracks where I couldn’t reach to polish away. Any tips on this would be appreciated!
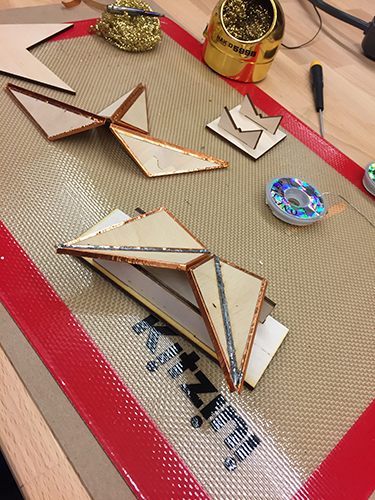
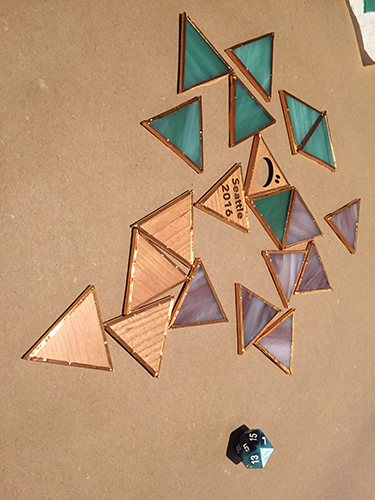
Cut glass triangles and testing fit on the jig:
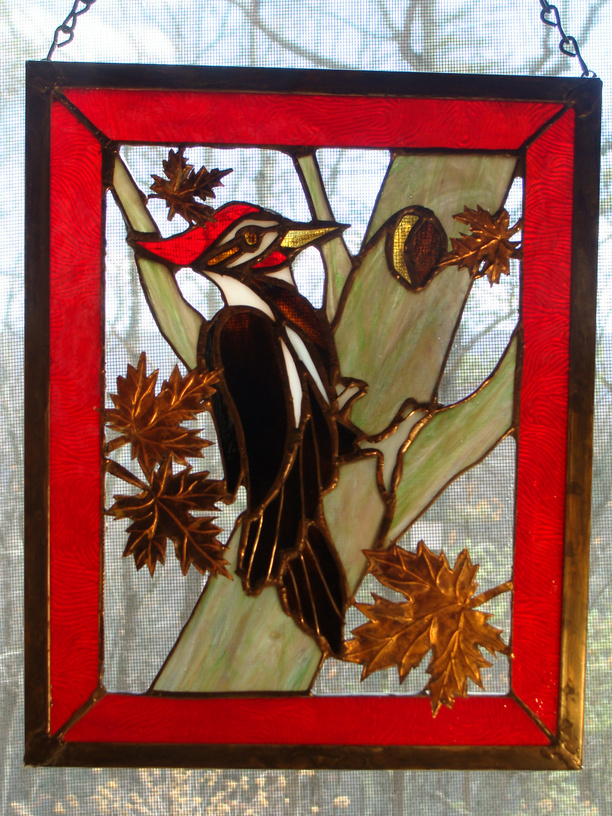
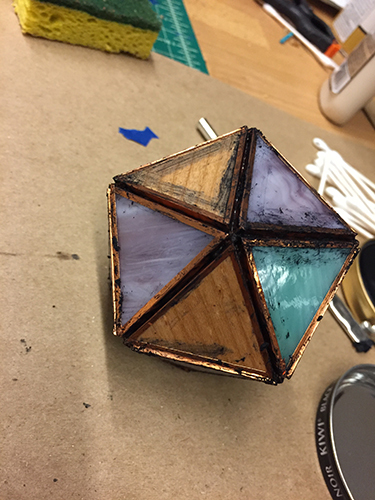
Some wrapped in copper triangles and my inspiration piece 
Partially finished, it was starting to get a bit hard to hold here, I had to ask for supplementary arms a couple of times:
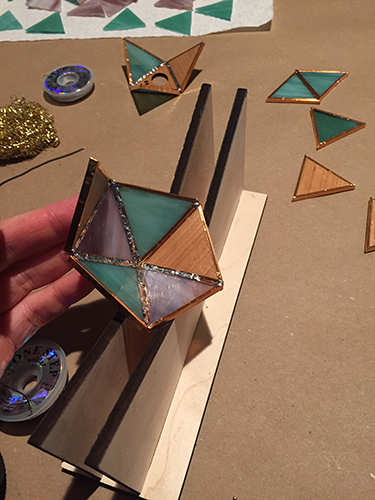
My (genius?) way of holding the last two triangles in while supergluing and drying:
Before shoe polish:
During shoe polish 
After shoe polish and lots of buffing:

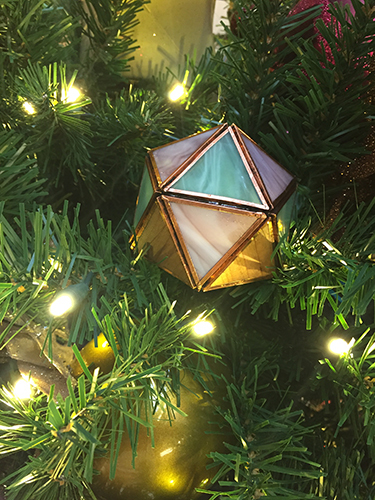
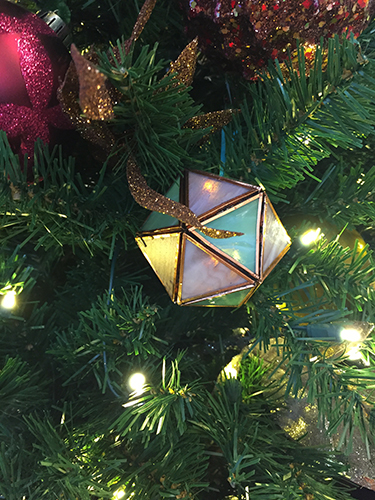
Anyways, the final product came out great, I put it in the tree they have in the lobby of the building and snapped a couple pictures.
In the future I have plans to make this bigger as a desk lamp and engrave patterns (numbers, perhaps?) through the glass and wood, but I ran out of time on this one.