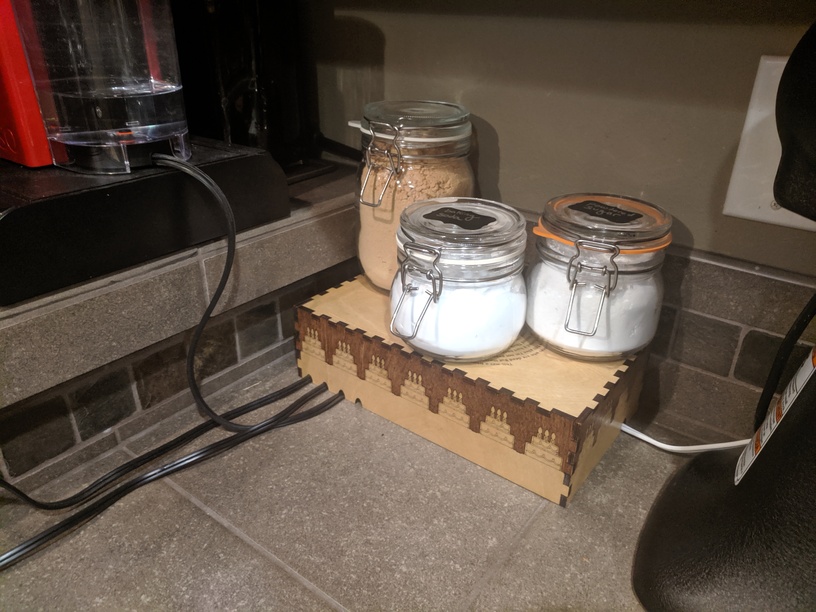
Had an ugly power strip sitting in the corner. Glowforge to the rescue!
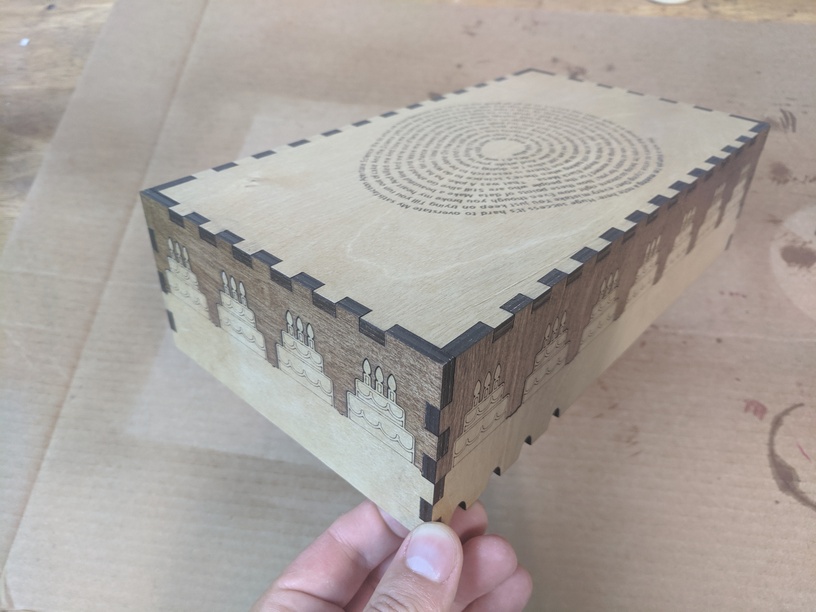
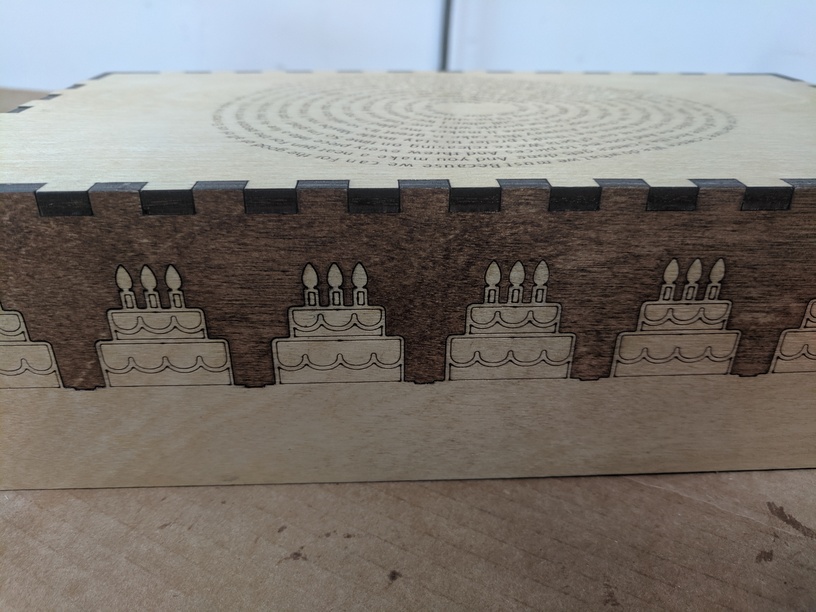
The color differential is due to some fruitwood wood stain. Everything is birch plywood.
Had an ugly power strip sitting in the corner. Glowforge to the rescue!
The color differential is due to some fruitwood wood stain. Everything is birch plywood.
Oh, great solution to unsightly cord clutter! 
I know when I’m being lied to.
Best game ever. And Jonathon Colton is a genius songwriter!
I like how you did that stain. I assume you masked it before scoring and then removed part of the mask and stained the open part. When I try that sometimes I get bleed under the mask, but yours came out perfectly!
I love an aesthetically pleasing solution to a problem! Well done.
Good cover up
How Genius this is… well done!
the  is a lie.
Great solution!
A very nice solution but you might want to add some air holes as it likely generates a fair amount of heat needing to get out in lew of letting the smoke out instead.
I’m also curious about the technique. I thought they were cut apart, stained, then re-joined.
To get the best fit, I actually cut each side Top and Bottom out independently, stained, then glued together before gluing into the final box.
The design process went sorta like this:
Well, that was way cooler than I realized. No wonder you didn’t get bleed! Thanks for expanding on your process.
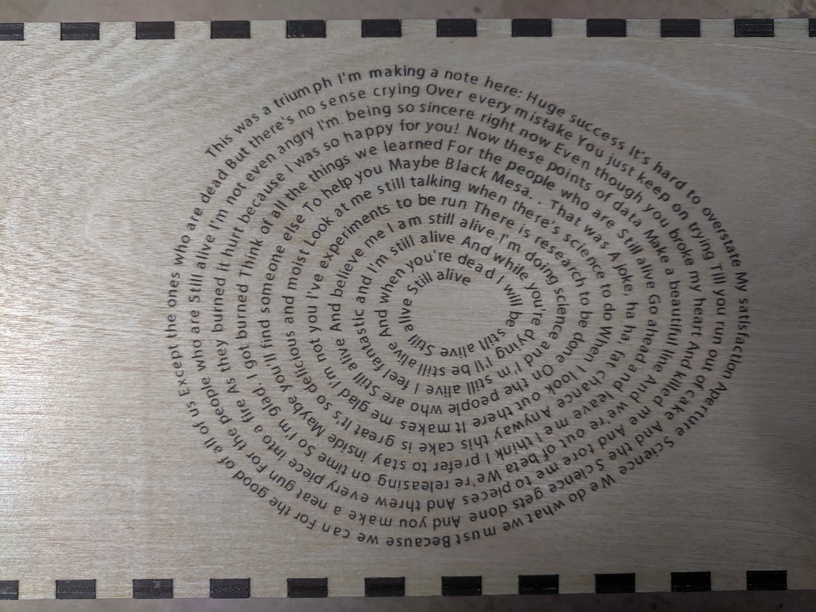
I just wanted to say that the Glados references are appreciated.