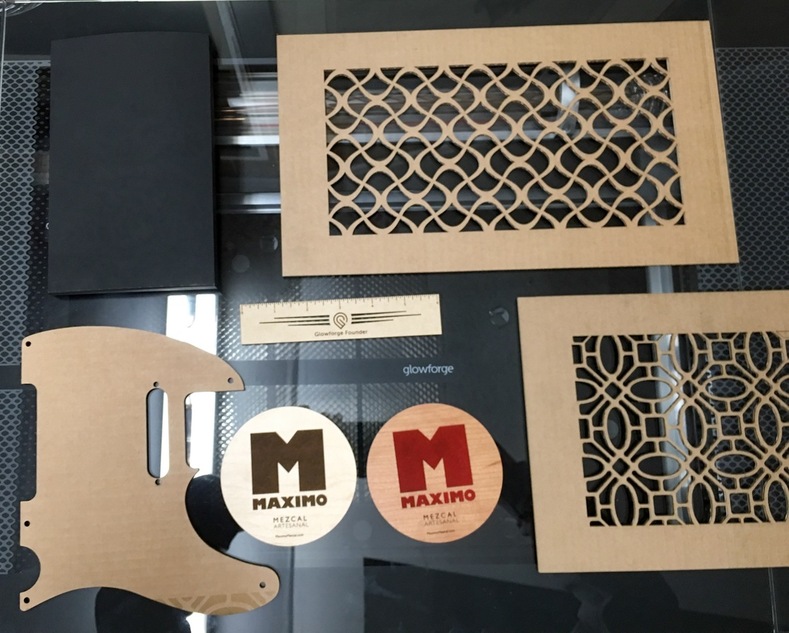
Plenty of tests, a few failed experiments, a promise not to do any more leather until I fix the venting to be more leakproof (no leather in pic, still not happy w settings for saddleback scraps).
Couple of coasters, one I used some liquitex crimson ink to color some of the engraving. A few cardboard tests. Some vent covers I’ll do in wood and route the edges, wanted spousal approval on which pattern. A size test for telecaster pickguard (which I couldn’t check because the guitar is in a storage space behind the GF boxes). And a box I made out of Plike paper, which has a cool, smooth texture. Need some double stick tape to finish it.
It was a fun first day. Feel like I could have finished more things, but I’m learning.
The red really looks scrumptious. Did you have a finish on the top layer that prevented the Liquitex from seeping into the veneer? Like a polyurethane?
thanks, @cynd11. good to know ahead of time. i think i have 3 press sheets of plike that i cut down, so there will be some more tests on it. it cuts really well.
honestly, i had no idea how that would turn out. all i did was take a small brush and keep applying it to the etched area until it stopped soaking in. i had a tiny amount of leakage under the masking (PG cherry), but was able to clean most of it off before it stained the finish.
All looks great! Using standard Krylon spray paint I had some bleeding into the end grain of the engrave. Since then I will seal the engrave first by brushing in some clear with an art brush before painting.
Looks like I see a tiny bit of that capillary bleed I was talking about on the right leg of the ‘M’ on the inside at the bottom…?
Man I really like the color of the cherry, and that color ink accents it very well.
yes, just a tiny bit. it’s also possible that is ink that slipped under the masking that i just couldn’t get cleaned out in time that settled into the grain. that ink is really thin, unlike a paint, so i definitely had some bleed under the masking.
i definitely need to test out sealing first next time.
Just good insurance against an undesirable effect. The black I used really messed up a successful job. Quite a buzz kill right at the last step of the operation.
with the ink, i was thinking it would soak into the engrave not sit on the surface. the color will probably look different with ink on a surface than soaked in. paint would be a different story. wonder if i could just carefully seal around the edges.