33 Likes
Very cool!
Doesn’t it rock having this machine that allows you to go from idea to physical object in a short time! ![]()
12 Likes
You did a fabulous job on this!!
9 Likes
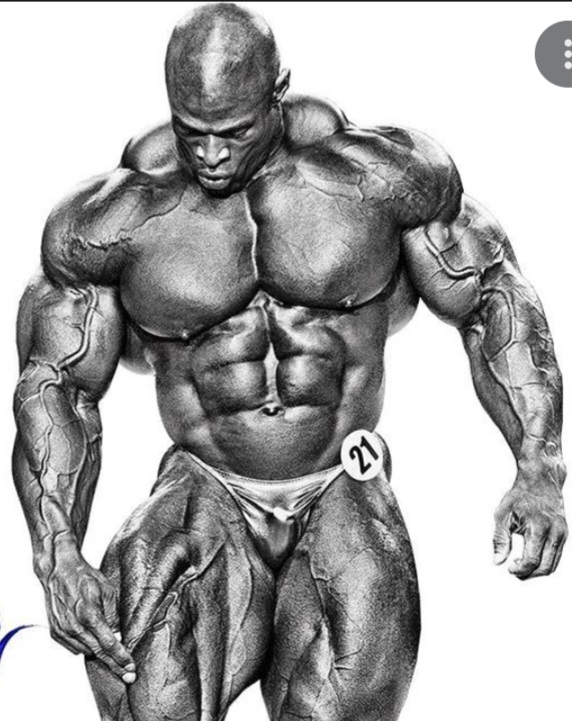
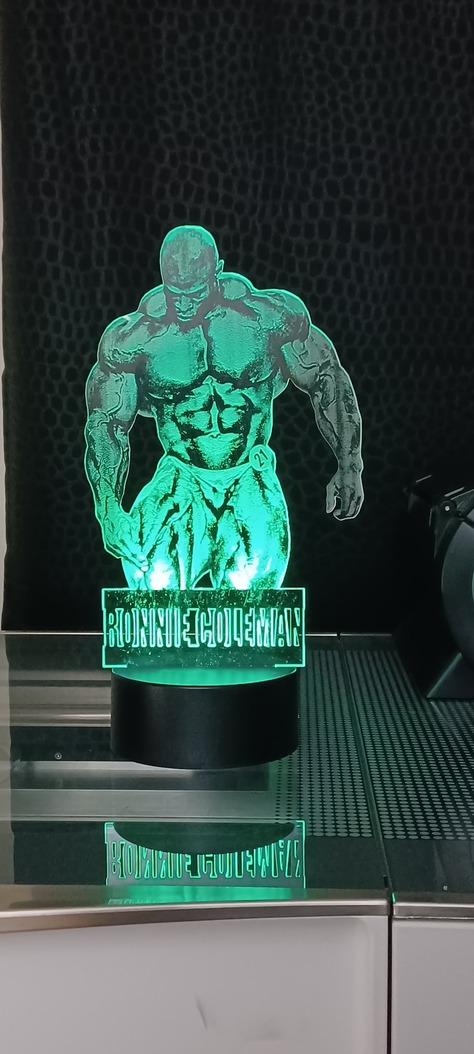
Wow the detail shows brilliantly in this!
6 Likes
Great job!
4 Likes
Most definitely. I love it. ![]()
4 Likes
Thank you. I’ve gotten so much better than before.
3 Likes
Thank you. Creating is so much fun.
4 Likes
Thank you. Trial and error has been the best teacher.
4 Likes
Thank you. I was amazed when I was actually able to see the veins in detail.
4 Likes
Oh my goodness, that’s impressive! Great work.
3 Likes
very nice work
3 Likes
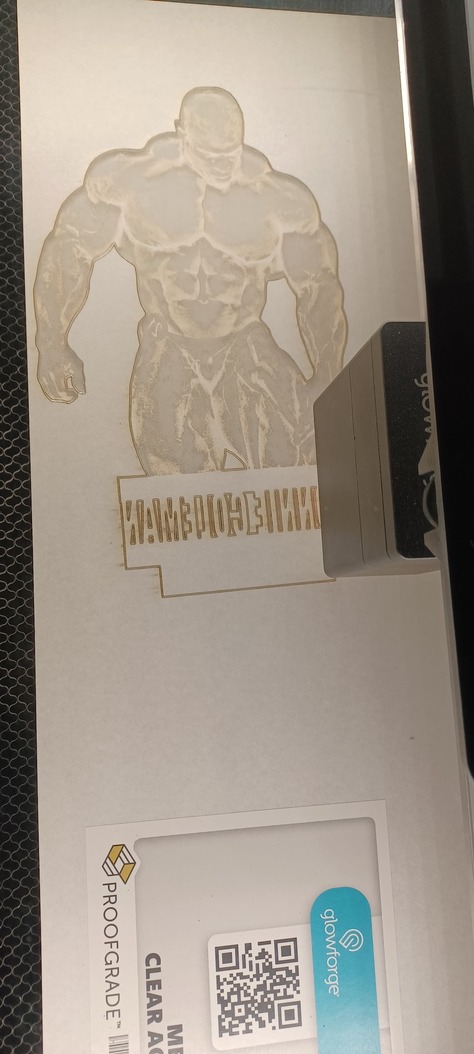
That’s impressive. Is it proofgrade? If so how did you do it and the settings please?
1 Like
Wow, very impressive!
I can’t stop l ![]() king at this!
king at this!
Thank you. It’s appreciated.
Thank you. I can create the same effect for anyone.
1 Like
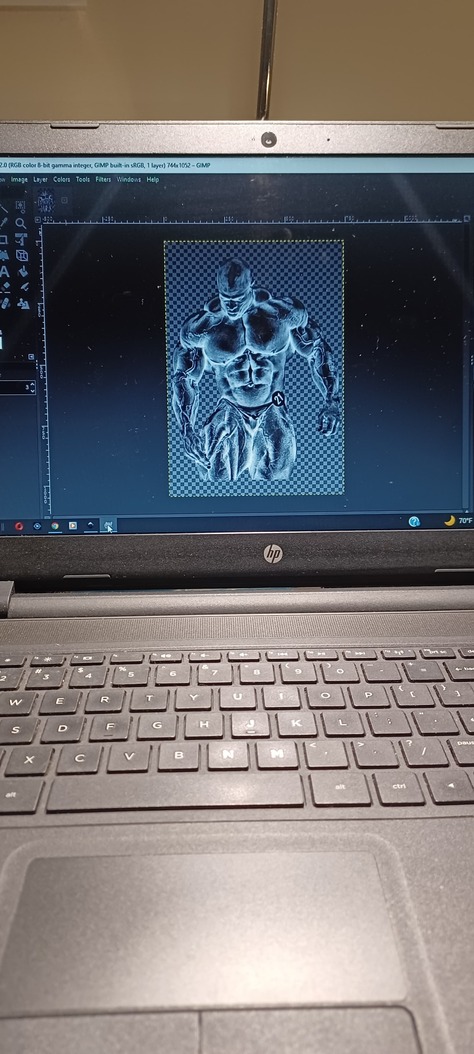
Thank you. Yes, it’s proofgrade acrylic. I use two free programs to prepare the image (Inkscape and GIMP). Inkscape allows me to use the bezier tool to select areas to be cut out. If you need help with that please let me know because I have a good way of doing that. Then I save the image and open it in GIMP where I change it to grayscale and dither it. GIMP, also has a wonderful “curve” tool to adjust the light and dark balance. After saving it, I send it to my Glowforge with settings for engraving at 500 speed, full power, 340 LPI, 1 pass. My cut settings are 150 speed, full power, 3 passes. I hope this helps you to create some wonderful things.
3 Likes
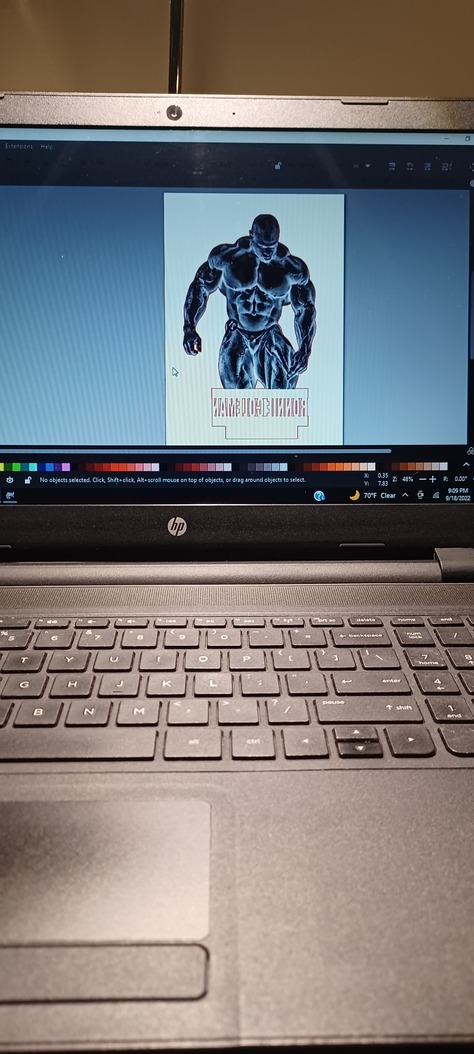
One other thing…this entire process listed is done in “Inkscape”—> Be sure that when you add your lettering for engraving choose a middle gray, align everything before ungrouping your lettering, select all lettering, ungroup them, then select the entire image…union, then group it all together. NEVER GROUP BEFORE UNION. If you want to cut out the letters, as I’ve done…align everything before ungrouping your lettering. Add lettering, then add a red stroke and delete the fill. Select all lettering, ungroup them, then select the entire image…union, then group it all together. Feel free to reach out if you have any questions, or need assistance.
3 Likes