I am working on a project that needs a base. It is a Viet-Nam Era Grenade Launcher, an M79 “Blooper”.
I printed out the item using a Creality Ender 3 Max. The launcher is just about done.
I thought that mounting it on a base would give it a better look. I designed the whole base in 3DS Max and exported it to STL files. The whole print would take over a day to print. Though it only uses about 170g of filament.
I figured that I’ve already been working on this project for a bit more than a week now. It’s coming down to the end and I’m getting impatient, lol.
I can print the nameplate and stands on the 3D printer, will only take a few hours.
I cancelled the whole base print and decided to see if I can make the main base out of wood. Unfortunately I don’t have a big enough CNC and I haven’t started my router bit collection yet.
Is there a way I can accomplish this with the GF?
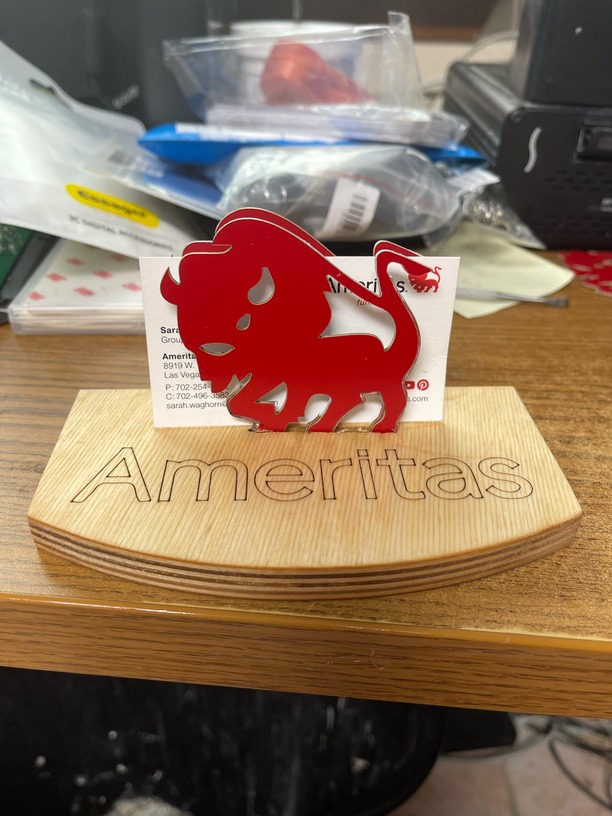
The slots only need to be deep enough to hold the upright plastic stands and name plate steady.
The stands are roughly 5mm thick by about50mm wide. Ideally they should sit about 5mm into the base. The launcher is plastic so it is not very heavy.
These are the SVG’s I have prepped. They are about 12inches by 6inches per section.
I think if I use either a 1/2" MDF or 1/4" birch ply and "laminate it to the uncut MDF base.
The laminating choice seems to be the better choice to me.
Where you want the slots you can always do some testing and see how much power it takes to score the area you want. Then just use a small wood chisel and chip out the slot. That should finish nicely, and you can always wrap a little sand paper around a tongue depressor and finish it off.
You said you don’t have a router bit collection yet so making a guide and using a dremel tool appears to be out of the equation.
You could engrave, but that is also hit or miss for depth and I’d probably do either of the above before trying that. Once again, you’d have to do some testing to get the settings/depth right.
Search the forum, there has been lots of discussion over time about doing this with the laser.
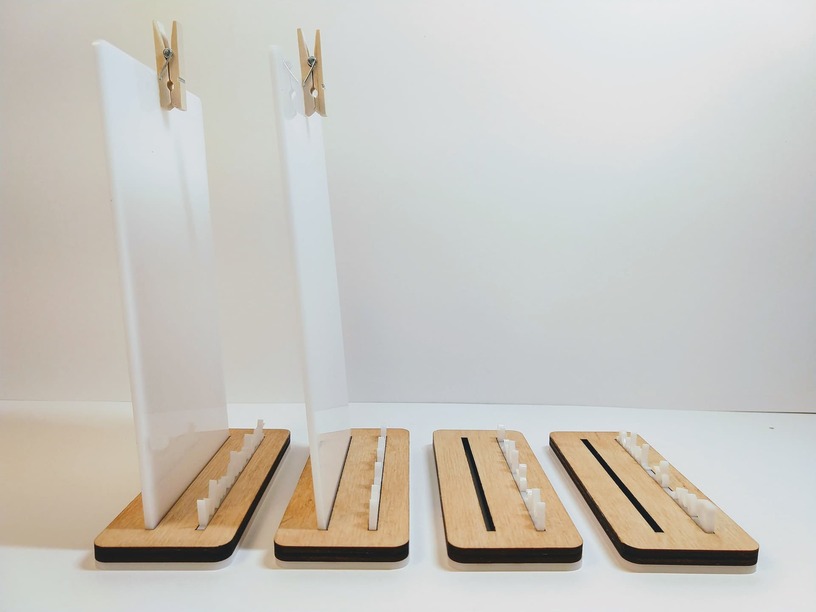
Cut the slots from one sheet of wood (e.g. print the design you attached), glue it to a second piece of wood as a base. The depth of the slots are then the thickness of the top piece of wood. Does that work for your project? 1/4" wood will make a deep enough slot to hold up a lot.
Yeah, I considered the “laminating” method as probably the easiest.
Use a 6mm birch plywood and glue it to the MDF base.
I do have a nice Dremel and a router base for it mounted to my bench. I just need to get the hand guide and some bits soon.
I also have a couple of Cricut machines so I have weeding tools and gunsmith picks.
Maybe I’ll to a small test base and see what looks and works the best. Supplies are a bit thin in the shop at the moment. Been a rough summer /year for us, as I’m sure it has been for a lot of folks.