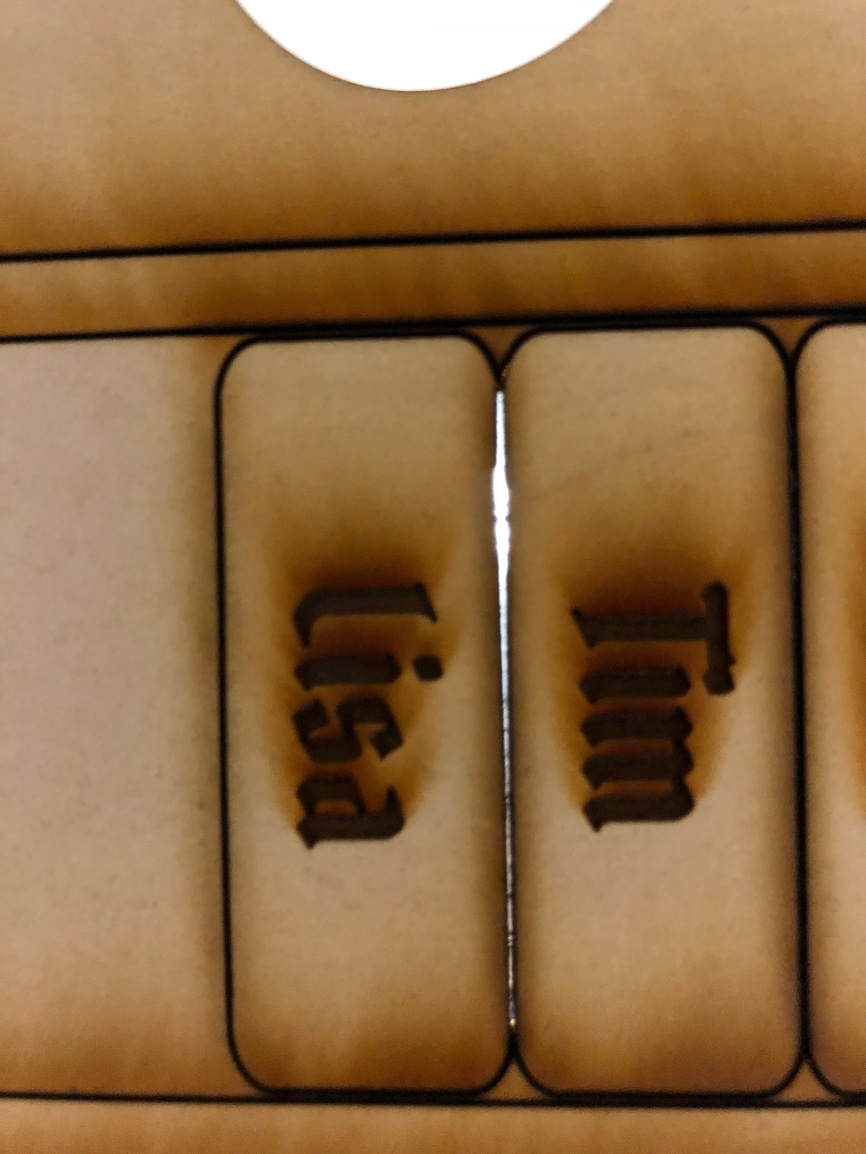
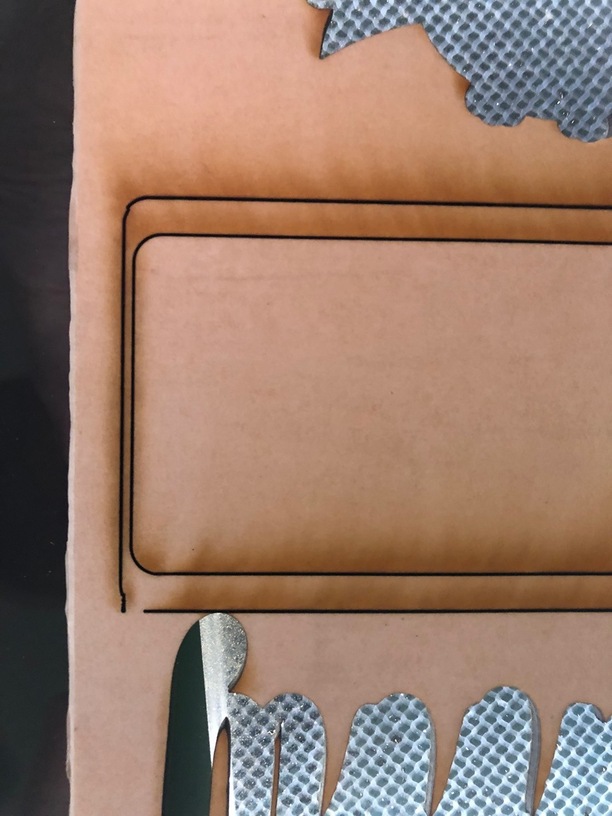
Since March, several of my prints on the right half of the bed have not been printing right in terms of thickness and alignment. I’ve even used magnets to hold down any slight warping of materials without any luck.
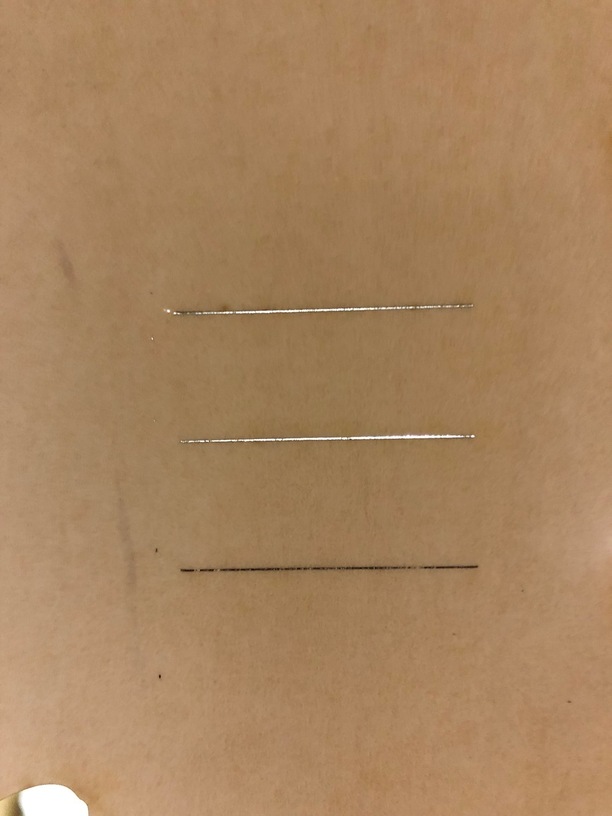
–Proofgrade and non-proofgrade materials don’t cut all the way through each time. Sometimes part of the print will cut through all the way while other parts are only partially cut.
–I’ve also had an issue where the computer says that My print is ready to print, but the button fails to light up. It takes multiple reboots of the app and glowforge unit to get it to work.
Print the Gift of Good measure as far to the front right as you can and see how it turns out. One of the machines at my schools makerspace bumped and lost steps in the front right and was replaced.
Thanks for your patience, and I appreciate you taking the time to post those pictures.
To cut successfully, there are three important things to check. First, your material must lie flat. This requires a clean, properly installed crumb tray and flat materials. Second, there must be no obstructions, dirt, or damage preventing the laser light from reaching your material. Third, your design must be set up properly - for example, with lines that are fully on the material and that are set to cut.
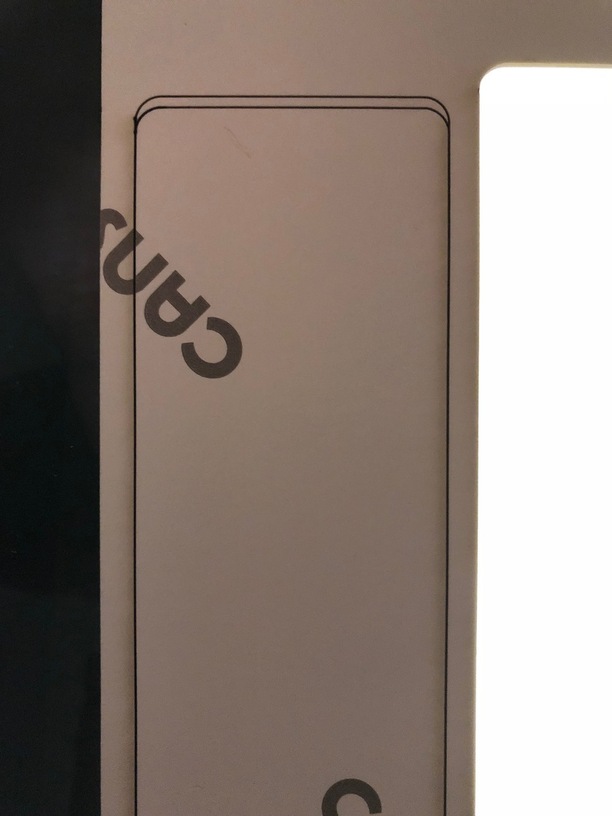
Regarding the offset you’re seeing on some prints, most alignment problems come from the material being closer or farther from the camera than expected. While the software is still improving, you can take these steps for the most accurate alignment results:
Use Proofgrade™ materials.
If you don’t use Proofgrade materials, use a precision set of calipers to measure your material, and enter the thickness in the “uncertified materials” dialog.
Use material that is not warped or tilted.
Place your design near the center of the bed.
Clean the area underneath your crumb tray, particularly the four indentations on the floor.
Reboot the machine. Alignment can drift over time, particularly if you bump the head of your Glowforge while removing material.
Should you finish all of these steps, and find that you have an alignment error of more than 1/4", please let us know so we can investigate.
I’d like to start with some troubleshooting so I can get a better idea of the issues you’re having with your print results. Could you please do the following?
Turn off your Glowforge.
Please thoroughly inspect your unit and design according to the suggestions in our cut-through troubleshooter.
Check the lower door to make sure it closes all the way. It may require some force to open, but open it, wipe any dust off the edges, and close it all the way.
Check the lid to make sure it closes all the way. Small particles of material, such as dust or debris, can prevent it from closing completely.
Check the surface your Glowforge is on to make sure it’s flat. Ensure it is not twisted slightly and that there is no debris propping up one side of the machine.
Turn your Glowforge back on.
We included an extra piece of Proofgrade Draftboard with your materials shipment for troubleshooting. Place Proofgrade Draftboard in the center of the bed and print the Gift of Good Measure using the default settings.
When the print finishes, without moving your artwork or your material, take a screenshot of the workspace to show us the difference between the artwork placement and the actual print placement. Make sure to include the rulers in your screenshot and show as much of the bed as possible
Mac: Press Shift-Command-4 and click and drag a box around your image. You’ll find the screenshot file saved on your desktop.
Windows: Click on the Start Menu and search for the Snipping Tool. Open the Snipping Tool > New then click and drag a box around your image. Click the Save icon and name and save your file.
Send us the screenshot along with the date and time of the print and photos of the front and back of the print, and we’ll follow up.
Finally, to look into why the button on your Glowforge isn’t lighting up when you expect it to, I’m afraid we’ll need a bit more information to investigate. Please do the following:
It’s been a little while since I’ve seen any replies on this thread so I’m going to close it. If you still need help with this please either start a new thread or email support@glowforge.com.