This is one of my favorite tricks in AD, so I thought I would share it.
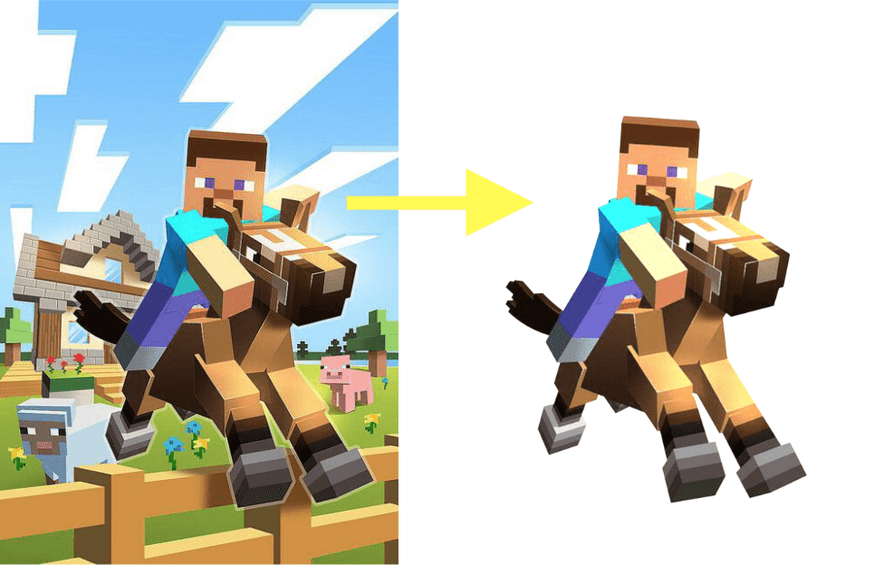
Glowforge can’t handle clipping paths yet, which sometimes makes it tedious if you only want to use part of a raster image in your design. But if you have AD, it’s actually pretty easy! Here’s a sample before and after:
Here’s how I do it: (click triangles to expand steps)
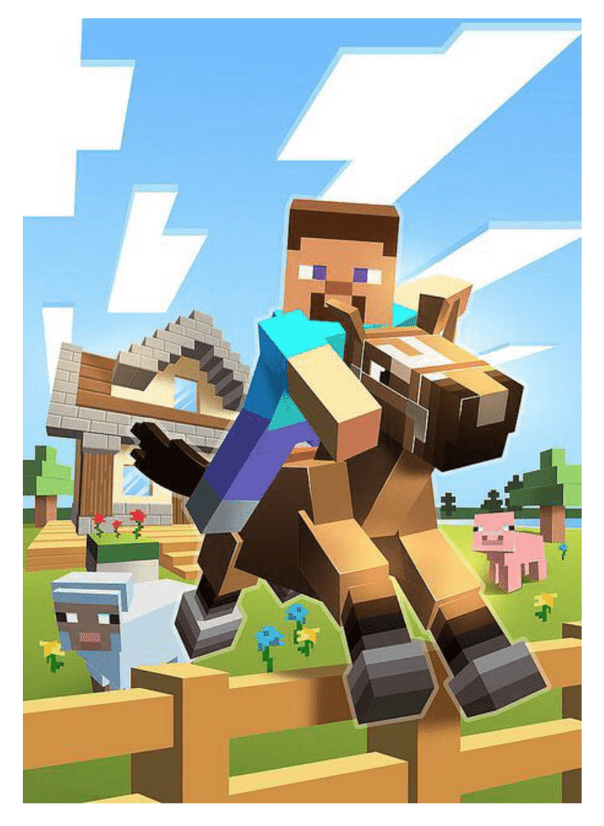
1. Drag your raster image into your workspace.
I’m using a PNG file that I want to cut out for a t-shirt design for my granddaughter. (Not actually a Glowforge project, but it works the same!)
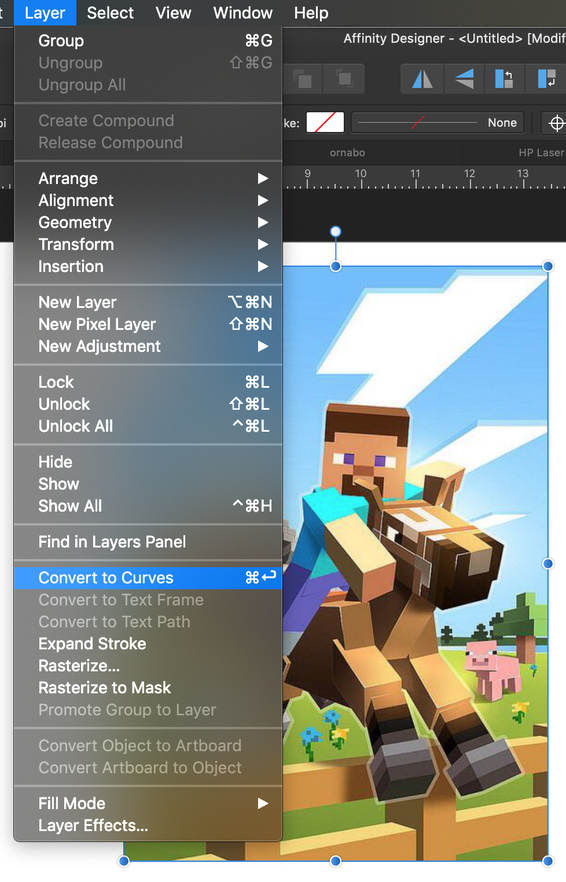
2. Convert it to curves.
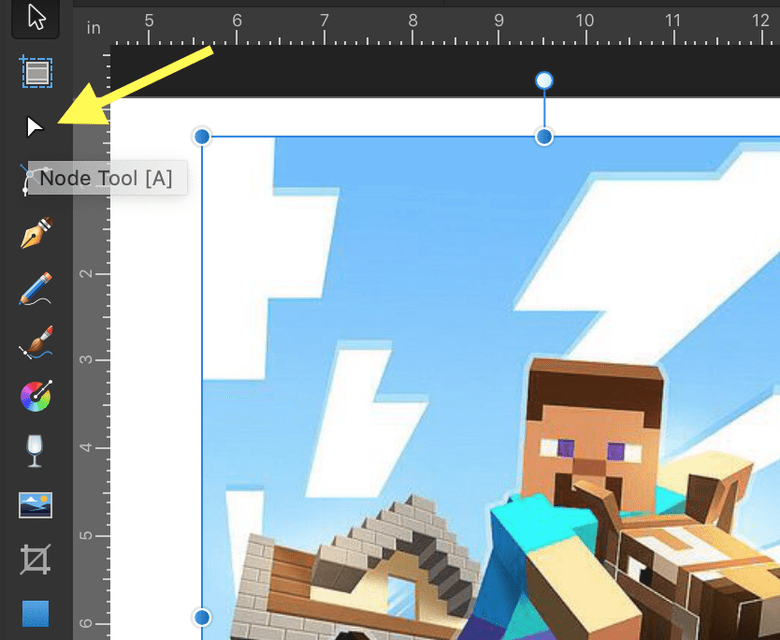
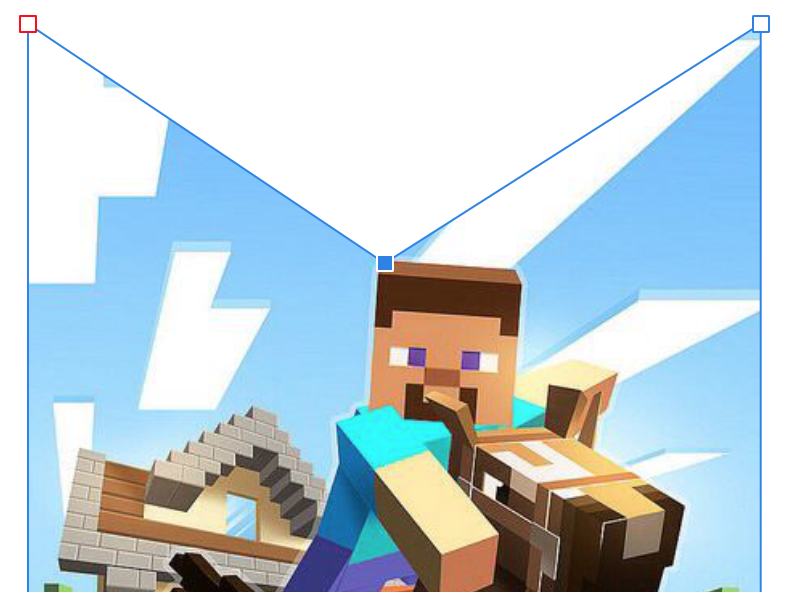
3. Use the node edit tool to add nodes, and drag them around the outline where you want them.
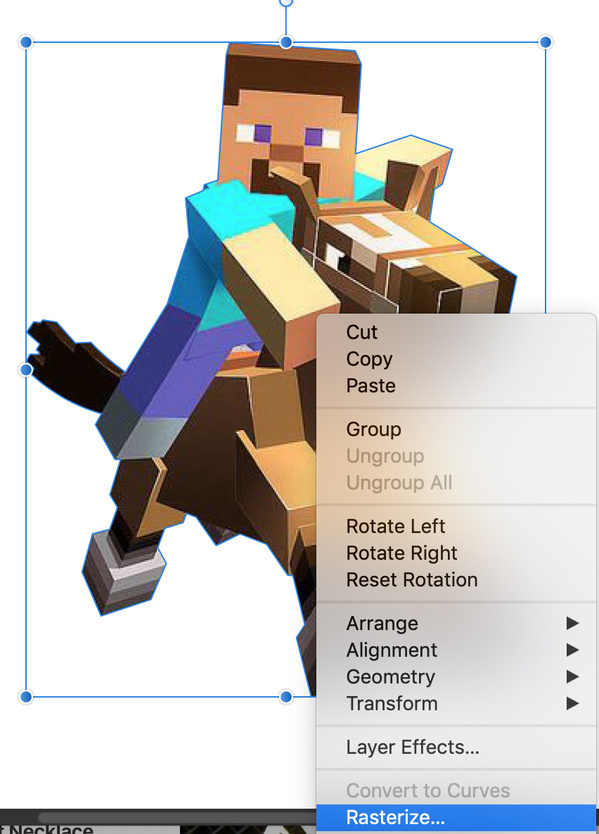
4. Rasterize it
To rasterize, right click on the image and select “Rasterize” from the pop-up menu.
Now you have a piece of artwork you can use for engraving in your Glowforge designs!
Note that your design can have curves, too – just grab the lines and pull them to curve where you want them to, and/or change the node types and use the “handles” to adjust.
17 Likes
AD does not have a trace command to take a raster and convert it to curves. I usually just place my image, draw a path around it import it into GF… I’ll get the popup that clipping paths aren’t supported, but I still get my cut on the path, and can engrave the image just fine using AD each and every time…
The secret is to not actually use a “clipping” path.
1 Like
That’s what I used to do until I stumbled on this method. This way is a whole lot easier.  And I don’t have to waste time and material engraving the parts I don’t want.
1 Like
Nice write up!
This is really similar to what I do in Corel. I import my raster and then drawn a vector line around the shape I want. Clip it to paths>get rid of the vector outline color>convert to bitmap again.
I use to do the exact same thing until I figured out converting a clippath into a new bitmap before importing it to the GUi saved a little engrave time and material. I still sometimes skip it and just do it the way you mentioned though.
1 Like