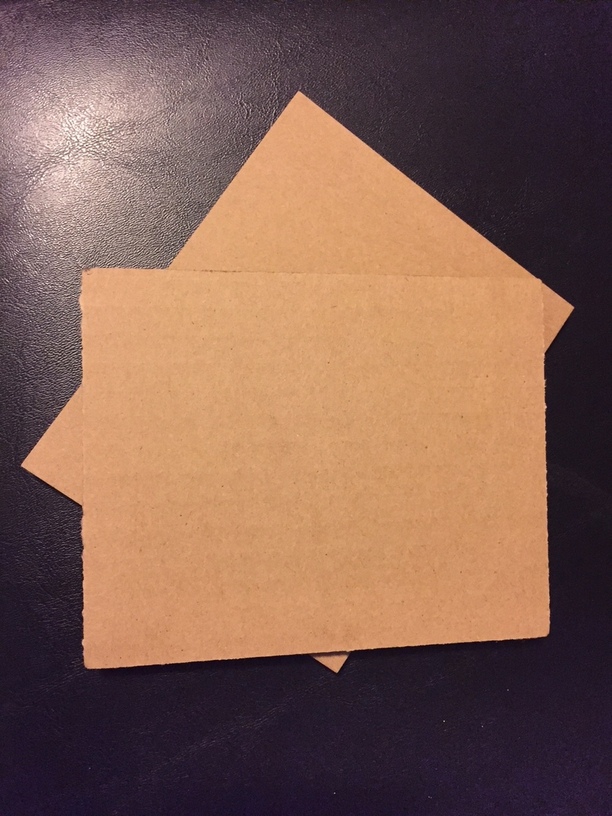
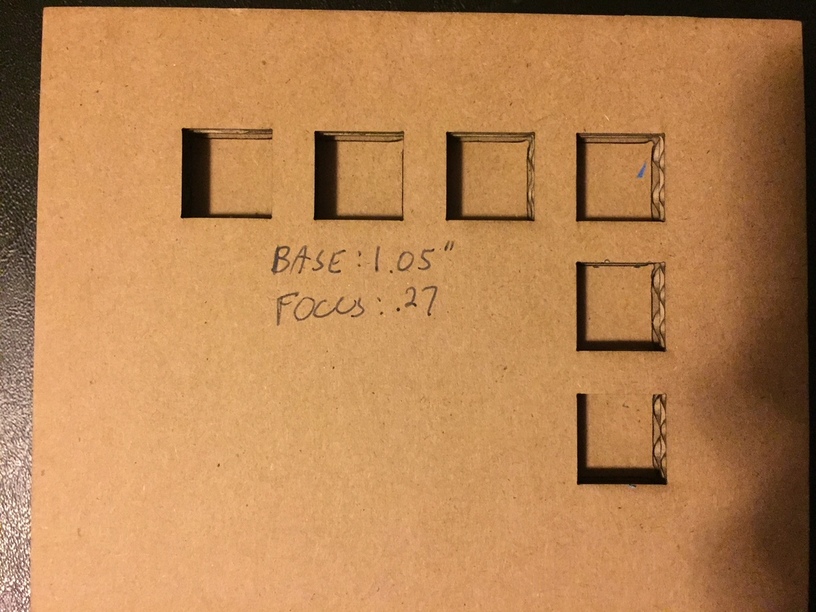
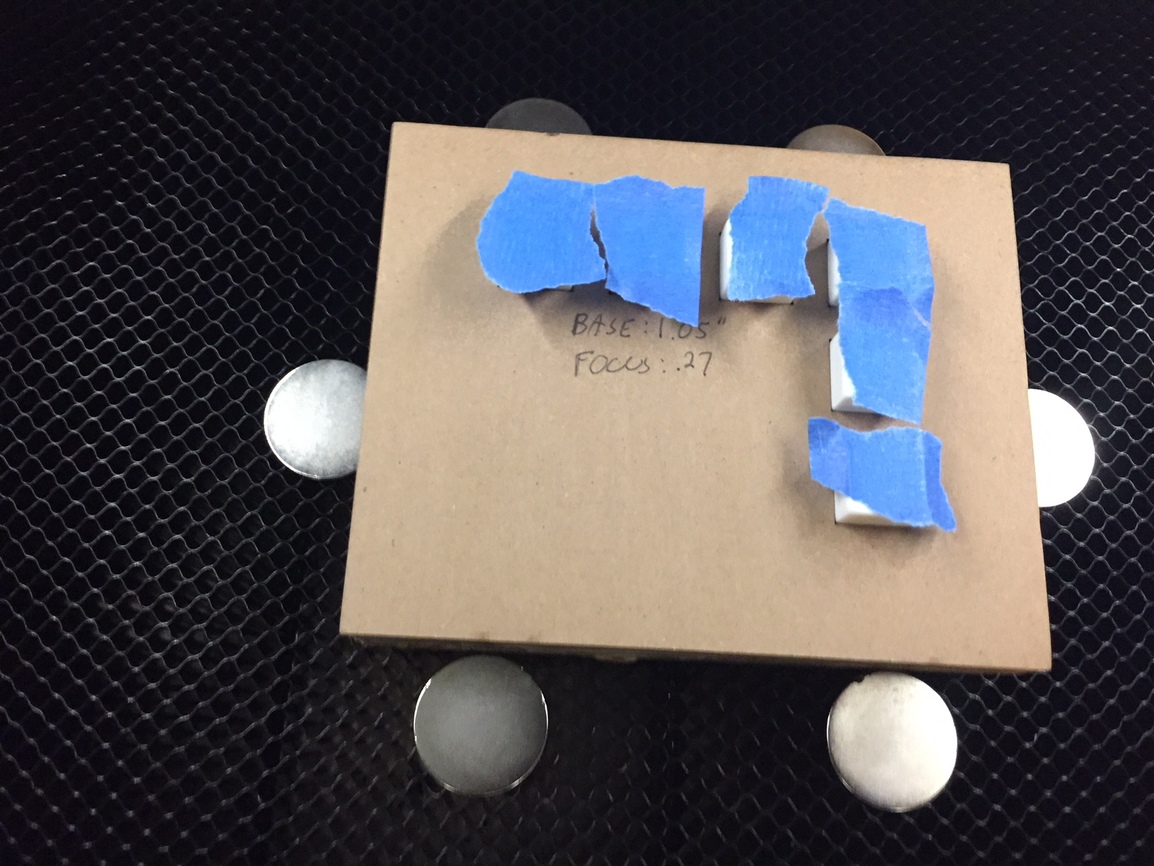
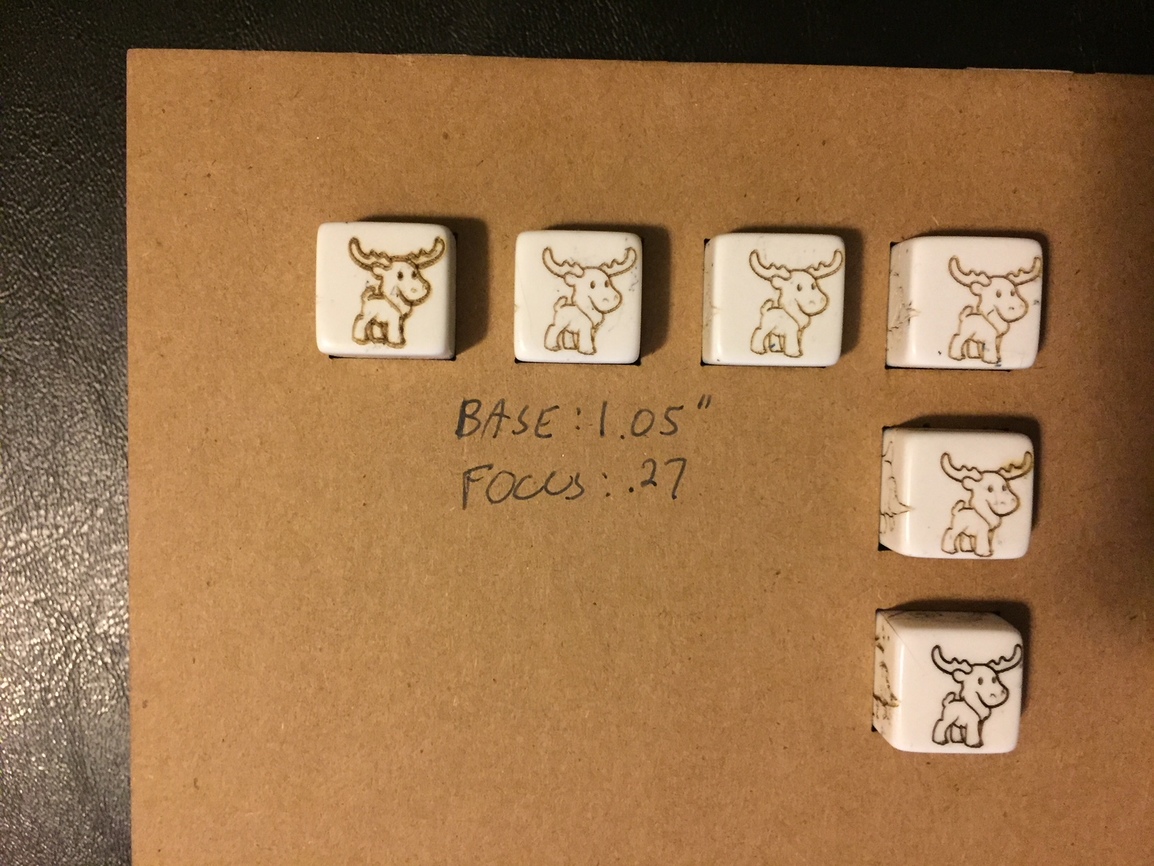
Very nice, and the moose (meese?) look great!!! That looks almost identical to my dice jig – including notes for base & focus.
YMMV, but over the past few months, my top layer of cardboard has loosened a bit, and I have seen instances where the air assist causes a die blank to “waggle” back & forth (perhaps +/- 10 degrees) during the engrave/score. I solved my issue by cutting a new jig from an offcut of draft board.
I expect this is a Glowforge alignment issue as the Glowforge support team has stated in other threads the alignment could be off by as much as a quarter inch
There was an alignment issue. At the same time, it was extremely consistent positioning across runs, so if I ran a test engrave with scrap of the same size, it would align well with the actual dice. (distance is marginal, so maybe lay a sheet of paper over the template and do low-power engrave on paper to line up.)
There are some alignment issues, especially the farther you get from the camera. They are aware of this software/imaging issue and are working to fix it.
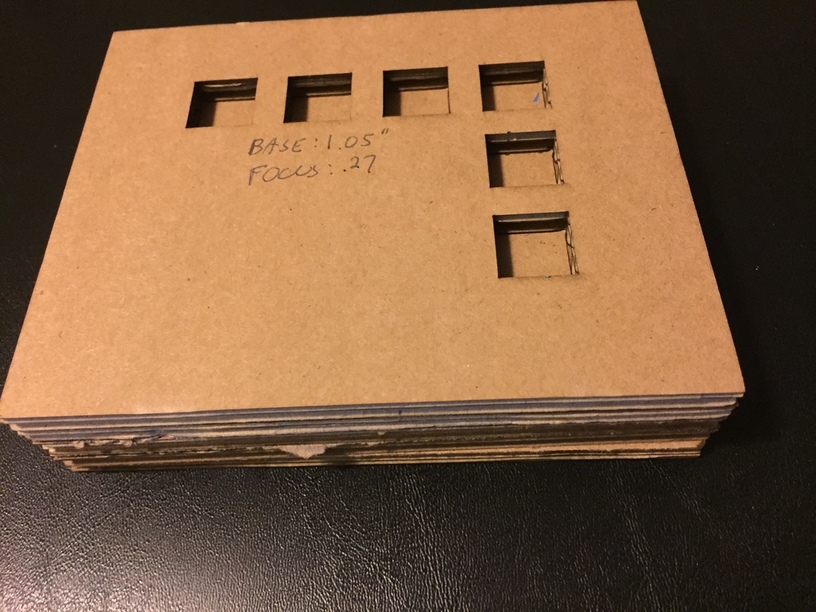
I stated it poorly… My layers didn’t shift, rather the openings in the top layer got a bit worn/rounded from repeated insertions, rotations, etc., so they didn’t keep a tight fit for the blanks. Best of luck!
Ah, well, am expecting some wear there. Worst case, I remake the jig in some period of time. Did make it with the highest quality cardboard to stand the test of time, though.
Sorry for not remembering but do you have a Pro or a Basic? I haven’t tried 1/2" cardboard with my production unit, but couldn’t do it with my pre-release. Need to test it out.
Thanks for sharing. I just got my GF up and running this week, and wanted to start etching on things, but seems like (and I have discovered, the alignment makes this difficult. I wanted to do pretty much what you’ve done, but it still seems like hitting the center of a pre-existing object is a challenge. Do you find that the the mis-alignment is consistent across calibrations or just passes within one calibration session?
My thought is to develop a jig (a.k.a. template) alignment system; like a peg board aligned to the bottom of the GF that has holes so that that each jig can be pegged into the same spot over multiple sessions. Then I would cut each jig with the etch patterns in place (the jig cut lines would need to be part of every etch file), so that I am using the GF’s mis-alignment to place the jig according to where it will cut instead of where the camera thinks it is. But this would only work if the calibration is very consistent between sessions. If not a jug would need to be cut for each calibration session.
Interested in seeing solutions evolve for this mis-alignment problem.
Top layer alone should do that, but I didn’t want to be bothered burning my draftboard on a temporary test where cardboard that I had lying around would work.
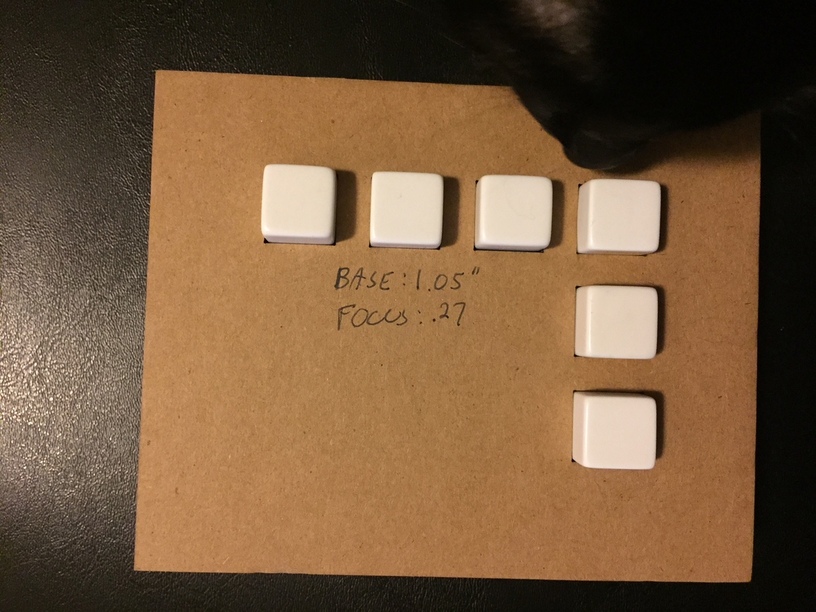
The catalyst for my foray into the maker movement was dice. I have a game that I’m designing that would use custom 4-sided dice. I got my 3D printer as a way to make those dice myself. That never came to fruition, but I am eager to laser-engrave the blank d4s that I have waiting!