Didn’t cut thru or recognize Med Clear Acrylic and my logo didn’t print properly

Hey, y’all.

Still very new to this but experimented a lot today. I tried to make a memorial plaque for my SIL but the laser only cut clear thru on one side. I had to break the other 3 sides out and they were so bad I just threw it in the garbage. The photo I uploaded didn’t work either. It was awful looking. Any advice I should know for printing on medium GF acrylic? My GF didn’t recognize the material at first but when I shut it off and then on again, it recognized it.

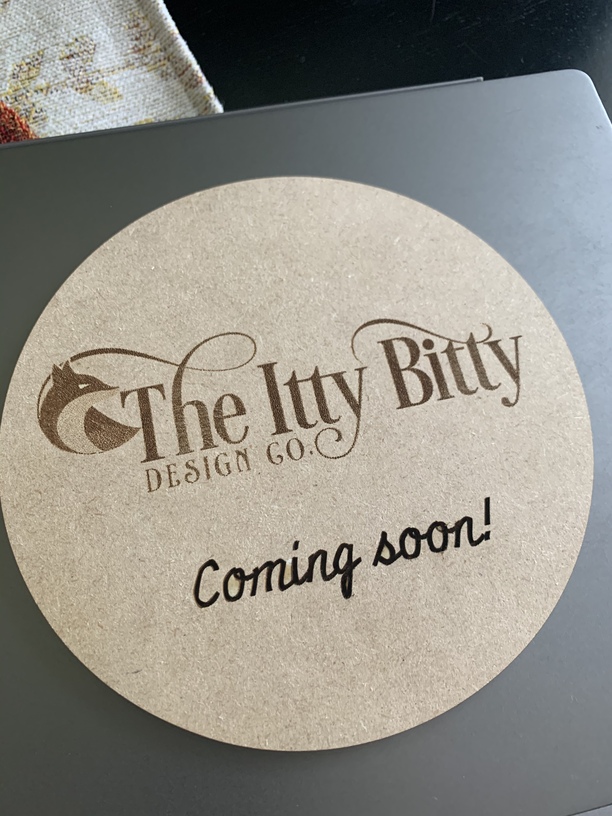
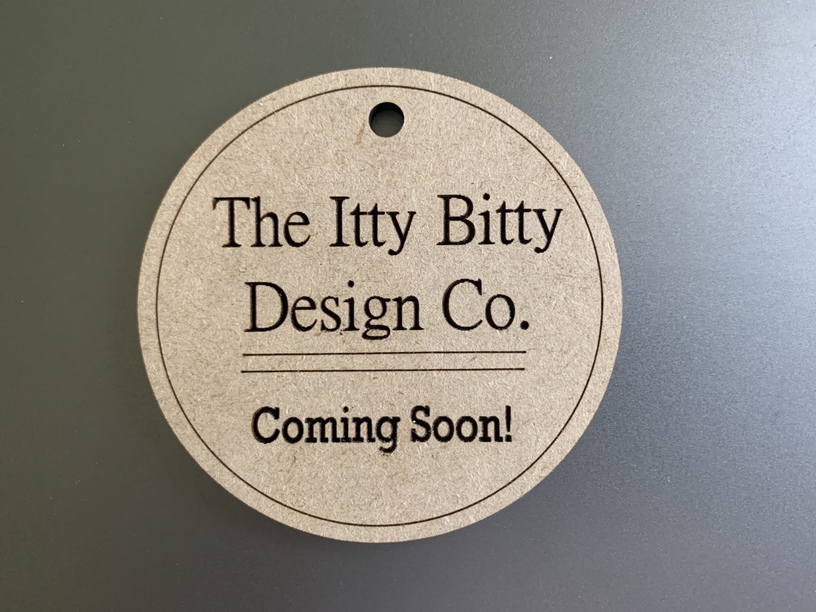
Secondly, I’m trying to print my logo and it’s blotchy. How do I make it clear? I tried adjusting the settings to “various power” or whatever it’s called but when I went to print, it said these settings aren’t compatible with the material you’re using. I included some photos for reference of this one. It’s next to the one that I made that I did like… the big one I made a mistake and it cut the circle that I had meant for score… but that’s just learning in progress.

Thanks for your help!!

Let me address the logo first: it looks like you are using Draftboard. Its texture internally is lots of chaotically arranged plant fibers pressed together (and they don’t like it!), so that’s going to be evident in places that need more detail, or better contrast, things like this.

It’s a good medium for testing ideas, placement, size, quality control on the ideas themselves. But if it’s your logo, then every misplaced detail is painful to behold.

I’d suggest you work with a few guaranteed designs in your target medium–let’s say 1/4" Maple Hardwood. Get some really nice cuts out of 2/3 of the board. Now you can look at the remainder as scrap, and it won’t hurt your soul to go make and learn from mistakes! (Because hey, it’s only scrap; gotta do something useful with it.)

I can’t help too much on the acrylic, since I had the exact same experience on my one transparent sheet. My recommendation is to go dig that ‘waste’ piece out of the trash, and treat it like scrap! There are a bunch of test settings designs to be found in the community. Make that piece work for you, after all. (Note, my sheet was not PG, so it’s interesting we had the same trouble.)

I’d gotten out of the practice now of powering down, then back up, all of my electronics on a regular basis (weekly), including modem and router. I used to telework, so it was necessary electronic hygiene. Lately I’d been lazy…until I got the Glowforge. Almost all of my initial problems could be traced back to poor wifi connections for the GF, computer, and wifi router; all three had to be freshly connected within the last few days. [I’m retired now, so it’s not my employer’s equipment I’m fouling.]

Wow, sorry for the looooooong answer, but this was the sort of advice I’d give my enameling students when they made “mistakes”. (Well, excluding the wifi answer, of course.)

2 Likes

Please don’t be sorry for the long answer!! That was SO informative to me! Thank you so much for such a detailed answer!!

I will def try the logo on another material. I was using the sample draft board that I received with my machine. The acrylic was my 2nd experiment today with different materials but I haven’t lost hope yet! I just have to figure out why it wasn’t cutting straight thru it.

Will definitely take your advice and put it into action. Thanks so much! I really appreciate it!!

You’re welcome! I just realized I didn’t answer a part of your question: why didn’t the photo come out better?

Warning: this is going to get detailed. You may not be ‘up’ on all this, or you may know way more than I can remember. Even if you know it, other readers can benefit, so here goes–

Assumption: 1) you have access to photo software that has channels, and can use RBG and CMYK color space; 2) you either know these terms, or know how to find them in your software.

Scan in your photo, or download from a camera. Don’t discard any color data when you open it in your prefered photo software. (I use Adobe Photoshop. I think Gimp may be able to do this, too, but I find the Mac version to be really clunky.)

You are going to go from color to B/W with some extra steps. I never got the best results by going from RGB>>>B/W. The result has a very flat feel to it. Instead, use the Channels selector to step thru the color data one color at a time. You will see the result of this on your screen with different view of contrast and value for each selection. One of these will be better than the others. I haven’t done CMYK to B/W in decades, so I start in RGB. Usually, the green or blue channel is the best.

Now change the Mode (the color space) and select Grayscale. [Note: you must have started from your one channel, not the RBG view.] Respond that you want to delete the other color data.

Now tweak the photo further, by changing contrast, brighness, levels, etc. You will not be able to retain all the visible detail from the photo in the medium of choice. Make the photo look good, not perfect. You are transitioning from something life-like to our optical equipment to something pleasing and recognizable displayed in a comparatively coarse medium.

Hope this helps.

Omg. Gonna have to re-read this tomorrow when I can think straight. That’s a lot of info! I do have Photoshop and am family with it but not necessarily the specifications that you noted. This is all so detailed! I’m 44 yrs old. My brain doesn’t work so good anymore after copious amounts of vodka. Hahaha! However… will try again tomorrow. Thanks for the advice! :grin:

I’m so sorry to hear that your print didn’t turn out as expected.

There are several things that need to be checked if the laser doesn’t cleanly cut through the material. We’ve discovered that photos don’t always come through well in emails, so I’ve included several links that will take you to reference instructions and photos. Please turn off your Glowforge and check the following:

Once all these things have been checked, please perform the following test print.

  • Print the Gift of Good Measure on Proofgrade material, using Proofgrade settings. You can use the acrylic that you were having trouble with for this test.

  • When the print finishes, leave the lid closed and wait until the fans stop and the picture updates.

Check the completed print:

  • If the Gift of Good Measure fails to cut through, take a photo of the front and back of the print and post these photos to your reply.
  • If the Gift of Good Measure cuts successfully, please try another print of the design you experienced the issue with, and let us know the results.

Ok, will do this tomorrow. Thanks!

It’s been a little while since I’ve seen any replies on this thread so I’m going to close it. If you still need help with this please either start a new thread or email support@glowforge.com.