First post in a couple of weeks because I’ve been working on a project that has been uncooperative at best.
Some of you were backers of a project on Kickstarter called the Codex Silenda: Book of Puzzles. It’s a laser cut “book” telling the story of an apprentice to DaVinci and his unauthorized exploration of his master’s secrets.
They are of course long behind in delivery but they offered a perk with cut files for backers so we could make our own, change the story, etc. I backed a full build, an assemble it yourself kit and the cut files. We’re not allowed to sell them but we can make laser cut copies of the book and give them as gifts. In my case the gift will be the one they send me, my copy will be the assembly kit and I’m interested in writing a new story to include in the cut files.
I’m amazed by the effort they undertook to create the cutfiles - they have 2 flavors of AI files and DXF as well. They have their own Runic type font. And they have files for materials between .190" to .250" on .005" increments. Tons of work.
The files are based on a workspace of 20"x24" so I need to break the pages down into multiple files. I finally decided to try it on the GF. (The files were released in December back when the Codexes we’re supposed to be delivered.)
I opened the DXF file in Inkscape and was not successful. Tried the AI files. Good to go. But Inkscape has issues in converting units properly between native metric and imperial units. More on that later.
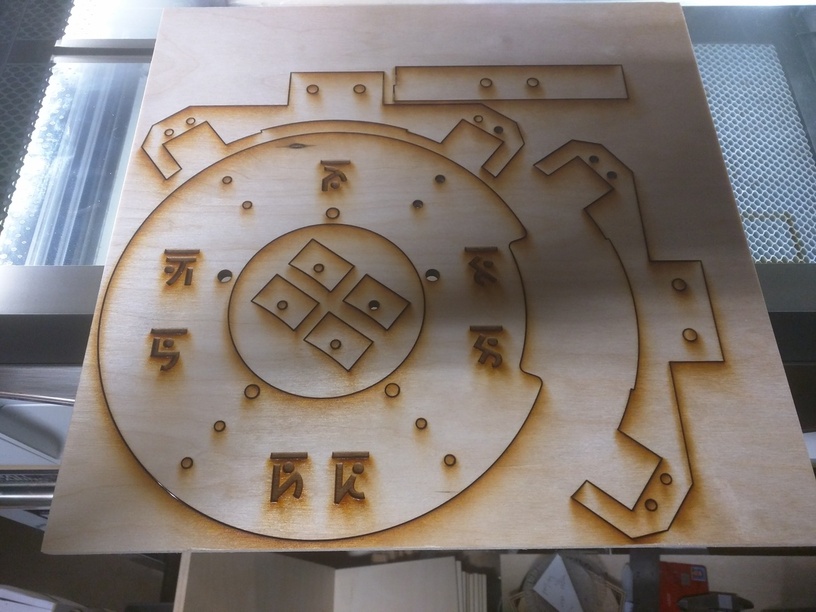
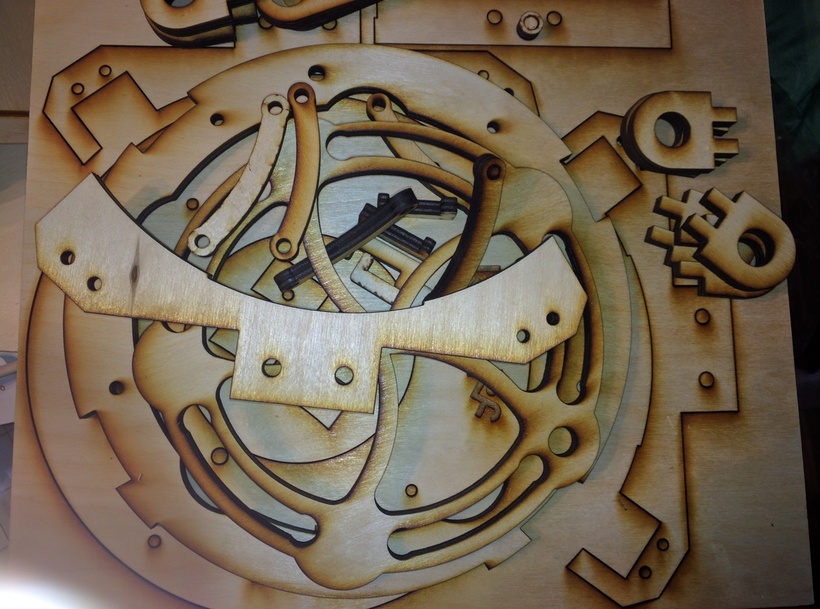
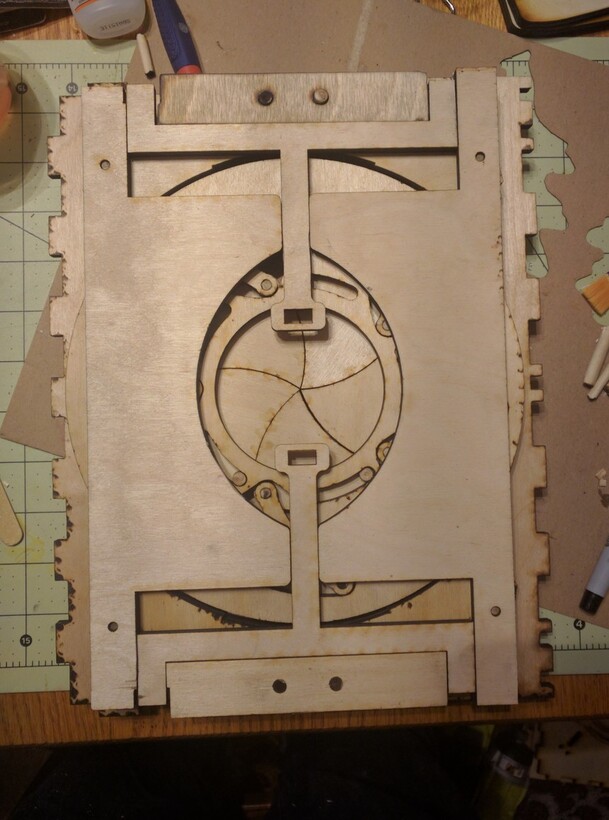
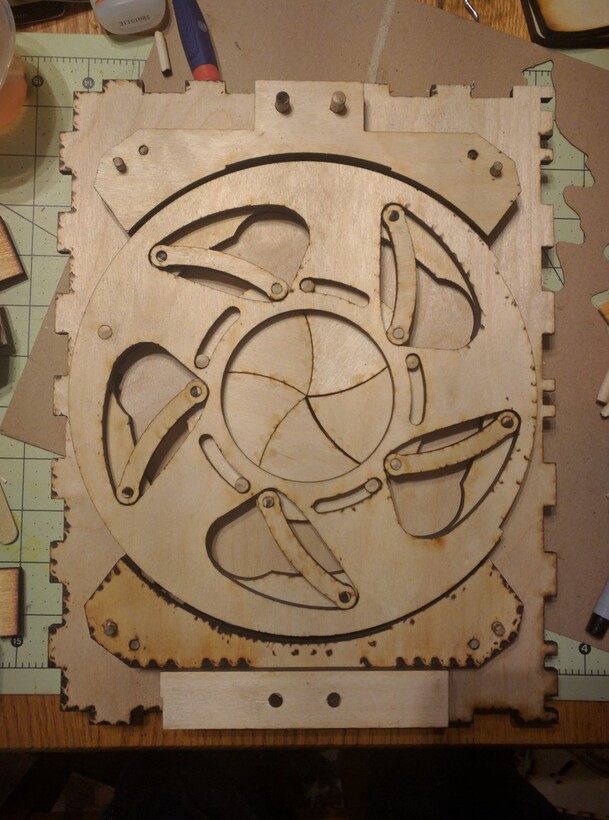
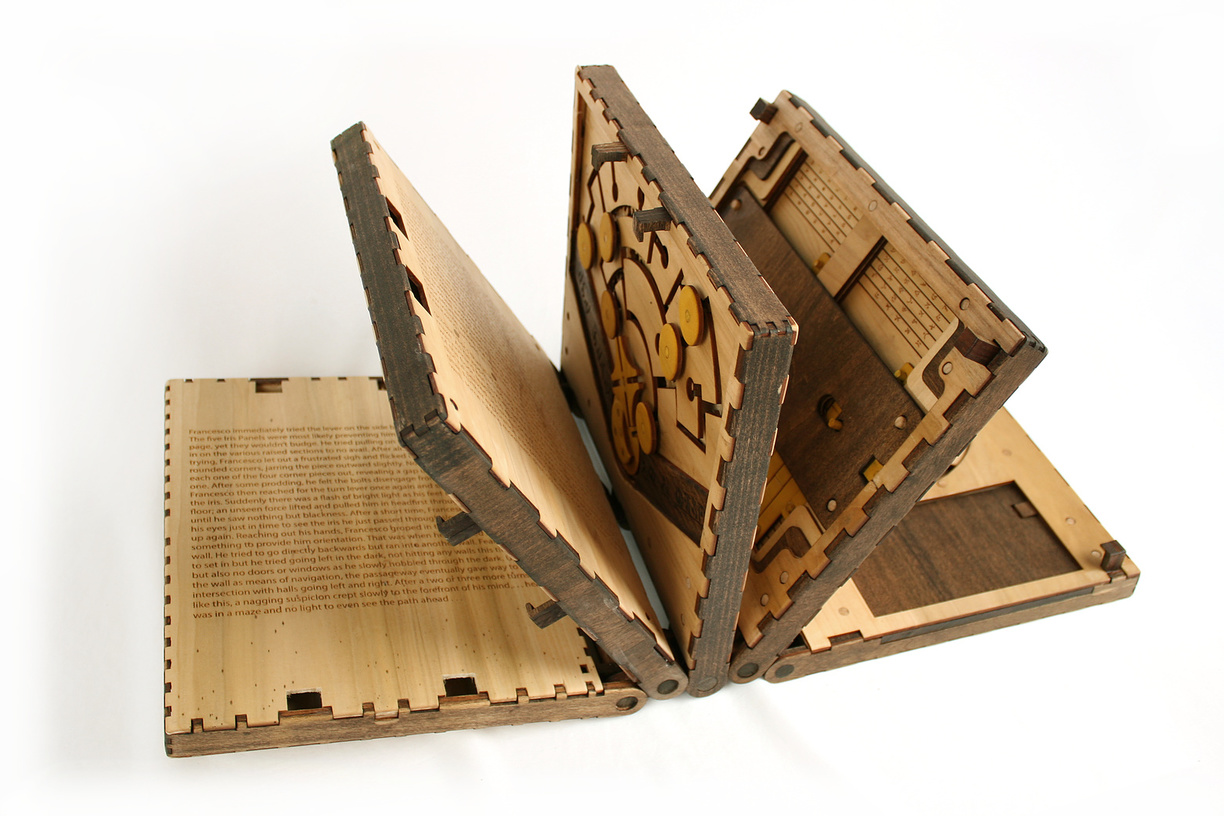
The puzzles are mechanical ones that need to be solved so the page can be opened and part of the story and the next puzzle revealed. Each puzzle is a set of gears and mechanisms stacked inside a “page” box. The first page has 5 layers of mechanical parts.
Here’s some of what I needed to cut.
Here’s why Proofgrade is your friend. Since this is the first time I’ve cut this project I’m using non-Proofgrade Baltic Birch. About 30% of the parts did not cut completely through.
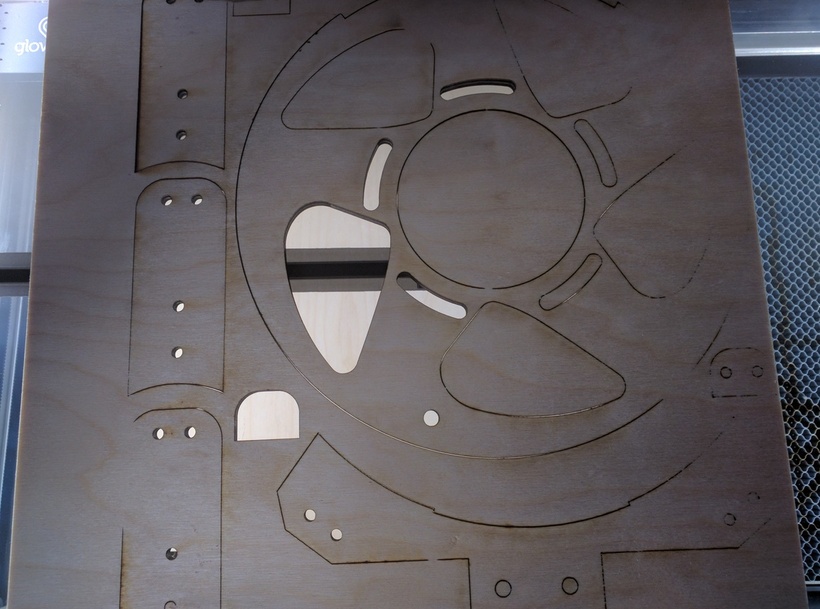
These needed to be recut. Often more than once. I was down to 100/8 on 1/4" and getting serious char. My previous calibration cut I made with 1/4" said I should get clean cuts at 20 in/min.
Struggle through. Make multiple passes. Persevere. Finished cutting parts and move to assembly.
There’s a 100+ page manual on how to put the pages together - not on how to solve the puzzles themselves ![]()
Each of the parts are held in place by dowels of various diameters and lengths. Since I need dowels cut in multiples of the material thickness - e.g. 3 layers of 0.240" puzzle pieces - I decided to make myself a dowel cutting jig for the GF.
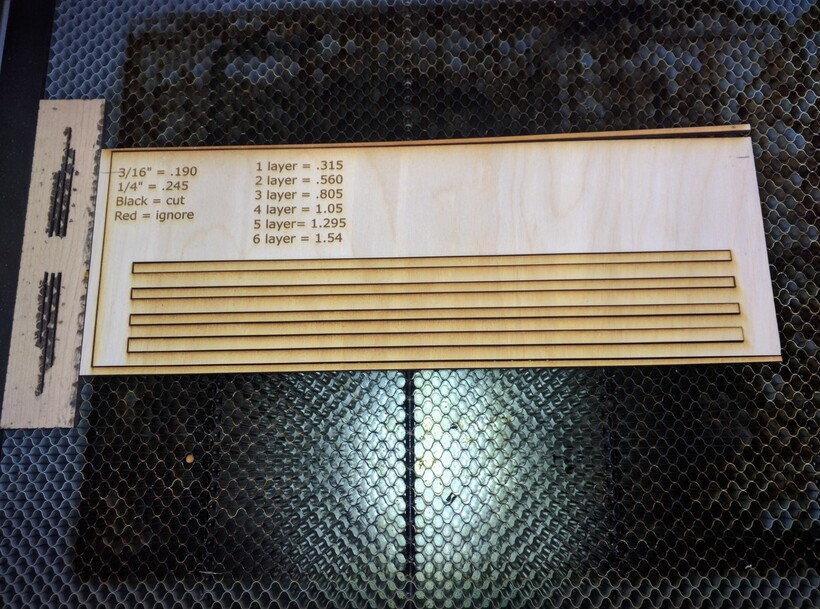
I engraved the various lengths on the jig, cut out slots to drop dowels into and created little cut objects that could be duplicated and dropped on the dowels. For instance page 1 needs 18 2-layer long 3/16" dowels and 5 4-layer 3/16" & 1/4" dowels, etc.
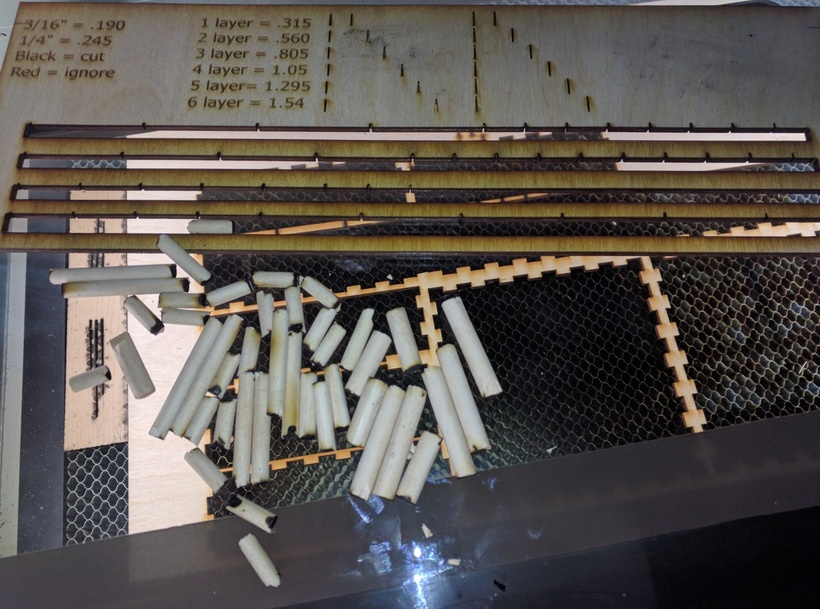
Jig turned out great. Dropped some dowels into the slots and tried to lay the cut objects on the dowels in the GFUI. Alignment was okay but not great. Cut the dowels but also cut into the jig and the process wasn’t ideal.
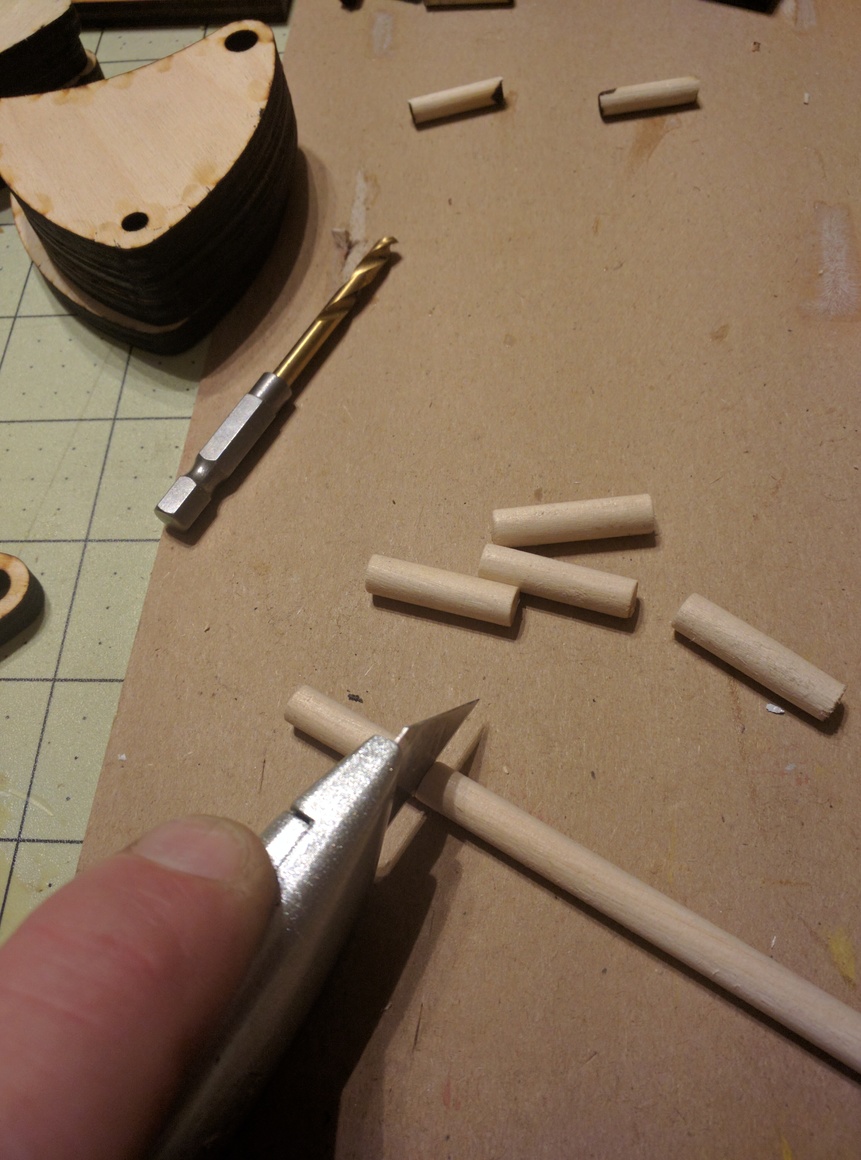
I had to cut some replacements and used a utility knife. Pressed the blade on the dowel and rolled it along my cutting mat. Clean cut, no burning, spot on sized. Hmmm…sometimes a laser is not needed even if you have one ![]()
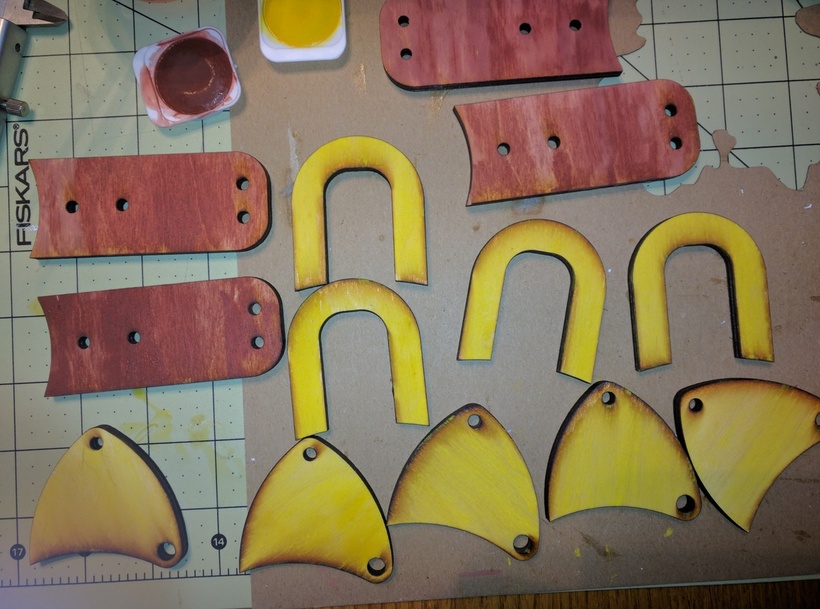
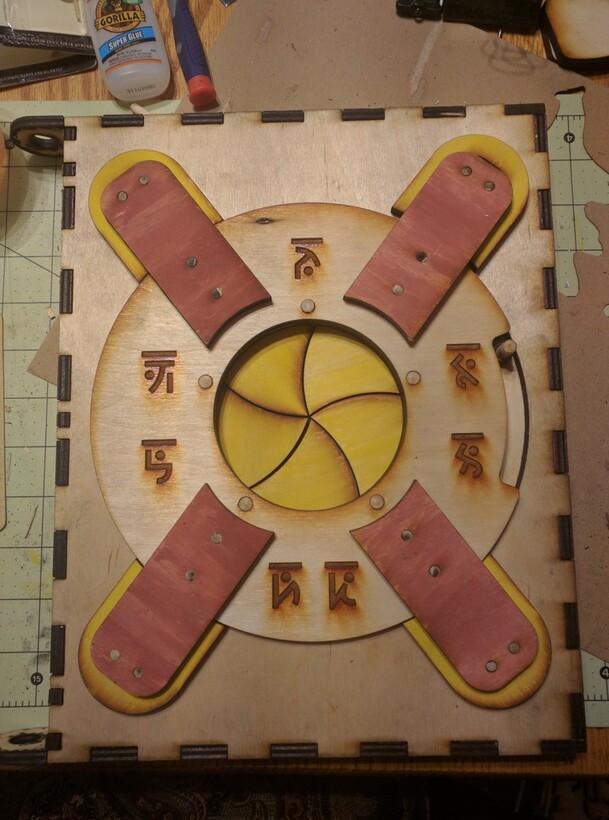
I painted some of the exposed puzzle pieces using some watercolor paints to keep the grain exposed. I also left the pieces unsanded so I kept the smoke staining - I think it helps make it look appropriately old and magical.
Now on to assembly.
Fail. ![]() The mechanism parts don’t line up with the page covers! Aargh.
The mechanism parts don’t line up with the page covers! Aargh.
A lot. I mean a whole lot of investigation to determine the problem. Turns out Inkscape altered the dimensions in the cover pages (yes! not all the other bajillion parts!) when opening the AI (or AI CS3) files.
Back to CorelDraw (where I usually work) and recreate the cut files for the page covers. Cut. Ugh. Serious char.
Scratch head.
Look at GF.
Scratch head.
Hmmm…if this were my K40 or Redsail I’d be thinking I needed to check alignment or focus. Not an option (or need) on the GF.
Cleaning! I haven’t cleaned the lens or mirrors since initial delivery. Maybe they’re dirty. I’ve done some schmuck and the tube is getting dirty so who knows what condition the mirrors or lens are in.
Out with the wipes and clean the mirrors and the lens and the camera too while I’m at it.
Cut. Speed 20, 3 passes. Watching it I don’t need more than 1 pass. Yay.
**Moral of this long post - follow the manual guidance to clean mirrors and lens after 40 hours of use. **
So now to assembly.
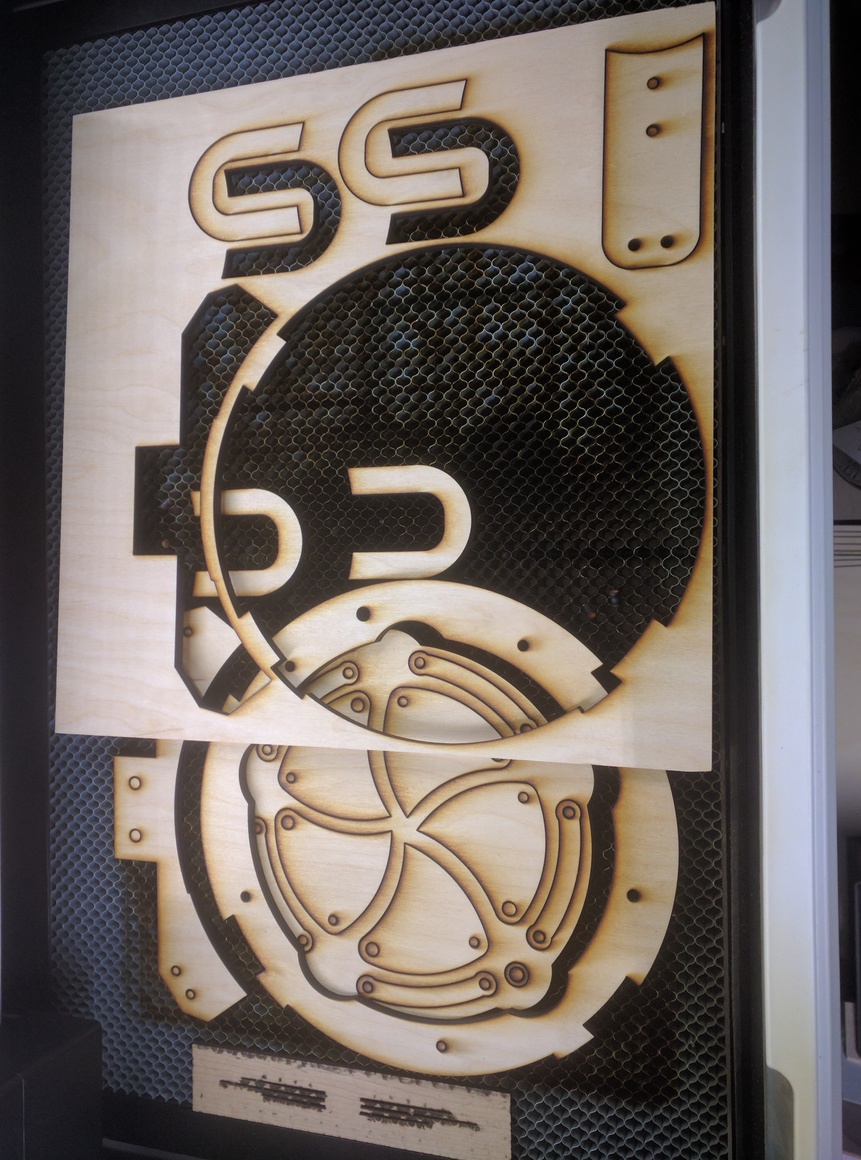
And the result. Front of book/first page.
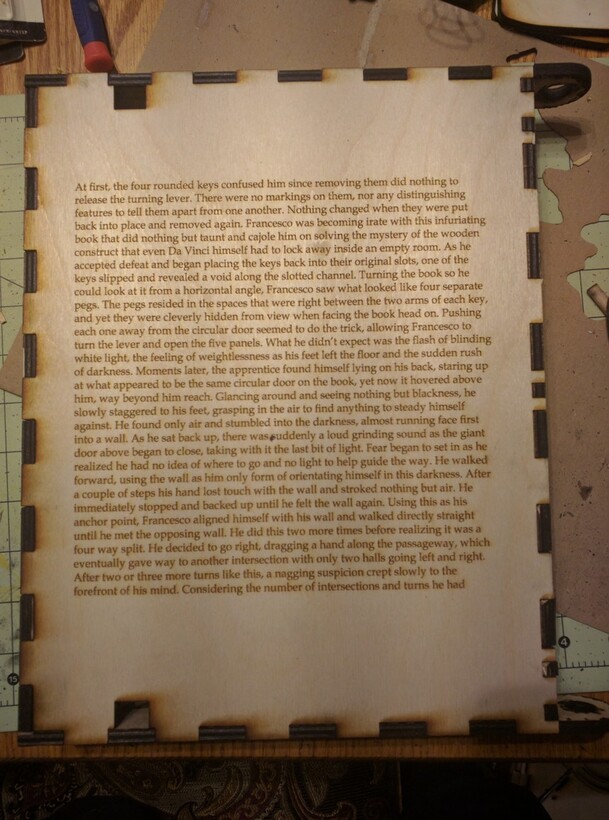
Back of the first page - revealed when the iris puzzle is solved and the page unlocks from page 2. This is the beginning of the story with (marginal) hints as to how to proceed to solve page 2’s puzzle.
Finally good. Gonna be a bear to figure these out. 6 more pages to go and I’ll have my puzzle book.
It all goes to show, mom was right. Cleanliness is next to godliness. ![]()
And, just because you can laser something doesn’t mean you have to laser it.
EDIT: BTW, here’s what it should sort of look like when I’m done:
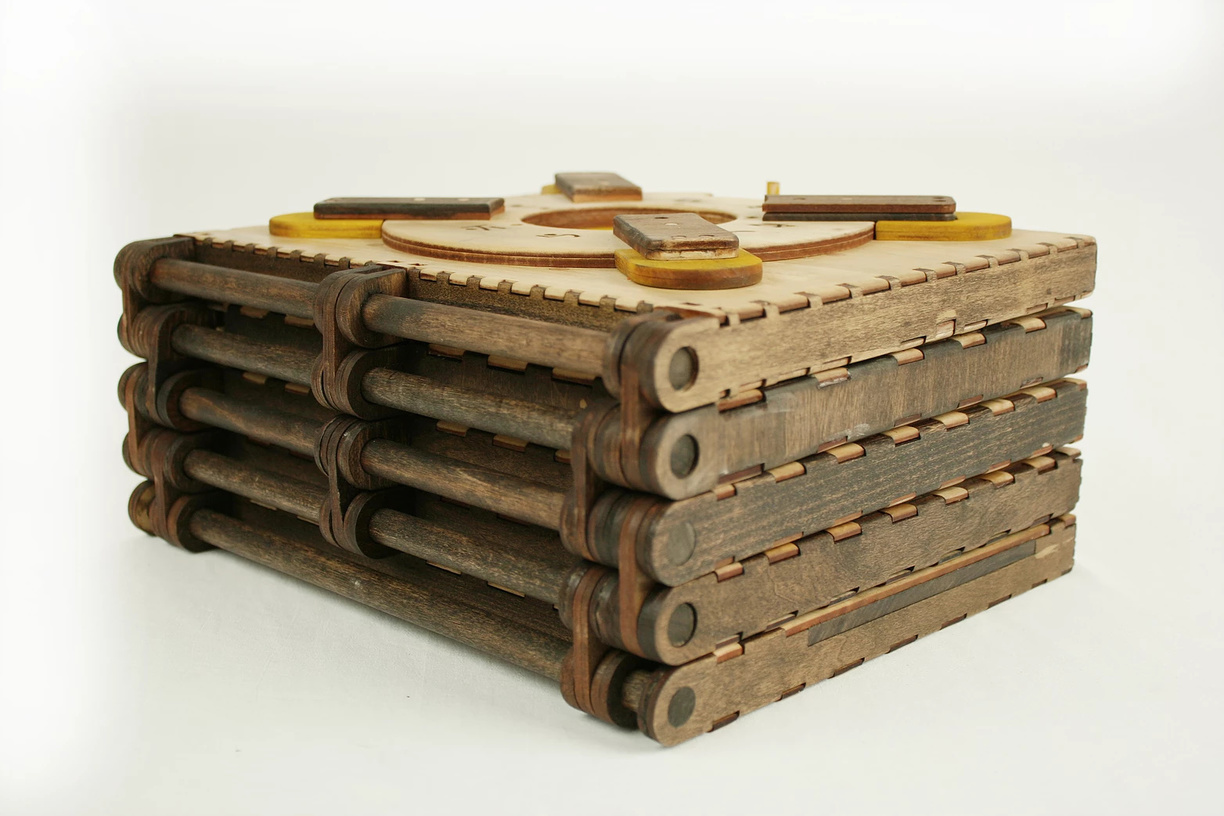
Each page is 1.25" and the final version for Kickstarter backers has 7 pages, not the five pictured. It’s a seriously hefty “book”. ![]()

