Hi fellow forgers. A few weeks ago my six year old daughter wanted to get in on the forging and make an Easter themed wreath. She did a quick concept sketch of a bunny surrounded by Easter eggs, and asked me if I could make it for her. I said ‘sure I can make that, and I don’t think it will take too long!’ Famous last words.
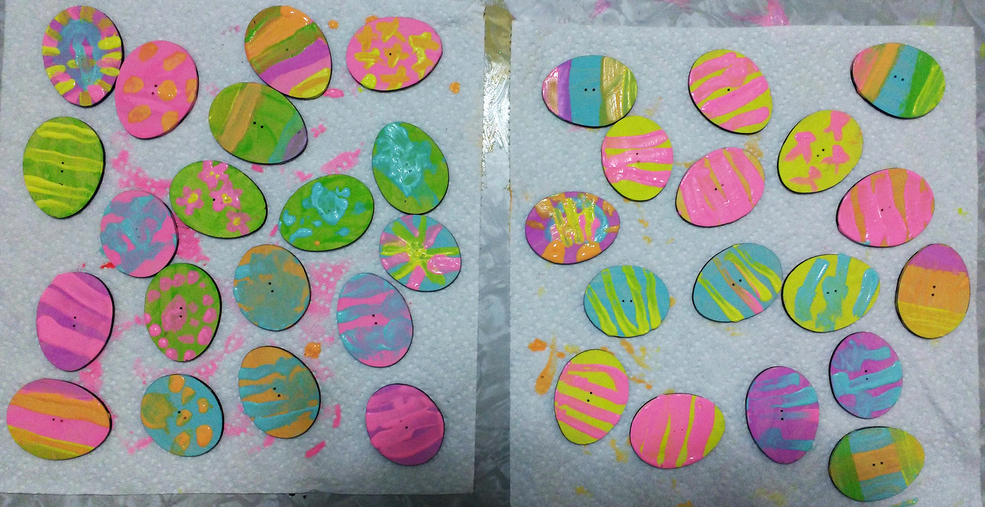
The eggs for the outside were indeed very easy. I traced a photo of a few different real eggs so that they would have a natural look, and scaled them to real world size. Then in no time I cut out a big sheet filled with them, and that night my three year old and six year old daughters were happily painting eggs with their crayola acrylic paints. Here is their handiwork:
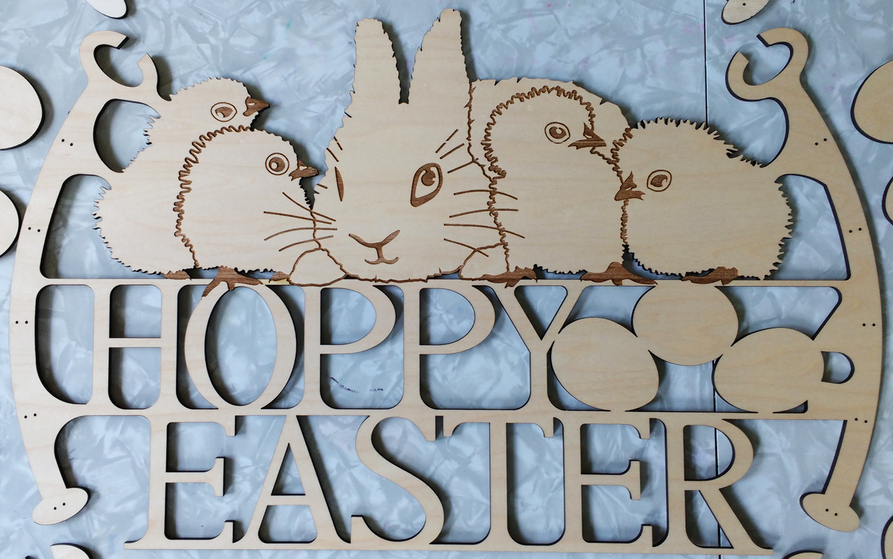
Next I found some images of chicks and bunnies for inspiration, and got to work on the art for the center of the wreath. For this project I decided to work in CAD so that I could have the accuray I would need for wood joints on the frame, and for lining up pin-holes in the eggs with corresponding holes in the frame.
I started by quickly drawing some chicks with smooth lines, but it turns out that if they aren’t fuzzy, chicks look like tiny dinosaurs with murder in their hearts. So next I drew a fuzzy chick and did a test print, but found that I had made it too fuzzy for the material; the tiny bits of wood were charred. So I did another test, and another, and at last got the scale of the fuzz correct. Then I moved on to the other chicks and the bunny. Finally I took a page from Disney and scaled up all of their eyes, but not their beaks, and made all of the features a little more round. At last, some cute chicks!
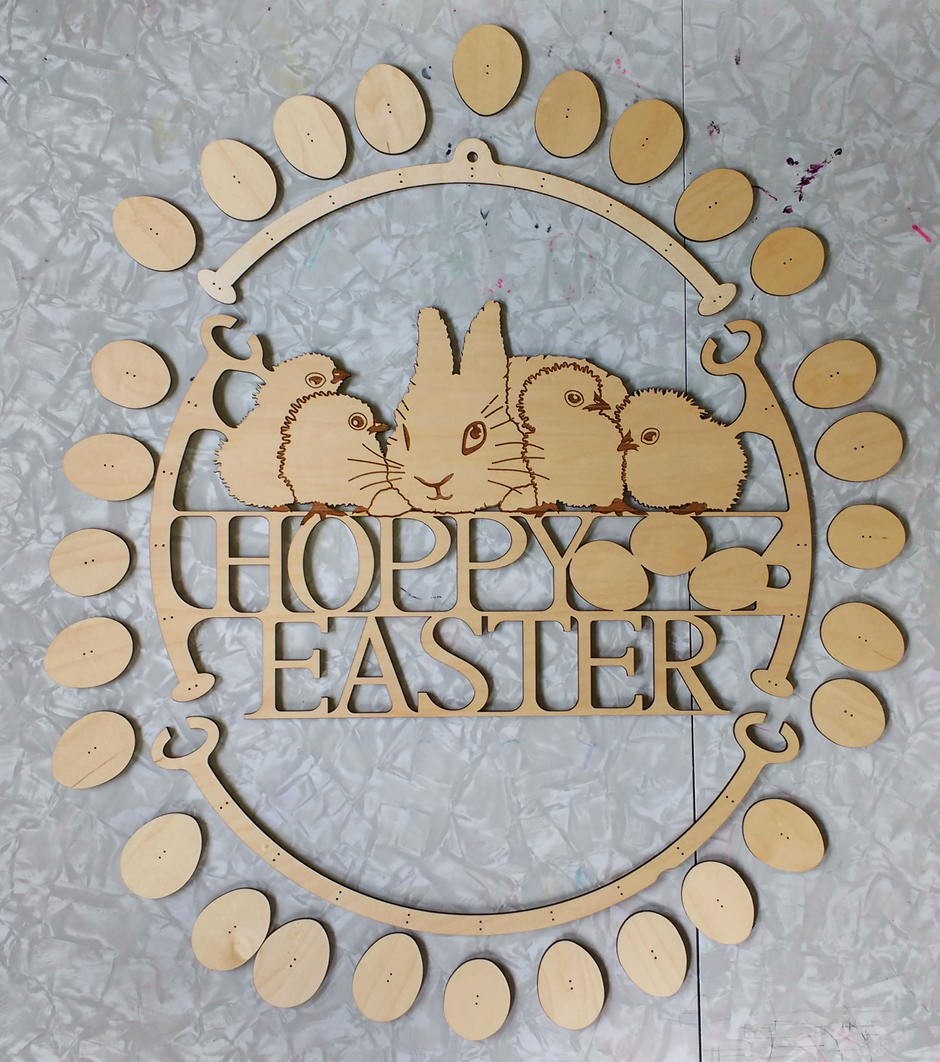
For this project I used proof grade 1/8" maple plywood from the GF store. I am in love with this material. It is strong, but very light weight. It prints perfectly, and the outer layer of maple is attractive enough to stand on its own, especially if you order the pre-finished boards. Here is the entire assembly without paint:
One point though, is to always double check whether you are printing on plain or pre-finished BEFORE you print. I accidentally printed the center bunny & chicks on a pre-finished board rather than unfinished, and didn’t realize my mistake until I started painting and the paint wouldn’t stick. With the girls watching and excited to finish the project, I made the paint a little thicker and had success.
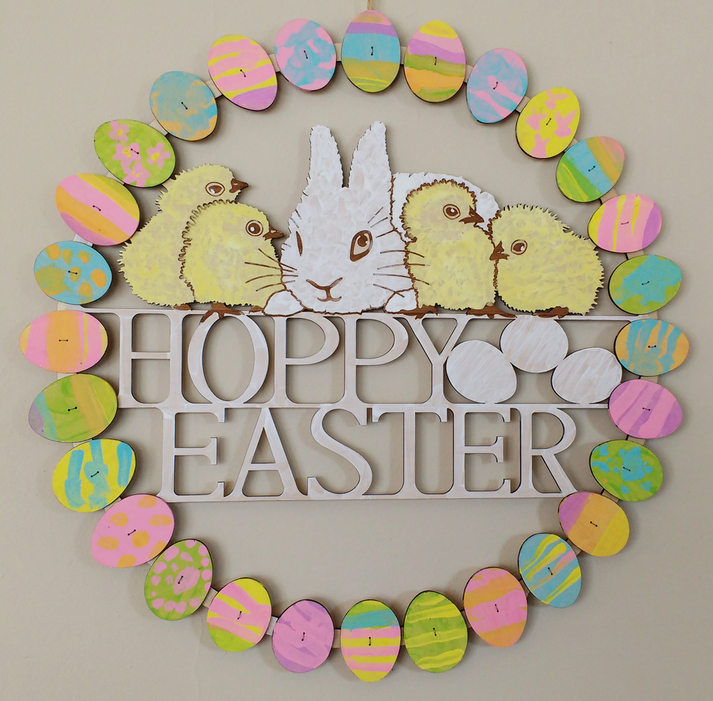
Here, just in time for Easter, is the assembled wreath in all its DayGlo glory.