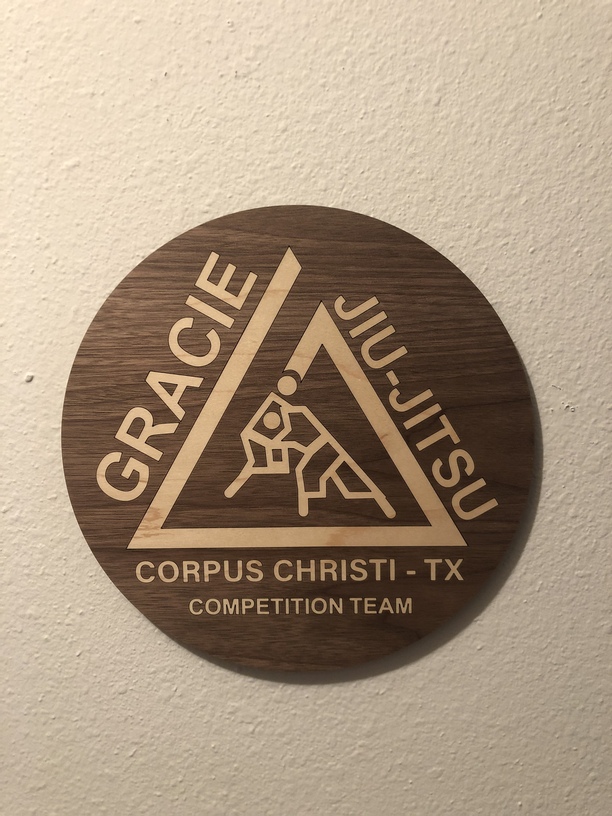
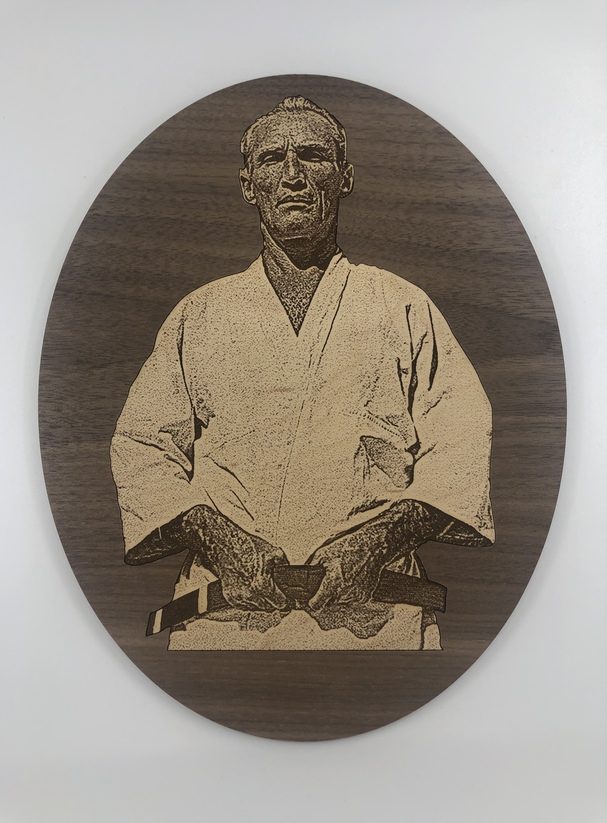
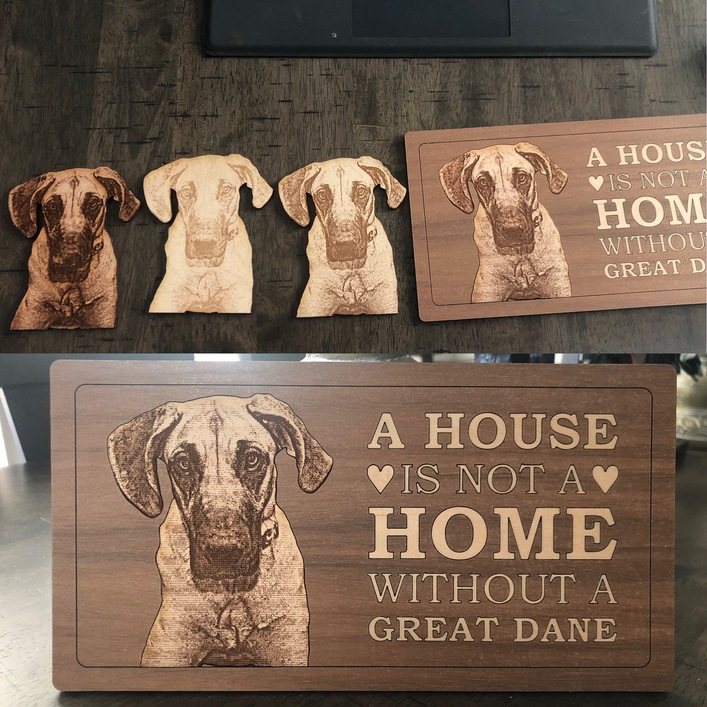
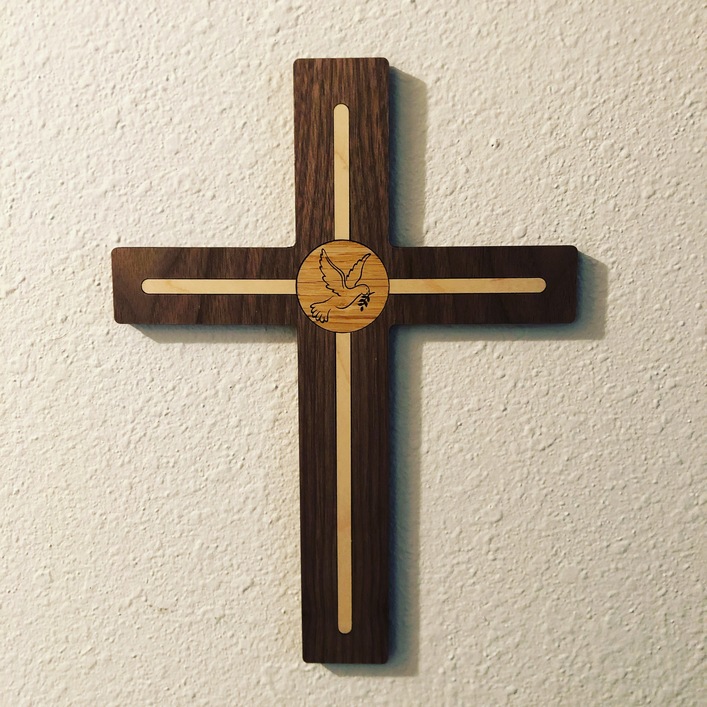
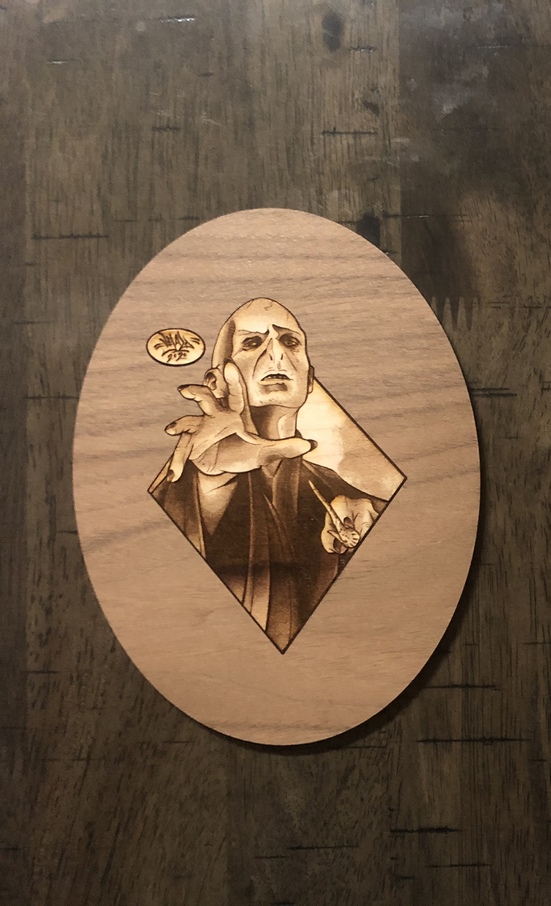
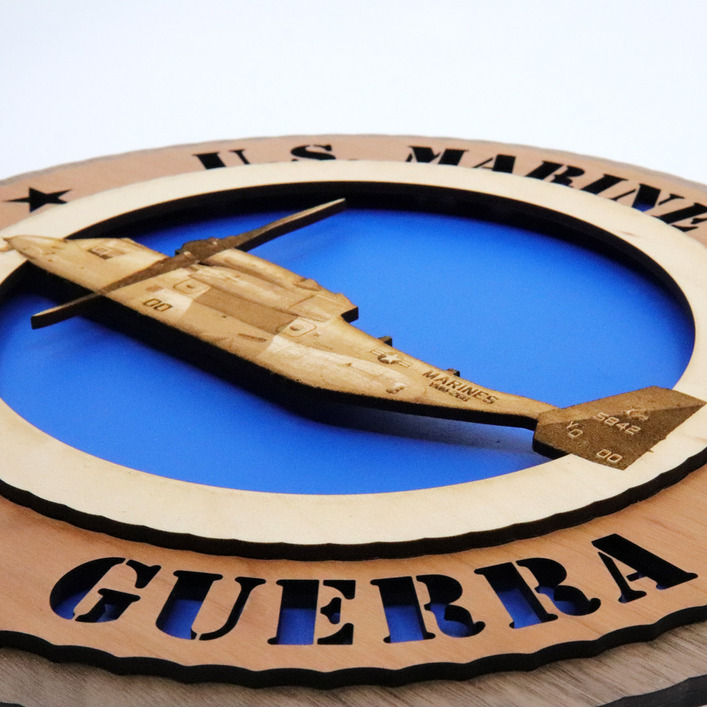
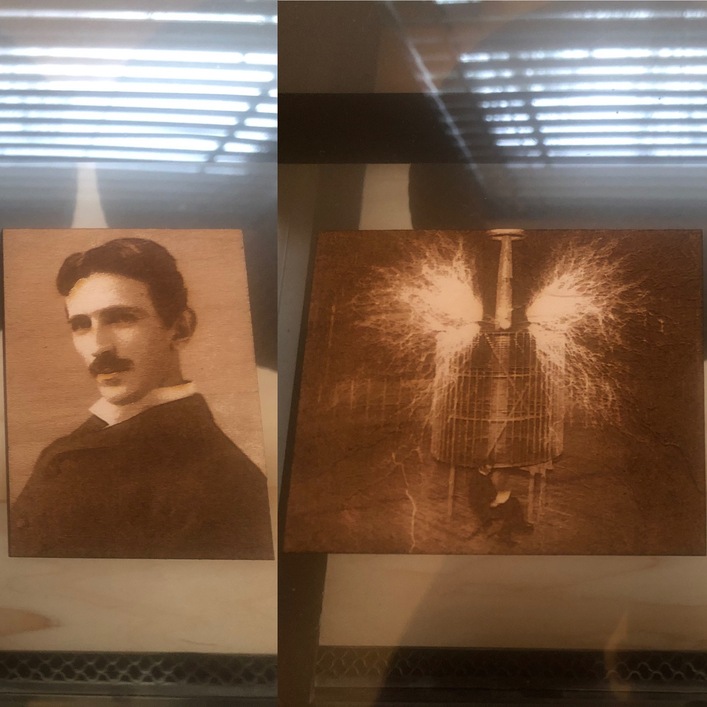
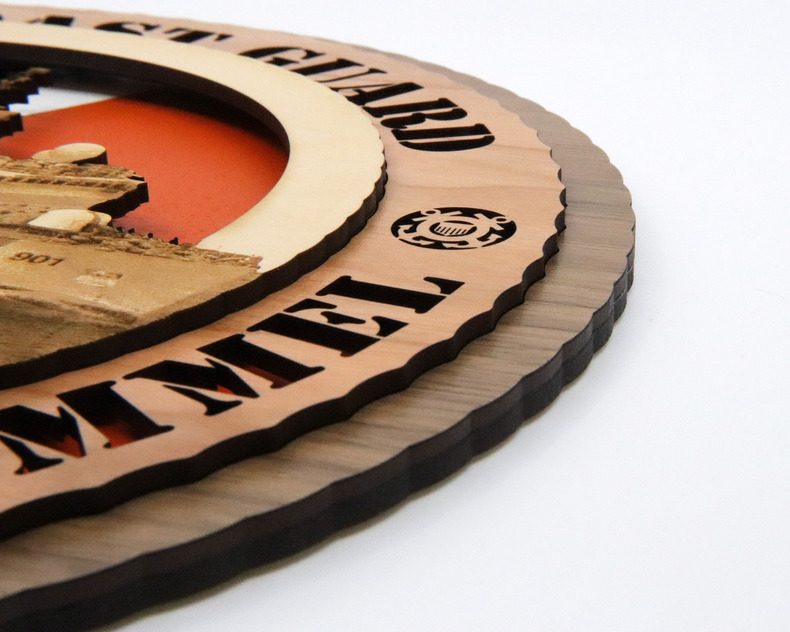
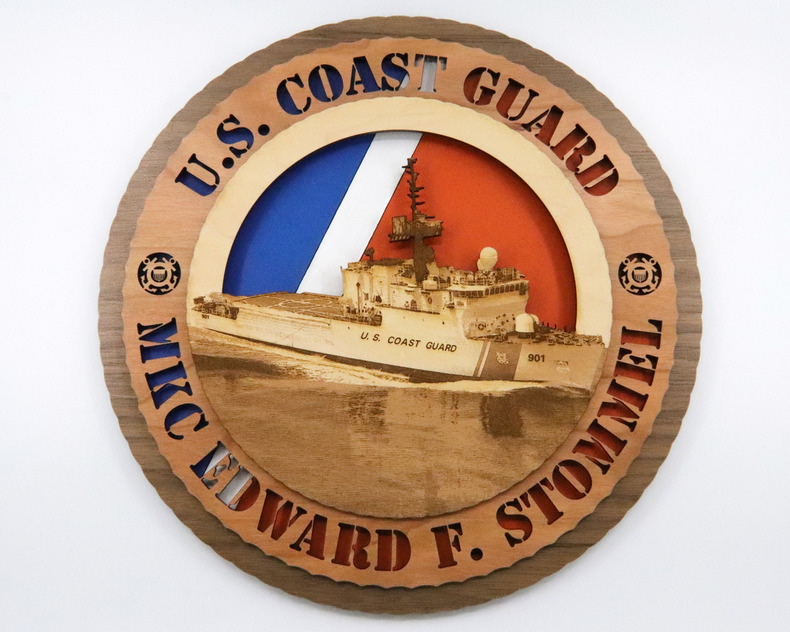
A few inlay projects I’ve worked on.

46 Likes
Excellent work and lovely results.
7 Likes
My family used to raise Danes so definitely cool that.
2 Likes
Wow those look great!
2 Likes
Very Beautiful.
2 Likes
Thank you. I use photoshop to trace and edit the photos and then I paste the same outline into illustrator for the photo and inlay letters.
2 Likes
You are really good at this! Those are amazingly sharp engraves.
2 Likes
Nice picture of Helio there. Very nice on all of them actually. 
2 Likes
Thank you!
I was inspired by some inlay Christmas ornaments someone posted when I first got my Glowforge and started practicing until I got my tolerances just right. It’s a fairly quick process to edit and crop the photo for engraving and cutting.
2 Likes
Amazing job! Love the way they turned out!
2 Likes
Do you adjust for kerf at all?
1 Like
Yes so I actually use Illustrator to make the shape or outline I’m going to inlay. Then I go to Object -> Path -> Offset Path. Most of the time I use a positive offset to create a larger outline, especially if I’m going to inlay very thin letters. Sometimes I use a negative path if the letters or shapes are already bulky and a positive offset causes the outlines from different parts to overlap. The offset that I use is 0.005" for anything larger than maybe an inch. Anything smaller than that I use an offset of 0.0055". For complex shapes that have multiple paths across a horizontal line such as a spiral, definitely go with the smaller kerf of 0.005". By that I mean if you draw an imaginary line across your entire inlay and only cross the inlay once (like a simple inlay shape of a circle or square) that’s fairly simple. A spiral though is more complex and will be crossed multiple times by that imaginary line so the kerf adds up quickly and will cause your work piece to warp if the kerf is even as much as 0.0055" in some cases. If you’re using illustrator, make sure to always physically type in “in” when setting this offset. I’ve had it default to “pt” sometimes and in values that small in that unit, the difference is almost non existent and your piece will just drop straight through. This kerf adjustment should give you a snug fit that can be pressed flush by hand with nice little clicks.
7 Likes
Love inlays, and these look exceptional. Thank you for sharing your tips.
1 Like
I have a super random question I think these are AMAZING and I am new to the Glowforge community…like one week in so I am incredibly overwhelmed.
If I want to do something like this but with my own person drawings is that a possibility? Would I have to take a photo and scan it into an illustrator or should I use the glowforges camera? It keeps giving me this bitmap thing and wont allow me to do anything but engrave my drawings.
1 Like
I think the camera is a good concept, but my camera is at the point where it can’t even read the QR codes on my pg materials anymore, so I don’t trust it to automate anything for me. You will get the best quality if you scan your work in and photoshop anything that needs to be photoshopped, then edit your cut lines and layout in illustrator. I like engraving artwork, because you can draw the contrast how you want it and it usually needs no photoshop processing. I would only use photoshop for this process: In photoshop, crop your image with the rectangular crop as close to the part that you’re going to cut out. Change the image size as desired and resolution to 600. Change image to gray scale as well even if your drawing is already without color. Save and close. Place your art into illustrator and draw your cut line. Open your art as a photo in photoshop again and copy paste that cut line in as a mask. Carefully place your cut line around your art and it will crop it as an irregular shape while leaving everything outside your art perfectly white. This is important because anything with slight contrast variations outside of the intended engrave will be engraved by your laser which wastes material, so you only what to engrave the part you intend to cut out and use. After cropping, save as a png and import back into illustrator. Now take that cut line and place it over your art. Save as an svg and in the options make sure “preserve illustrator editing capabilities” is unchecked and you change “link” image to “embed.” That should be ready to engrave! Here are some of my latest engraves:

8 Likes
Thank you for the time you took to explain this to the community. Your results are terrific, and I appreciate that you teach as well as display.
3 Likes
WOW!
Thank you so much this is so helpful! It was the only reason I got the machine was to bring my artwork to life and now I know how!!!
2 Likes
Oh and one other thing that is important. When you change those last options (preserve illustrator editing capabilities and embed image)… on that same window there will be an option that says “decimal places.” Change it to the max, which is 7. This might be overkill, but I changed it to the max when I discovered that saving to an svg made my lines all squiggly close up. This can ruin an inlay or make the fine detail lines on your engraves come out weird. I don’t mind sharing all of this because I know the headaches each one of these options caused until I found what needed to be changed to get engraves and inlays just right! I’m still learning though!
3 Likes
Ok this may be a stupid question but is there a certain tool in illustrator that I should be using for the cut line.
I am so grateful for your help!