(I don’t know if this post belongs here in Problems & Support or if it should go elsewhere. Feel free to move it if I put it in the wrong place!)
A while back, we lost one of the pieces for our old copy of Ricochet Robots. Now that we have the GF, we’re working on making our own set of pieces! I’ve started drawing shapes, and was deciding which parts to engrave, which parts to color, etc. I first made a vector file in Illustrator, and tried engraving it. For all of these, I used the ProofGrade Medium draftboard.
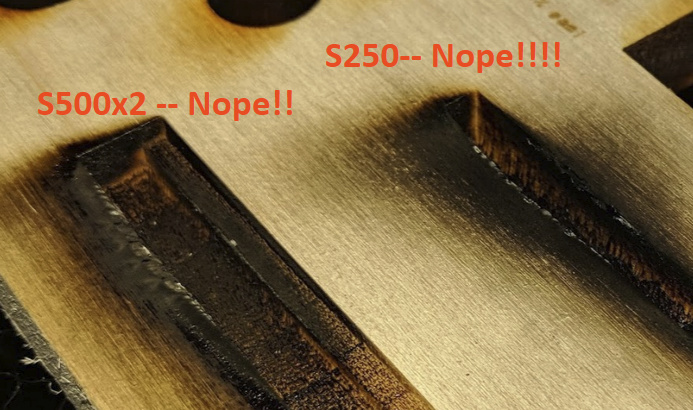
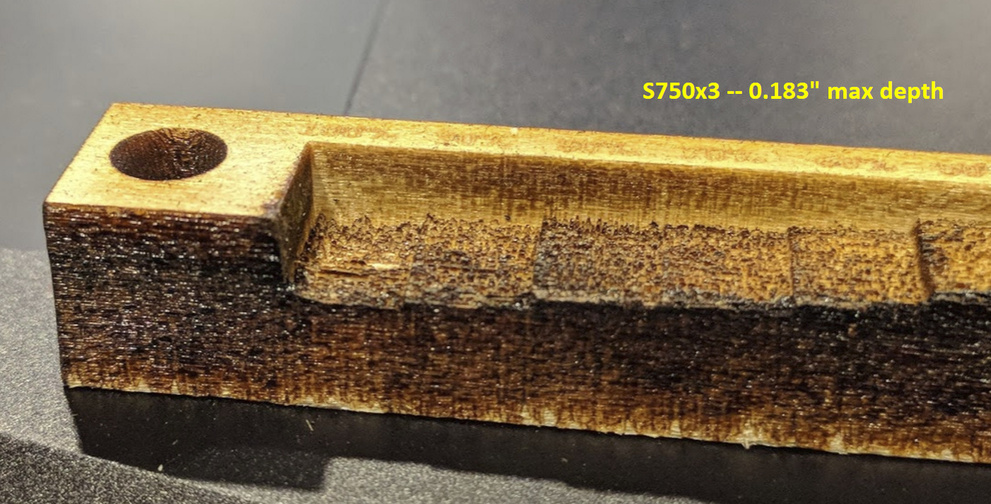
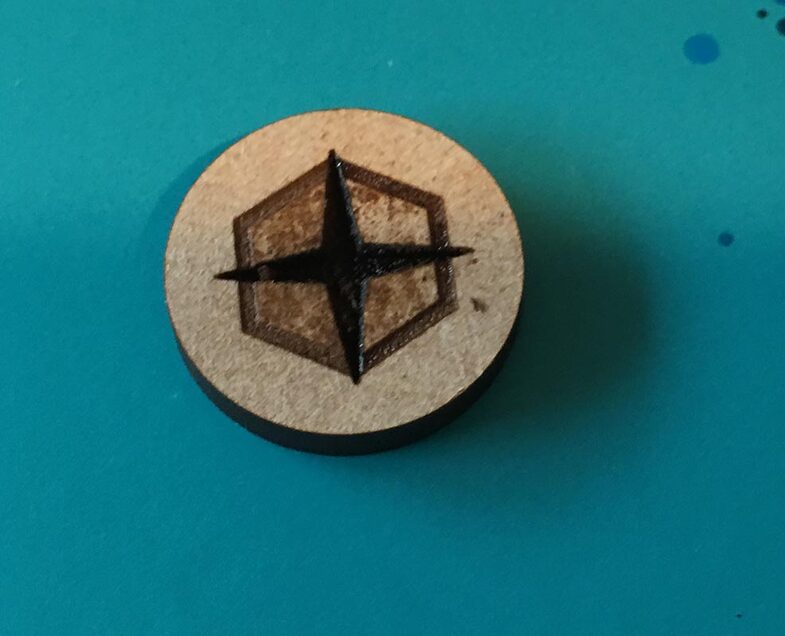
This was my first time with any kind of grayscale (previous engraves were just a single shade), so I wasn’t sure how it would work. My shapes were grayscale (not RGB or CMYK) filled between 10% and 85% depending on how deep I wanted the shapes. Here’s that one, using SD graphic:
It’s hard to tell, but there are three depths. Going from the outside in: First is the hexagon border, set to 25% gray with a depth of 0.01". Next is the main hexagon, set to 10% gray but with a depth of 0.03". Finally, the star is set to 85% gray and is 0.075" deep.
I’m confused why the main hexagon is deeper than the outer hexagon border, even though its shape was only at 10% (but the shallower outer border was at 25%). Any ideas?
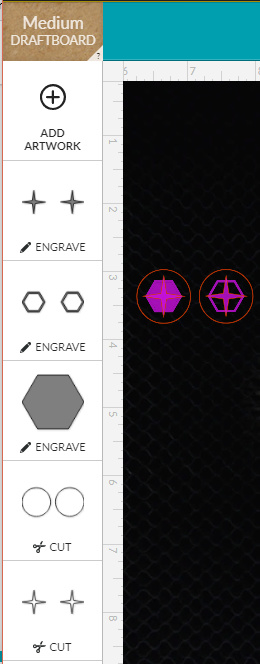
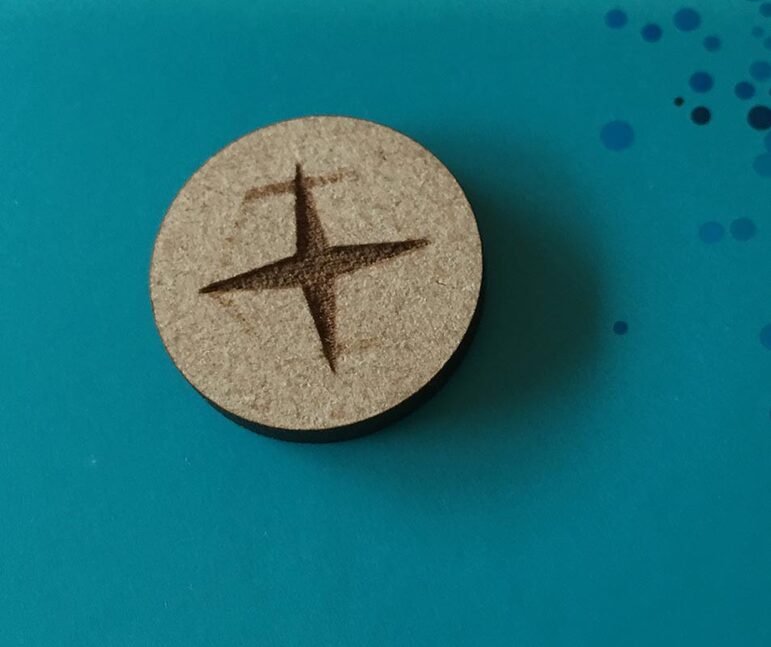
Next, I took that shape into Photoshop and made a bitmap. I first tried lightening the two hexagons and darkening the star, to hopefully not cut as deeply. Maybe I should have left them as is, because the engrave barely made it through the coating paper! Here’s the engrave using SD graphic:
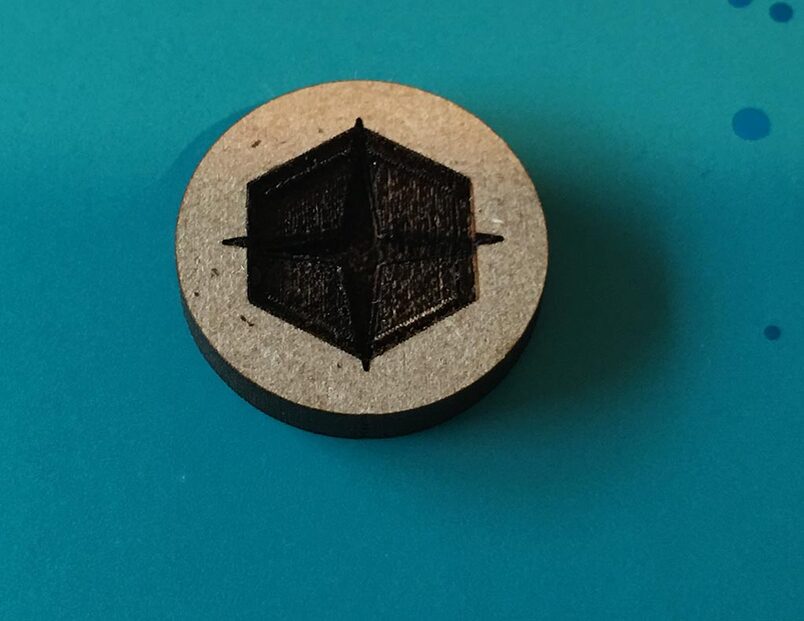
At the same time, I also cut a version using the new (to me) “3D Engrave” setting, which seems to use variable power. Here it is, before I peeled off the cover paper:
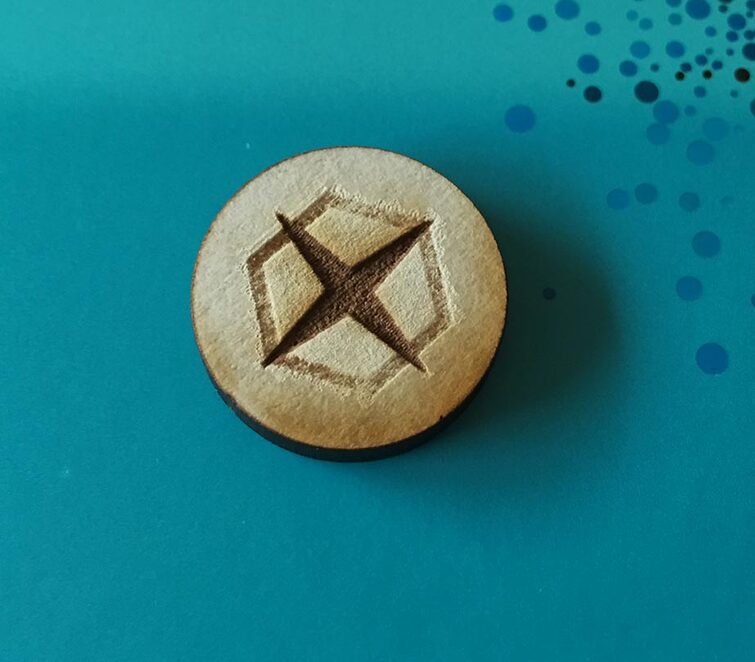
Pretty neat! But when I peeled off the paper, it looks like not much made it through:
The two hexagons were at gray levels of 20% (outer) and 6% (inner).
For comparison, here are all three together:
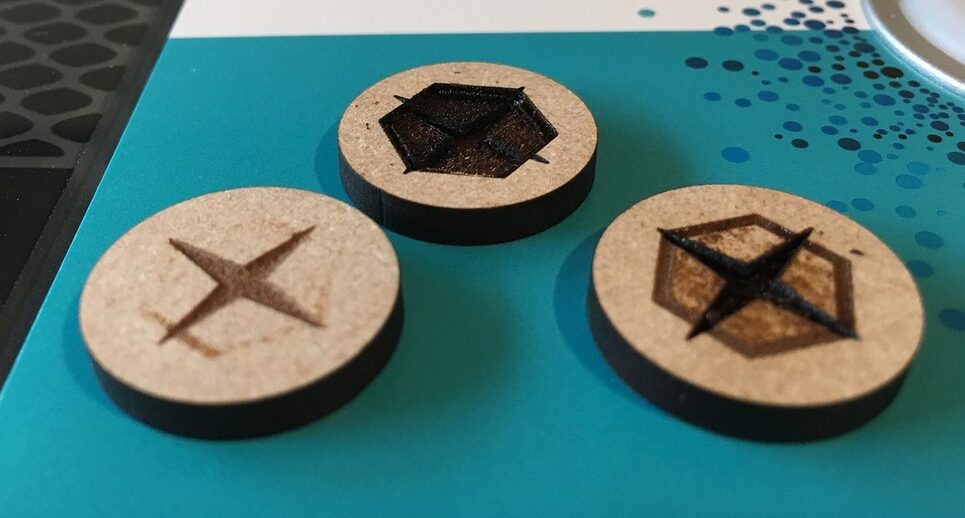
Are there settings or materials which can get different depths of engraving with OUT charring the material? (Again, I used the ProofGrade Medium Draftboard for this test.)
Also, I didn’t notice other comparisons of some of the results between raster and vector for engraving, so this may be of interest to some people. (If I missed others, please point me at them – my search was not exhaustive!)