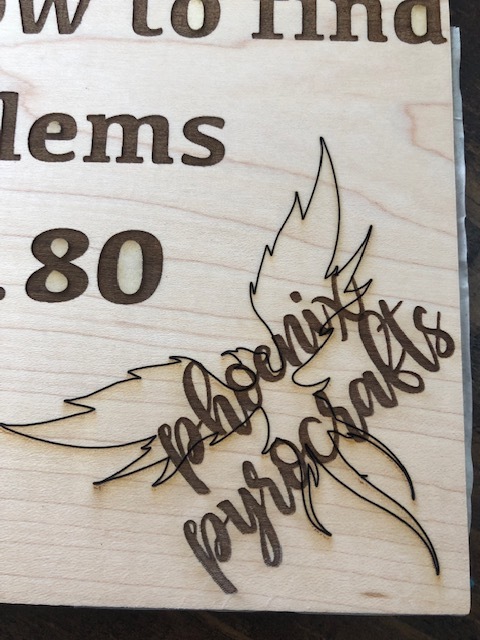
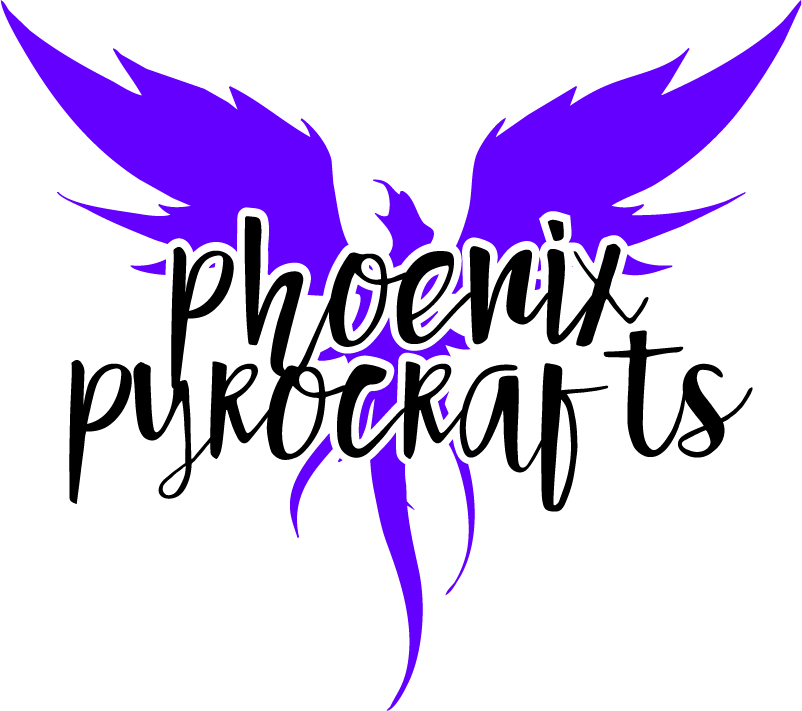
I am wanting to put an outline of a picture behind my text, but the options on glowforge are not working with what I have.
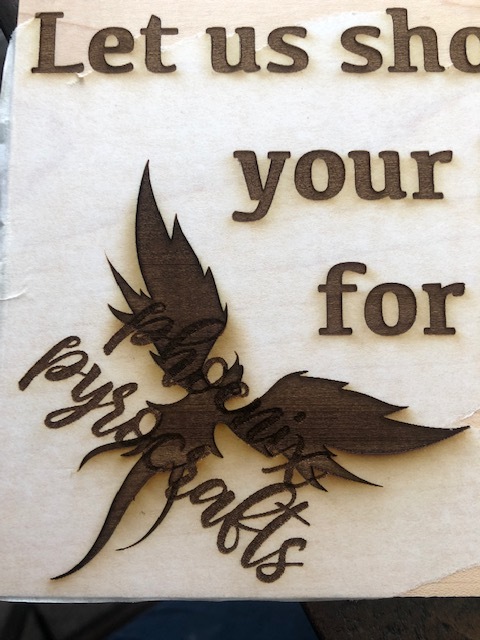
The outline is made into a path on Illustrator and when I upload it to glowforge, I can choose either cut, engrave or score. I do not want to cut the outline out of the material and scoring is too deep of an outline to work with engraving text. I have tried to engrave the outline, but the image automatically fills and this is not the look I am going for. Here are some examples:
If what you want is to make the bird figure somewhat faint behind the text, the only way I know of to do that is one of two options:
In Illustrator, go to Path…Outline Stroke (make it the desired width first), then fill the compound shape with a color that is different from what is used for the text, so you can control it separately.
Rasterize the whole thing in Photoshop (after choosing the stroke width you like), then engrave the whole thing as one piece.
Edit–I was typing while you got that offer to help; I’m guessing you’ll get an even better method!
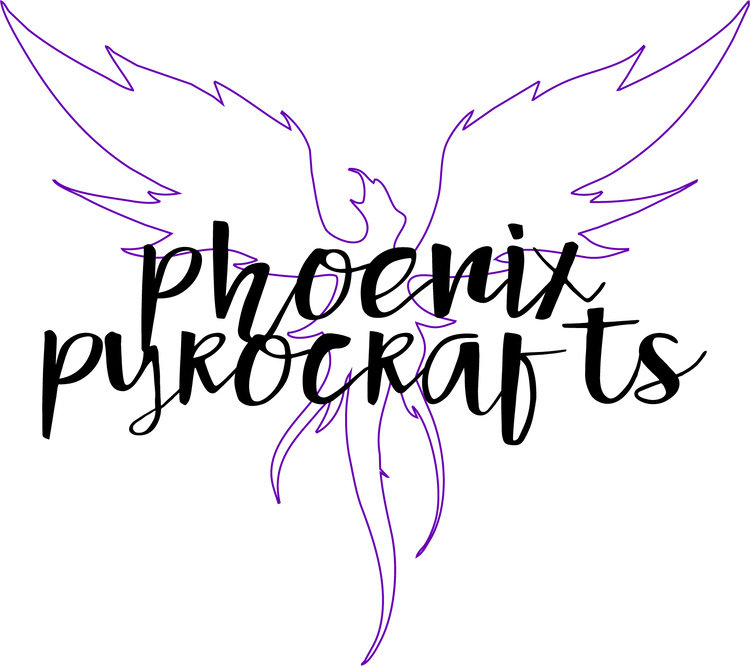
The second one is definitely more what I am going for. I attempted to fix my png file by uploading it in photoshop and deleting the background of the white space in the phoenix, but now the line is too thin.
The line work that you have on the 2nd image is more for what I am going for.
if you can open the AI file you’ll see that I’ve cut out the letters from the background image.
As far as scoring goes, you can adjust the power in manual mode, so choose 15, 20, 30, etc. until you find something you like behind the letters. That’s the reason for the 2 colors, so you can treat them differently.
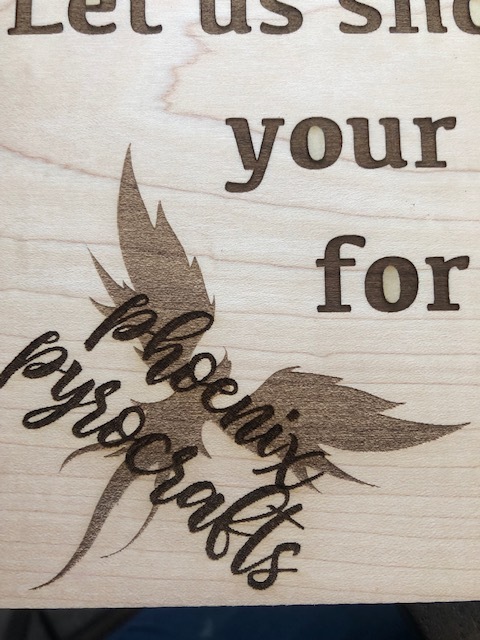
Like the others stated above, adjust the engrave settings on each to get the desired effect. Here is one where the line for the phoenix is a bit thicker than what you had originally.
I actually really love the last one with the darker engrave over the lighter one. I know that’s not what you’re asking, but it’s easy to read and I think it sort of reflects the name.
Thank you @rbtdanforth. I used to woodburn everything by hand until I purchased by glowforge, figured the name still fit with the laser burning everything now. I am also a huge Harry Potter nerd, so Phoenix was a must.
@ChristyM I have to agree with you. I like the different depth I was getting from adjusting the power of the engrave but my husband hated the design. Also, the outline cut goes by quicker when adding my logo to everything.