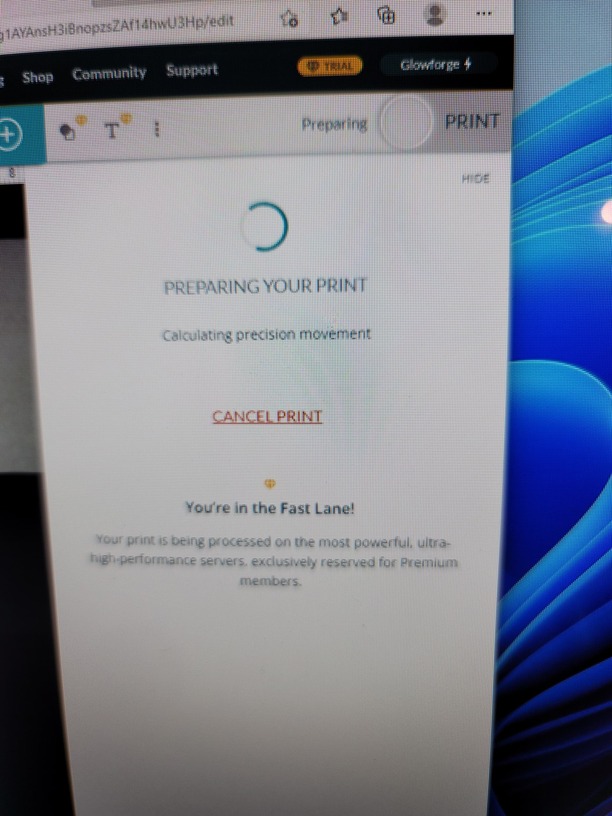
I’ve done everything! It gets to this and gives me an error and tells me to reboot everything. I’ve reached out via chat and email with no real answers. The said it was my wifi speed but they ran diagnostics and it is working…help!
1 Like
Welcome to the forum.
When you say “they ran diagnostics” do you mean that Glowforge ran the wifi diagnostics or your wifi provider? If you are already in contact with Glowforge support via email, opening a second ticket here in the forum will lead to a delay in response as they must match duplicate tickets.
Have you ever been able to print, or have you been getting this issue from day 1? Have you tried a different file, perhaps one of the Glowforge provided files?
The GF is picky about its wifi signal. Have you tried using your phone as a hot spot?
Both. My internet is running -30 to -40 dBm but glowforge is saying it’s -70 dBm. How do I fix this? I even moved it right next to my router and still no luck. I’ve never been able to cut anything. I did have an open ticket but no one has responded.
I did but idk if I did it correctly since I didn’t turn on airplane mode.
As suggested, you can try using your phone as a hotspot. You need to turn off your home wifi, then go through the Glowforge setup again by holding down the print button until it turns teal and setting up the internet connection via your phone’s hotspot.
1 Like
I’ve done all of that. It still doesn’t work as a Hotspot. I even bought a wifi booster and it hasn’t fixed it. I need to know what my options are. There is someone near us who owns a GF and she is coming over Sunday to help.
One thing to try while you are waiting, is to change the channel of your WiFi signal on your router. If there is a lot of traffic in the area on the channel you are using, there could be interference.
Look for a guide to your WiFi router. There should be a tab for WiFi settings, and “Radio Channel” or maybe just “Channel” should be on there somewhere. Mine is set to automatic because we have significant distance from neighbors, but you can also manually set a specific channel. Try several until you hit on one that works best. I don’t know the range but probably about 1-12 or thereabouts.
Good luck!
I’m so sorry to hear your Glwofrge is having issues printing.
I extracted logs from your Glowforge and would like to see if running printer head setup will fix the issue.
Please see the following link on how to run the setup. https://app.glowforge.com/maintenance/printer-head-setup
Let me know if you have any questions.
So it made the crosses but when it came to measuring it kept saying not completed clean lens and make sure not to touch the GF. I got curious and wanted to see if it would do the gift of measurement and it is currently working. It was able to cut it and looks great. I think we might be okay right now.
issues.docx (386 KB)
So glad to hear you are able to print.
I extracted the logs from your Glowforge to make sure everything is working correctly, and it looks like the Glowforge is having trouble communicating with the printer head. There are two key connections I’d like you to check for me.
Could you please do the following?
Turn off your Glowforge.
Holding only the finished black surfaces, grasp the printer head as shown. Pull gently up and back to disengage the magnets and remove the head.

There is a small tab in the center of the wire ribbon. Push down fully on the tab to release it, and gently pull the wire ribbon plug from the printer head.
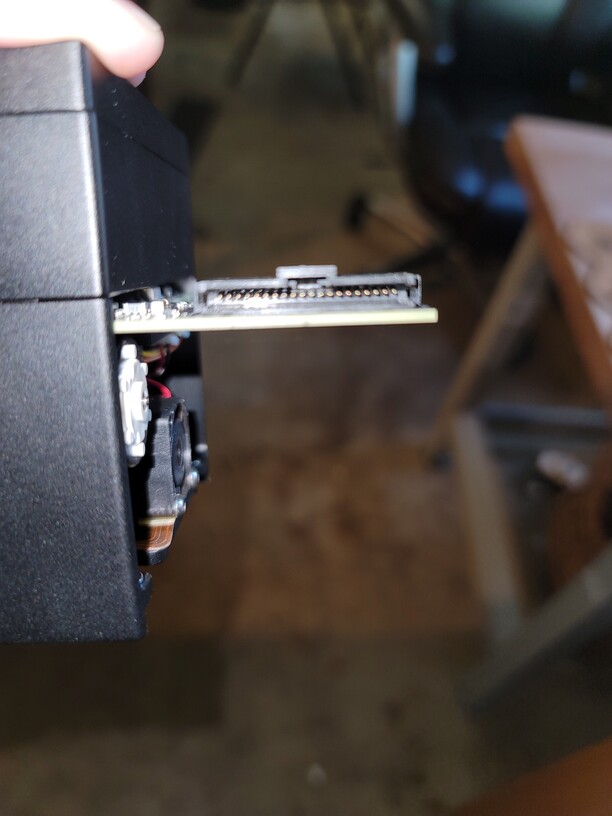
Take a clear photo of the gold pins inside the printer head where you just unplugged the wire ribbon. It should look like this.
Pick up the printer head and wire ribbon. Make sure the tab on the wire ribbon is facing up. Slide the ribbon back into the head until it clicks.
As shown, lower the printer head over the metal plate so that it rests next to the two round posts. Then push it gently away from you – you’ll feel a “click” as magnets pull the printer head until it sits snugly atop the metal plate.
Pull the laser arm all the way forward.
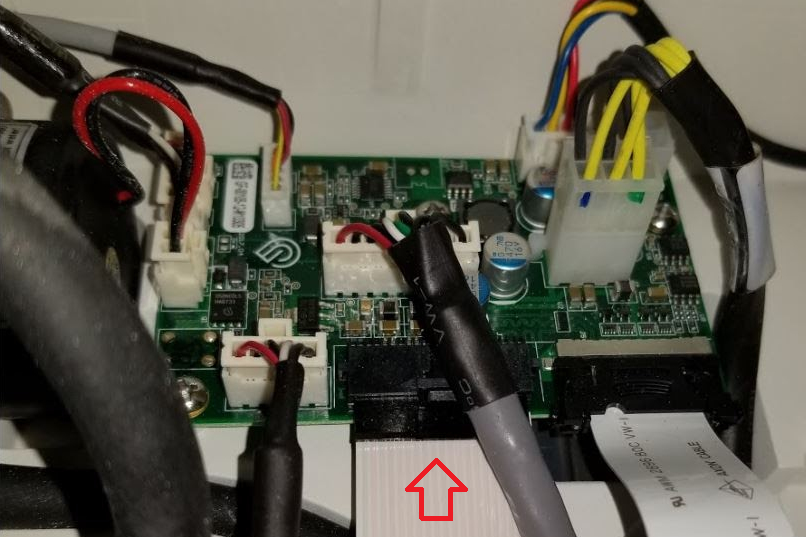
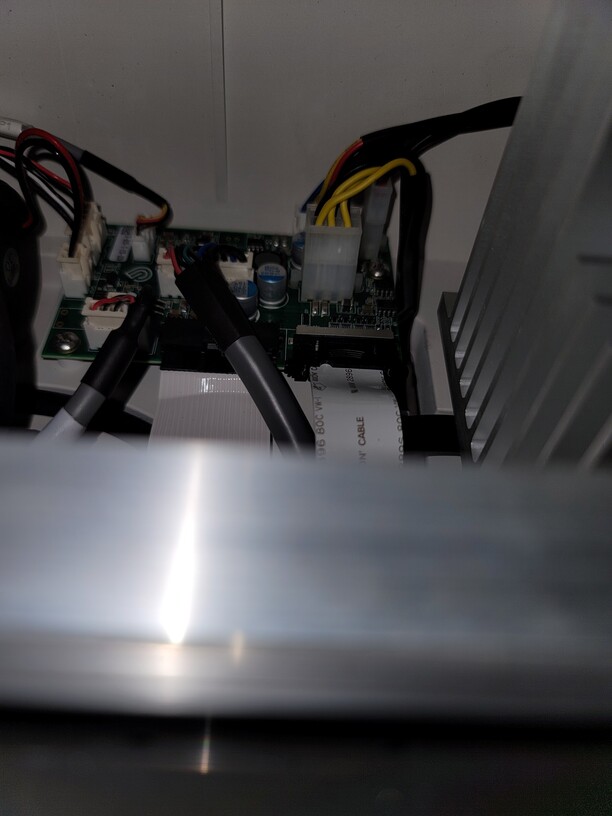
Reach over the laser arm, and to the left of the inside of the unit and you’ll see this circuit board:
Take a photo of the circuit board. If the cable I’ve indicated above with the red arrow appears to be loose, please reconnect it and try printing again. This cable should ‘click’ back into place.
Turn your Glowforge back on.
run another test print of your choice.
Send us the photos you took in step 4 and step 9.


Attachments

![]()


Everything is connected. I did a few more cuts. My issue now seems to be not cutting all the way through.
I have emailed you the next steps since It looks like we need to get a new printer head to you. I will close this ticket once I hear back from your email.
It’s been a bit since we’ve heard back so I just thought I’d check in. Did you receive my colleague David’s email with next steps for getting a replacement print head? If you have any questions about the process please let us know and we’ll be happy to help!