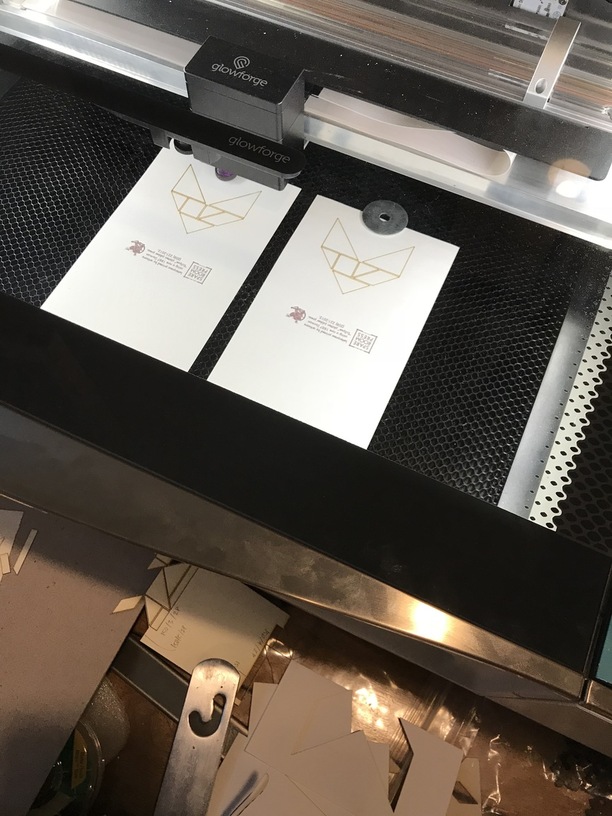
I have a design that cuts on a single sheet of paper. I’ve successfully cut one individual sheet at a time, but would like to cut several sheets side by side at a time.
The first time I tried 3 sheets, it was successful, however since that time I can only cut a single sheet and have the cut results as anticipated.
I’ve copy/pasted the design and aligned with each individual sheet anticipating that any one of the individual sheets should cut like a single sheet, however all the sheets when done in multiples have drastically different and undesirable results.
Has anyone else experienced this? Any recommendations?
FWIW I am cutting on a 150gsm weight paper. Some lines are full cuts, others are cut just enough to keep parts intact on the sheet.
When I cut a single sheet at a time it works great.
When I cut multiple sheets. nothing cuts through and the difference cut settings seem to be lost.
The “official” GF recommendation is not to cut multiple sheets of anything. Air between the layers increases the risk of fire/flare-ups.
1 Like
I am not cutting multiple sheets stacked on top of each other, but rather multiple sheets placed side by side. Is that still an issue? I would think that shouldn’t be an issue with air flow.
when I place two sheets side by side the cut quality is not what it should be.
Ok, misunderstood. There’s no problem with side by side placement per se. The challenge there is that all materials must be the same thickness and absolutely, positively lay flat on the bed to get even cuts/scores. Paper is a particular challenge as it tends to bellow and shift due to the air assist.
Traditional workaround is a very, very flat sheet of ply with spray adhesive, or springing for a Rowmark Seklema mat.
Good luck!
1 Like
No. I’m doing that myself but with multiple sheets of matte board - not quite paper but close - I’m using 450/full to cut (Pro). No difference on any of the copies except the occasional almost cut-through where I’m not getting the stuff to stay flat (as my engraving design gets in the way of the magnets)
1 Like
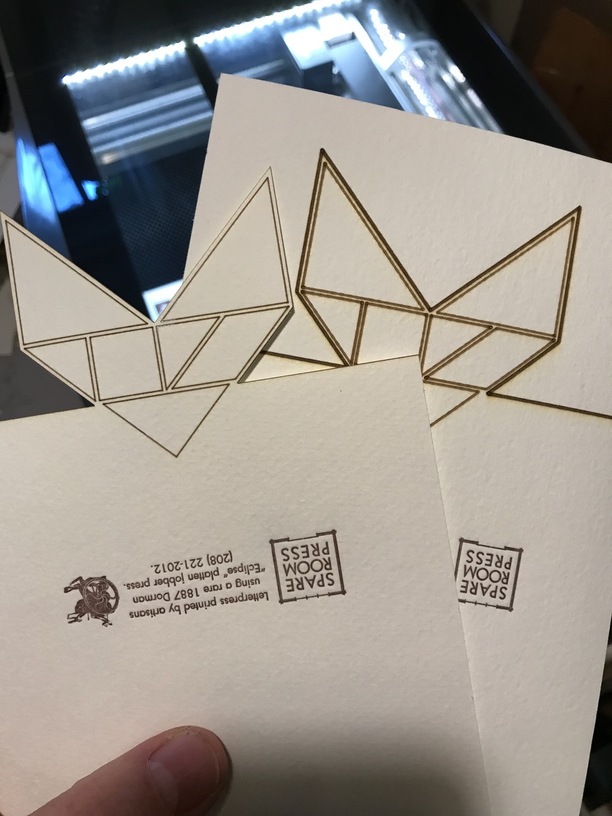
The card on the left was cut individually. The card on the right was from the previous photo with cutting of 2 cards at the same time. The multiple card burns a thick line that won’t even go through the paper. The single card retains a nice fine line where I can adjust full vs almost full cut.
are you getting a single operation, not a duplicate set, in the GFUI to specify the cut/score settings for?
The thick lines suggest a focus issue - is the red dot hitting the cardstock when it does the “scanning” step before printing or is it hitting the bed or something else?
Are you sure both are dead flat? Are you using any magnets in the field of the material (between where the engraves & cuts will go)?
1 Like
Thanks for such quick responses James.
I am not sure I understand you question about single operation.
I am going to look at the red dot issue during scanning. I will let you know shortly.
Both sheets are dead flat. I am actually using a light magnet to hold the sheets down at the top. Actually I have one magnet and one steel washer. Is that a problem?
If you copy an object and now you have two on the bed, do you have two operations over in the left hand side stack of operations or just one?
The magnet/washer combo shouldn’t be a problem unless that’s where the red dot hits when it scans - then it will use that height. Or if the combo hits the little fan shroud that’s under the head but that would likely have moved them.
A single magnet on the top might not be letting it stick flat - tap the cardstock nearer the bottom and see if you hear a hollow sound that indicates it’s not flat. It looks like you have room for another magnet on the bottom of the card too - be helpful to do that for insurance just in case it’s lifting at all.
I only get one set of operations on the left side of the UI. It does however move across both cards with identical operation, just not the right cut quality.
As for the magnet & washer. These aren’t in the way of the scanning laser. I did just check that. I have more magnets on the way, but this is thick paper and it does lay flat. Without a magnet or washer it tends to flutter with the air movement when the cut goes properly through the paper. That full cut however isn’t happening
I did notice the laser isn’t so much a dot as it is a line that is about .25" long as it is scanning prior to print.
FYI - I am totally a newbie. I did quite a bunch of test cutting a couple weeks ago to fine tune the settings I would need for this specific paper. But now as I am trying to get these many cards cut, I am frustrated that the hours of tuning during testing seems to be for naught.
What are you settting as the focal height?
I agree that it looks like it’s a focus issue. Another possibility, if everything is dead flat to the crumbtray, is that the crumbtray is either not seated properly, or one side of the crumbtray is sitting on top of some crumbs/debris. It might not be an issue when doing full power cuts - but could be an issue when you’re doing low power, very focus-dependent things on thin materials like paper.
1 Like
Can they fit top to bottom (one on top near the back of the bed and one near the bottom)? Does the same thing happen?
If you just move the single one over to the right side do you have issues then? (Some people have problems with right side performance requiring a new GF.)
Can you take out the bed tray and make sure there’s nothing in the divots and then slide it back in making sure it’s seated? You can try measuring the bed height from the head in various places if you turn the power off and manually move the head around. It really sounds like the right side might be high.
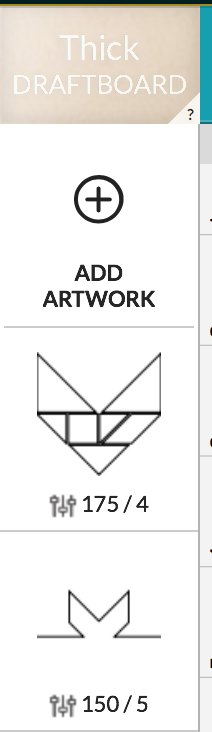
I have been starting with Thick Draftboard as a setting, but then moving to manual settings for the 2 cuts. both of the cut sequences get 2 passes to minimize the burn from higher heat.
I do notice that when something is not placed in the middle of the bed the camera skews the view of the material. I figure that is to be expected given the static location of the camera and the close proximity. I assume there is somewhat of a fish-eye lense on the camera that would have distortion in the outer range of the bed.
Cutting on just the right side of the bed seems to work fine and as hoped. This really seems to just be an issue when I try multiples at the same time.
during scanning (pre print) should the laser be just a dot, or is the .25" line normal and to be expected?
That’s it.
Use “Unknown” material and then enter the real thickness of your cardstock. My heavy matte board is .050" so your cardstock is probably more like .020" or something. The Thick Draftboard is something like 10X that. It will only use your real focal height for the operations you specify it for. Also, telling it that it’s Thick Draftboard is distorting the image - it’s adjusting for something much thicker than you have which is also contributing to your distortion on the bed image you’re getting.
2 Likes
OK after following the suggestions here I believe it is more the issue of the focal length of the laser when scanning prior to printing.
I’ve just done quite a bit of sequence checking and I am wondering if there is a way to determine where the laser positions itself for the scanning. It seems a bit random. I check I shift paper to move where the laser should hit it and then the next time it scans at a different location.
Perhaps starting with the chipboard setting isn’t ideal, however I did extensive testing and found this was a good starting point. It does work great when I switch from the default for that material to then input manual settings.
Is there a way to set where the laser scans?
No. It selects a place it thinks is on the project. I think because you’re telling it you’ve got a really thick (1/4") material in there it’s coming up on the wrong place - the camera is adjusting for a material height that is not correct and that seriously distorts the calculations and the images.
With two separate pieces of paper in there, it’s going to pick someplace other than it did when you only had a single piece. The issue with specifying the wrong material thickness wouldn’t necessarily show up then.
BTW, you’ll get no help from Support on this issue. They won’t provide assistance with non-PG materials and even though you told it you had PG Thick Draftboard, you’re not really using that so they’re going to tell you to try it with PG material or you’re on your own (via the help from members here).
1 Like