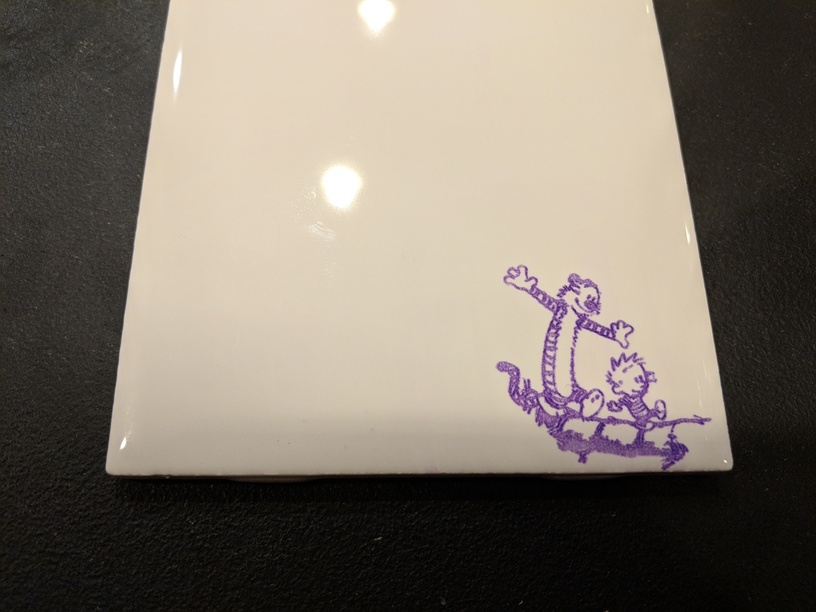
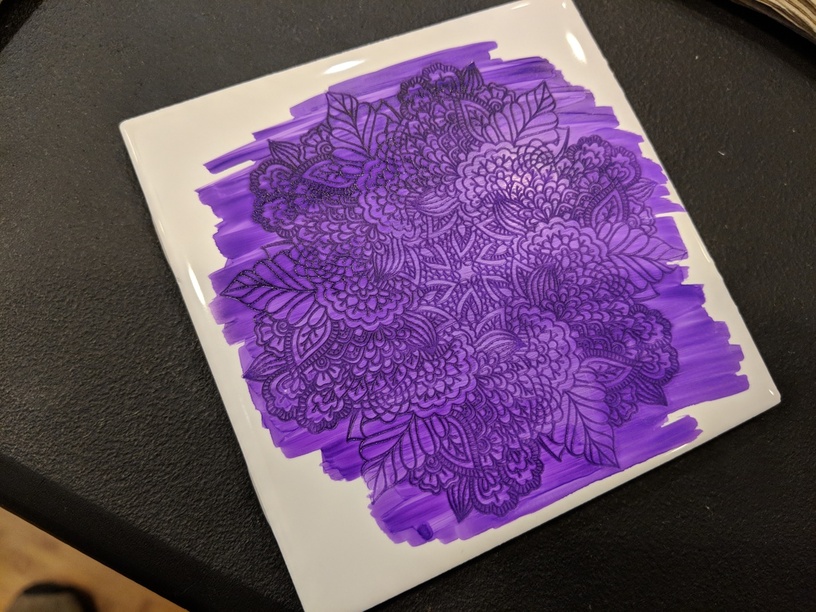
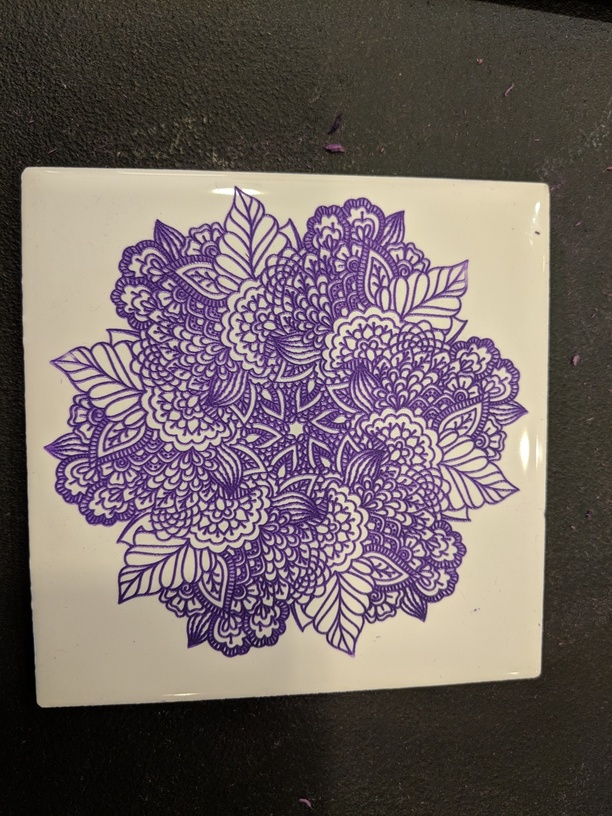
After etching, I painted over it with purple Sharpie and wiped away the excess with rubbing alcohol. The ceramic under the glaze is really porous, so it soaked up the ink.
These are great. I ran out to Lowe’s and picked up a box of tile to use for this. I was going to try just a few but the guy there said they only sold them by the box. When I checked out I was told that if the box is open already you can buy them individually. So anyway, I now have 100 to play with.
My wife’s been out of town for the last week and a half and gets home tomorrow and she’s a huge fan of Calvin and Hobbes. I may have borrowed your welcome home tile idea to make one for her.
I also tried one with a logo using a score setting. The overburn or hot spots make it so the corners and spots where a line meets up with itself have little spots that collect a lot more ink than the lines so it doesn’t look great. The engraved version of the same logo looks really good. I definitely want to find an easier way to get the overmarked sharpie off a bit easier. My hands are pretty sore from holding and rubbing the tile with a paper towel so hard.
As a side note, and it is a bit gross perhaps, but saliva on the towel or the tile seems to help the sharpie come off the non-zapped areas quite a lot. I also tried fingernail polish remover because I couldn’t find any isopropyl alcohol. It sort of worked, but I’m not too happy with the result of that test.
these look fantastic! How long did they take the engrave each, on average?
Edit: also, suggestion: craft stores sell alcohol ink pads for stamping, you can probably get some nice colors/blending with that, along with just squirting some extra alcohol for it to blend together.
Awesome! Thanks for sharing you experience with scoring. I learned that lesson trying to make a cutting board over Christmas. Every time the laser changes direction, there’s a spot of overburn.
Since my last post, I’ve done about 20 more tiles and learned a bunch more.
For cleaning the excess, use a little bit of any sort of cleaner (I ended up using Windex) . Just spray a tiny bit on the paper towel. Just enough to wet it, and not enough to soak it. This makes it completely easy to remove the excess. No elbow grease needed.
And a few more things, too.
Spray acrylic works good for sealing up the design afterwards. Otherwise, if it gets wet, the ink will float out of the cracks.
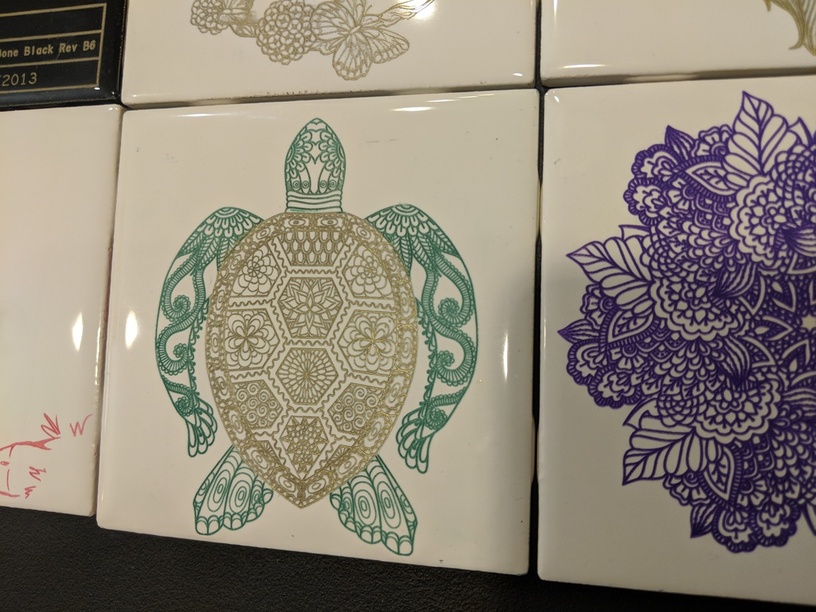
Sharpie has oil-based pens that work really well for this. Use acetone/nail polish remover (again, just a tiny bit on a paper towel) to remove the excess. With the oil-based ones is you don’t need to seal the design with spray acrylic. That ink won’t come off for anything but acetone. Also the color is more vibrant.
Black ceramic tiles will only show metallic marker. Both silver and gold work well in those. Copper metallic doesn’t really show.