Months ago I started testing this lovely 3D depth engrave image I downloaded here, although I don’t see it there now: http://am.co.za/grayscale
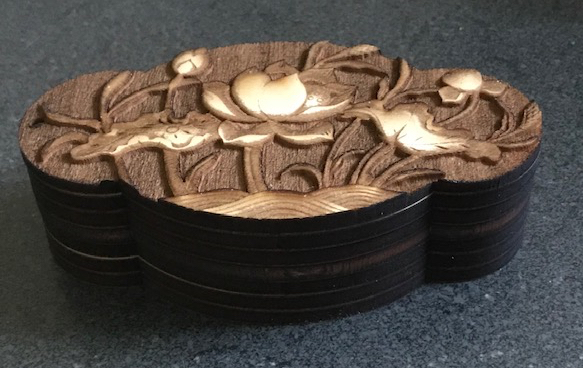
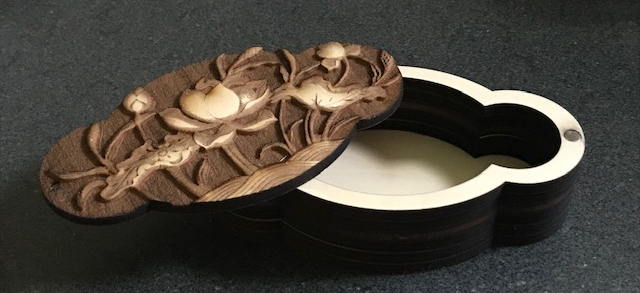
I played with light and contrast generally to brighten the lighter areas, while maintaining the subtle shading. Then ran several tests on bass and cherry ply. Then fiddled with cutting just inside the design for a clean look and adding 5 layers to create a box (not perfect by any means). I was inspired by @evansd2 to use the small magnets so then came the testing with them until they fit, but not burn through to the lid top at least during testing. If you look closely the left side did actually burn through a little, so will somehow fill that hole. Also, funny enough I hammered one of the magnets in the wrong way round so one side of the lid was repelled from the box. Was able to pry it out and correct. Need to do another run as practice makes perfect, but I learned something and this too was great fun!
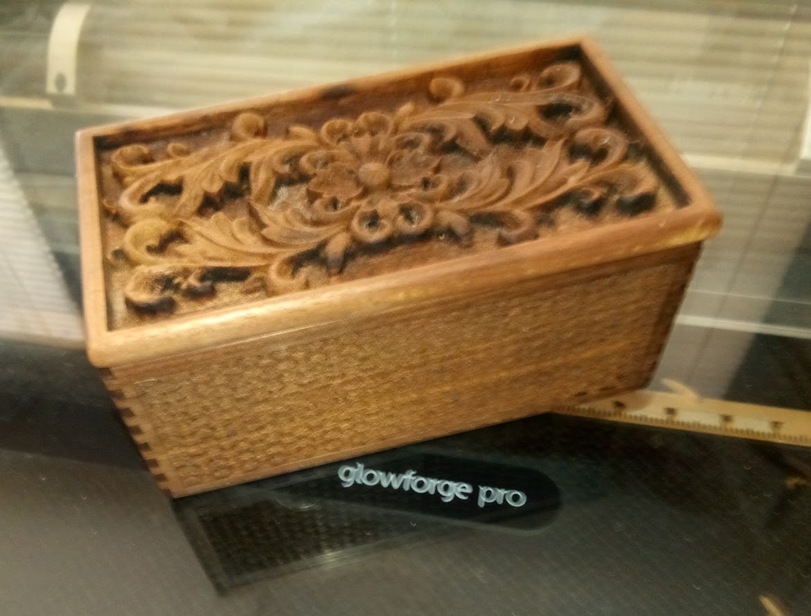
I love it! I have been using a lot of stuff from that source but somehow missed the one you used. It is the best use I have found for 0.5-inch wood. What I have done is to make a high rim around the engraving, and then a deep engraving from the other side so there is a shoulder for the lid to fit tightly to the rest of the box. I have not managed to do the magnets yet but was thinking that a single magnet and a steel screw might solve the repelling problem.
I see what you mean - yes that is another good thought. The tiny magnets do work well, I just have to put them in the right way. And the test worked, I just missed setting 2 passes instead of 1 for the magnet engrave on the inside. I had to run 2 x 1 pass. Next time I’m more confident it will work out just fine.
Thanks for this link! Those are great. Will definitely experiment with those. My sister is arriving from France later today and she loved the box above, so I think we’ll find some time to make more while she is here.
Lee Valley (and no doubt other places) have hardware that eliminates the need to use magnets in pairs. Check the Tech note in the price line, which explains how using cups / washers increases the effective force. That makes it possible to use smaller (cheaper) magnets. http://www.leevalley.com/en/wood/page.aspx?p=58750&cat=1,42363,42348
Hey, thanks for this! I didn’t know that was possible. Good to know. For now, I should use up my existing pile of mini magnets first, just remember to put them in the right way…
 bass and cherry ply. Then fiddled with cutting just inside the design for a clean look and adding 5 layers to create a box (not perfect by any means). I was inspired by @evansd2 to use the small magnets so then came the testing with them until they fit, but not burn through to the lid top at least during testing. If you look closely the left side did actually burn through a little, so will somehow fill that hole. Also, funny enough I hammered one of the magnets in the wrong way round so one side of the lid was repelled from the box. Was able to pry it out and correct. Need to do another run as practice makes perfect, but I learned something and this too was great fun!
 I have been using a lot of stuff from that source but somehow missed the one you used. It is the best use I have found for 0.5-inch wood. What I have done is to make a high rim around the engraving, and then a deep engraving from the other side so there is a shoulder for the lid to fit tightly to the rest of the box. I have not managed to do the magnets yet but was thinking that a single magnet and a steel screw might solve the repelling problem.
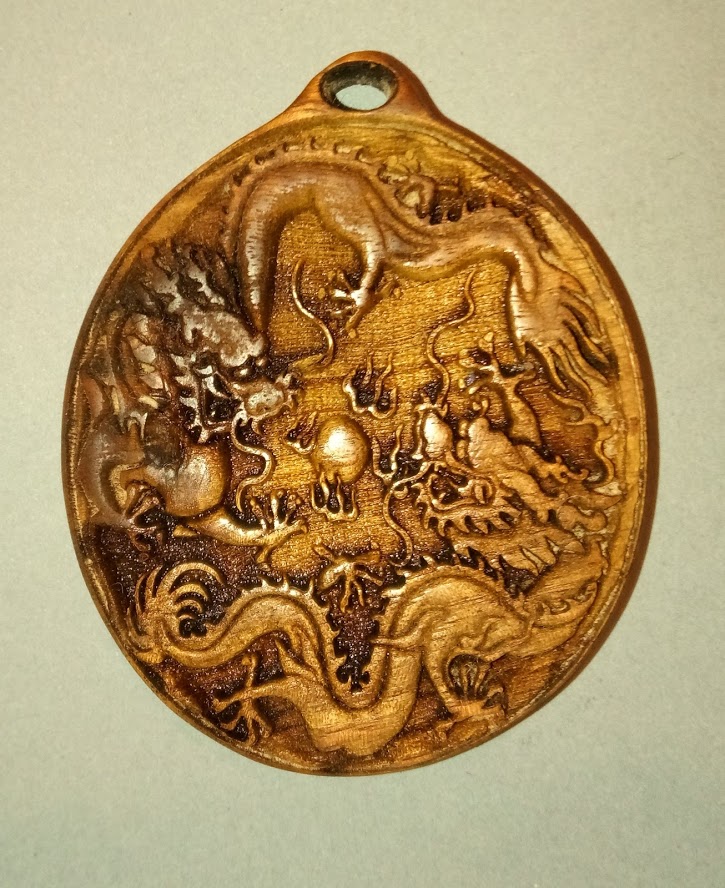
 That is walnut as is the other
  I did not notice till it was already cutting but the upper dragon’s head is on a knot.