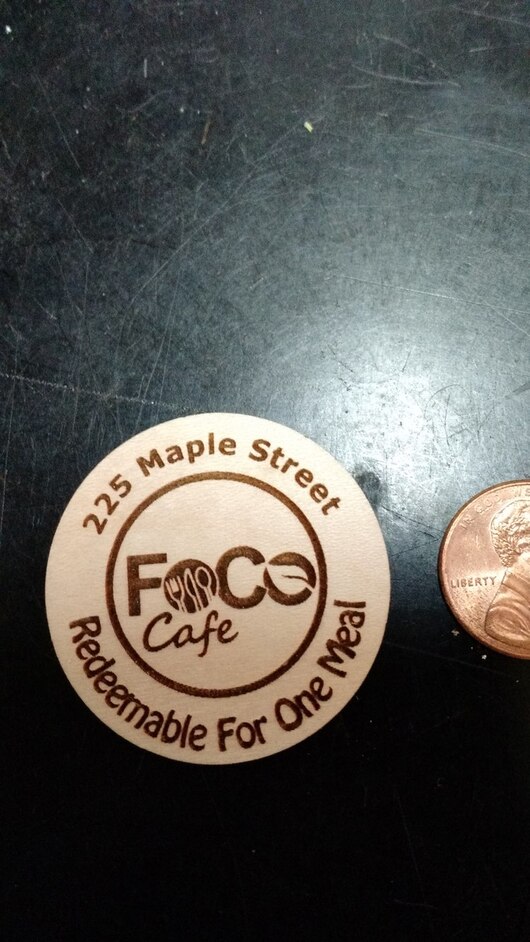
I tried to print a set of coins - using the same technique I’ve done before.
a) Had to switch to sd engrave from hd
b) had to keep deleting coin copies until "print’ allowed me to send to the printer.
c) the cuts did not penetrate the back of the proofgrade material - using proofgrade material, and proofgrade chosen settings.
d) the print did not finish
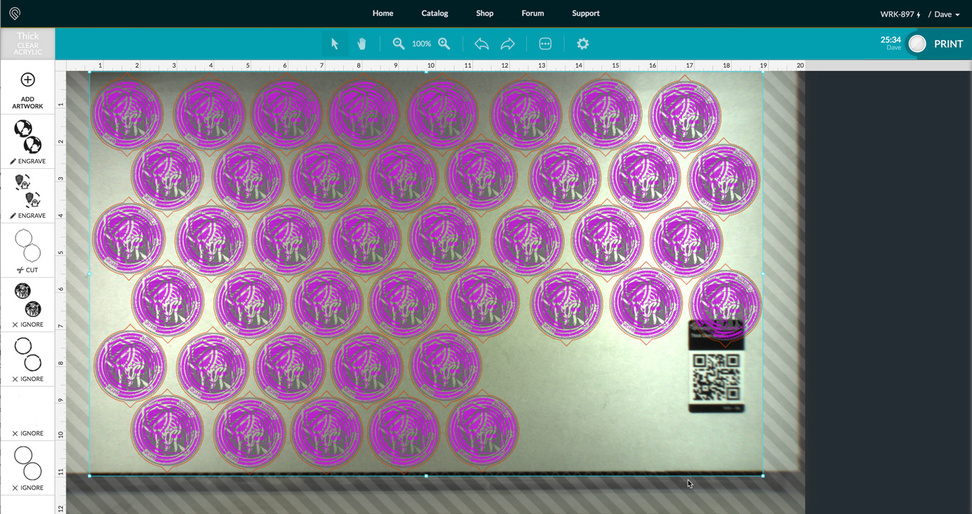
video timelapse of what actually came out - note the randomness of operations (order, the fact that it would do something on the far left and right and nothing in between and waste all those travels of the laser over and over not marking the space it would need to.
What is your chosen design software?
Looks like you have 3 operations for each token? Anything on the other side?
Assuming 3 operations on one side, there should only be 3 thumbnails on the side bar. One for each engrave and one for the cut. I’m just wondering where the other thumbnails come from.
I did two jobs of 1,000 tokens each engraved on both sides, and I discovered a couple of things. A full sheet of tokens exceeded the buffer capacity at more than three hours, so like you, I needed to reduce the number of tokens in each run. Lowering the resolution from 270 LPI to 225 produced acceptable detail while reducing the required time and buffer load. The reduced run time saved me like 4 hours across each job.
Also, because the full sheet of 20x12 can’t be reached, I broke the file into two and cut the sheet almost in half on a miter saw so that I could use the whole sheet.
My file also had some seemingly odd motion planning, doing row after row sequentially but skipping 4 over here and 3 over there, but it would return to them and finish.
There are some design software wizards around here that could look at your file and eliminate that as a potential problem if you could zip it and post it here.
Regarding the incomplete cuts, with proofgrade material and settings, the company has been good about crediting accounts for failures.
Another detail that can help support figure this out is including the date, time and time zone in the report so they can review the machine logs.
I use illustrator, I’ve got 3 per side in an optimal world - i.e. SD Engrave, HD Engrave, cut… each side. but I have to set all engraves to SD because it fails if I don’t. I’ve been able to get a max of 36 coins in the UI before it flakes out entirely like this. When I do this at work on the epilog it’s fine. When I do this at work on the universal it’s fine. When I do this at home… I play games of me vs. the GFUI (and backend renderer and such being “too much” for it).
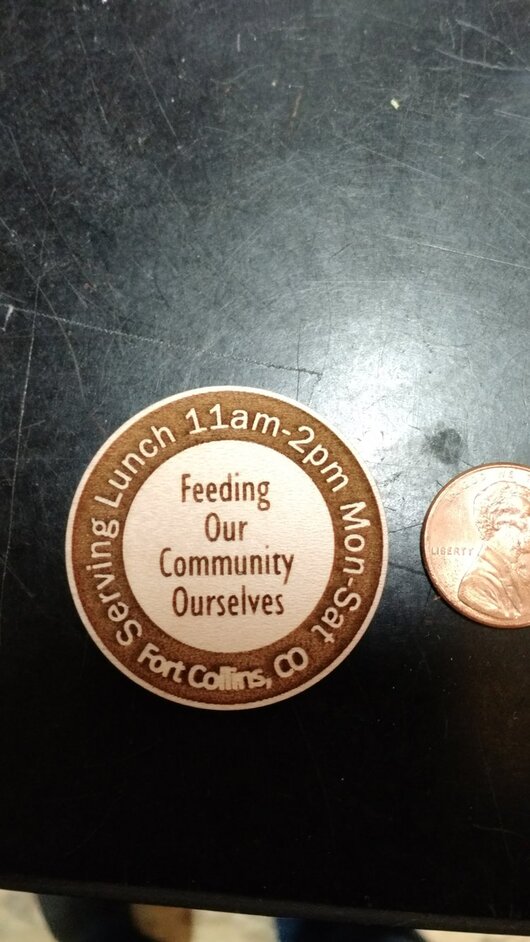
On my jobs the file was set up with the file for each side aligned on top of each other in different colors. Ignore one color, engrave the other and cut. Flip them in the hole they were cut from, reverse the ignore, and ignore the cut.
I started with 340 LPI, but besides the size of the file, it would add hours to my job. My jobs were fairly simple, but for the time savings on a requirement of 1000 pieces, I found I was perfectly happy with 270.
Agree totally. In the tests I ran, the HD settings are great for really fine detail, teeny tiny stuff. They don’t add anything but time to larger items.
Coin sized is probably good down to 195 LPI, which is single pass/complete coverage. And you could do an entire sheet full of tokens. Anything below that and you start to see some slight banding in the engrave. More than that, and you are engraving deeper, cause you’re passing over areas that have already been engraved, and charring the engrave, instead of adding new engraved area with each pass.
If you want to increase the darkness, slow down the printing speed (by about 10-15%). It has the same effect on a lower LPI that increasing the LPI does - it burns deeper, but it just makes one pass, so there are fewer travel instructions being sent to the buffer, and less chance of locking it up.
Lower the LPI, and use a slightly slower speed when printing. Works really well.
Thanks for letting us know about this, @dave1. After researching the log files from your print, I believe you pressed “Print” in the app before your design had fully loaded. To avoid this in the future, make sure to wait until you see all the elements in all layers of your design appear in pink before pressing “Print”.
Your design is fairly complex, with multiple layers, and each layer loads separately. Drawing a box around your artwork can help it load smoothly by grouping these layers.
Open your design in your design software. If you don’t have design software, we recommend Inkscape
Draw a box around the design. Give it a stroke (outline) that is a different color than the rest of your design
Upload your design to the Glowforge app
Click on the step with the box you just drew, then click the header that says “Manual Cut” and choose “Ignore”
Place your design and print
Could you try this and let me know if you still run into the issue? Thanks!
It’s been a little while since I’ve seen any replies on this thread so I’m going to close it. If you still need help with this please either start a new thread or email support@glowforge.com.