I do a lot of cutting foam board making model airplane parts and often I need to use the passthrough due to their size. The GFUI passthrough fails at indexing with this about 100% of the time so I end up manually alining the next cut. That is fine if I am doing one and done but there will be a point where I want several of a part. I have broken parts up manually in the past and with bullseye that works very well but is so labor-intensive.
So my question is, do any of you have a workflow or ideas automatically breaking a file like this into 10" sections?
First - what color foamboard is this? Alignment fails on low-contrast materials.
Second - when you say bullseye, are those alignment/registration markings, or part of the design? I found putting registration marks alongside the actual design helped. Multiple, all the way up both sides.
Now, I never had to do this with complex designs printed on white foamboard or similar high-contrast material like painted hardboard or plain maple ply. I have even deliberately moved it over and at an angle and the alignment picked it up without issue.
I’d be using Inkscape, make a file with a line set every 10 inches, Combine the paths (not union), then place the file you want cut (with like-cuts combined) under the horizontal paths, and use Path>Division. Granted, there would be some doubling needed if you have differnt paths that hit the cut lines, but that is a start for how I’d go at it.
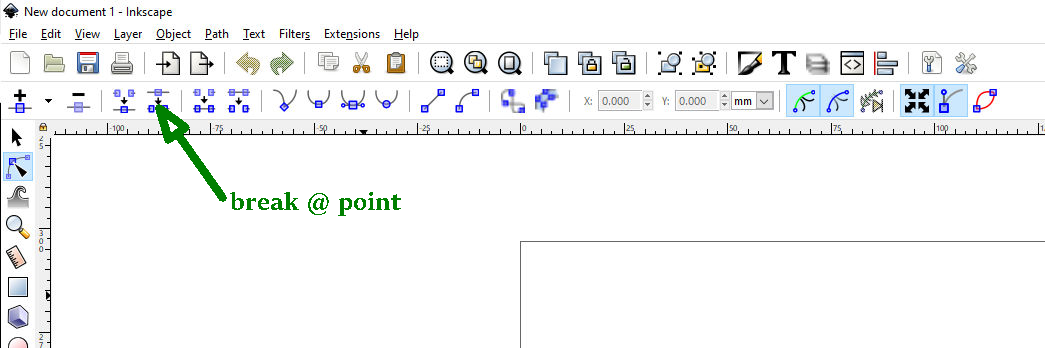
I am sure you know how to make stuff different colors, but when busting up large pieces I go into node mode in Inkscape and double click on the vertical places and you will get a node there.
and you will have two disconnected nodes on top of one another.
If necessary you can use Path>Breakapart to make all the parts separate, and then Path>Combine on each half if necessary to have two different things with different colors.
The nice thing about this method is that the breaks do not have to be on the same line (if separate things you can just make them different colors, as long as each color will fit on the cutting area)